First Surfboard Build
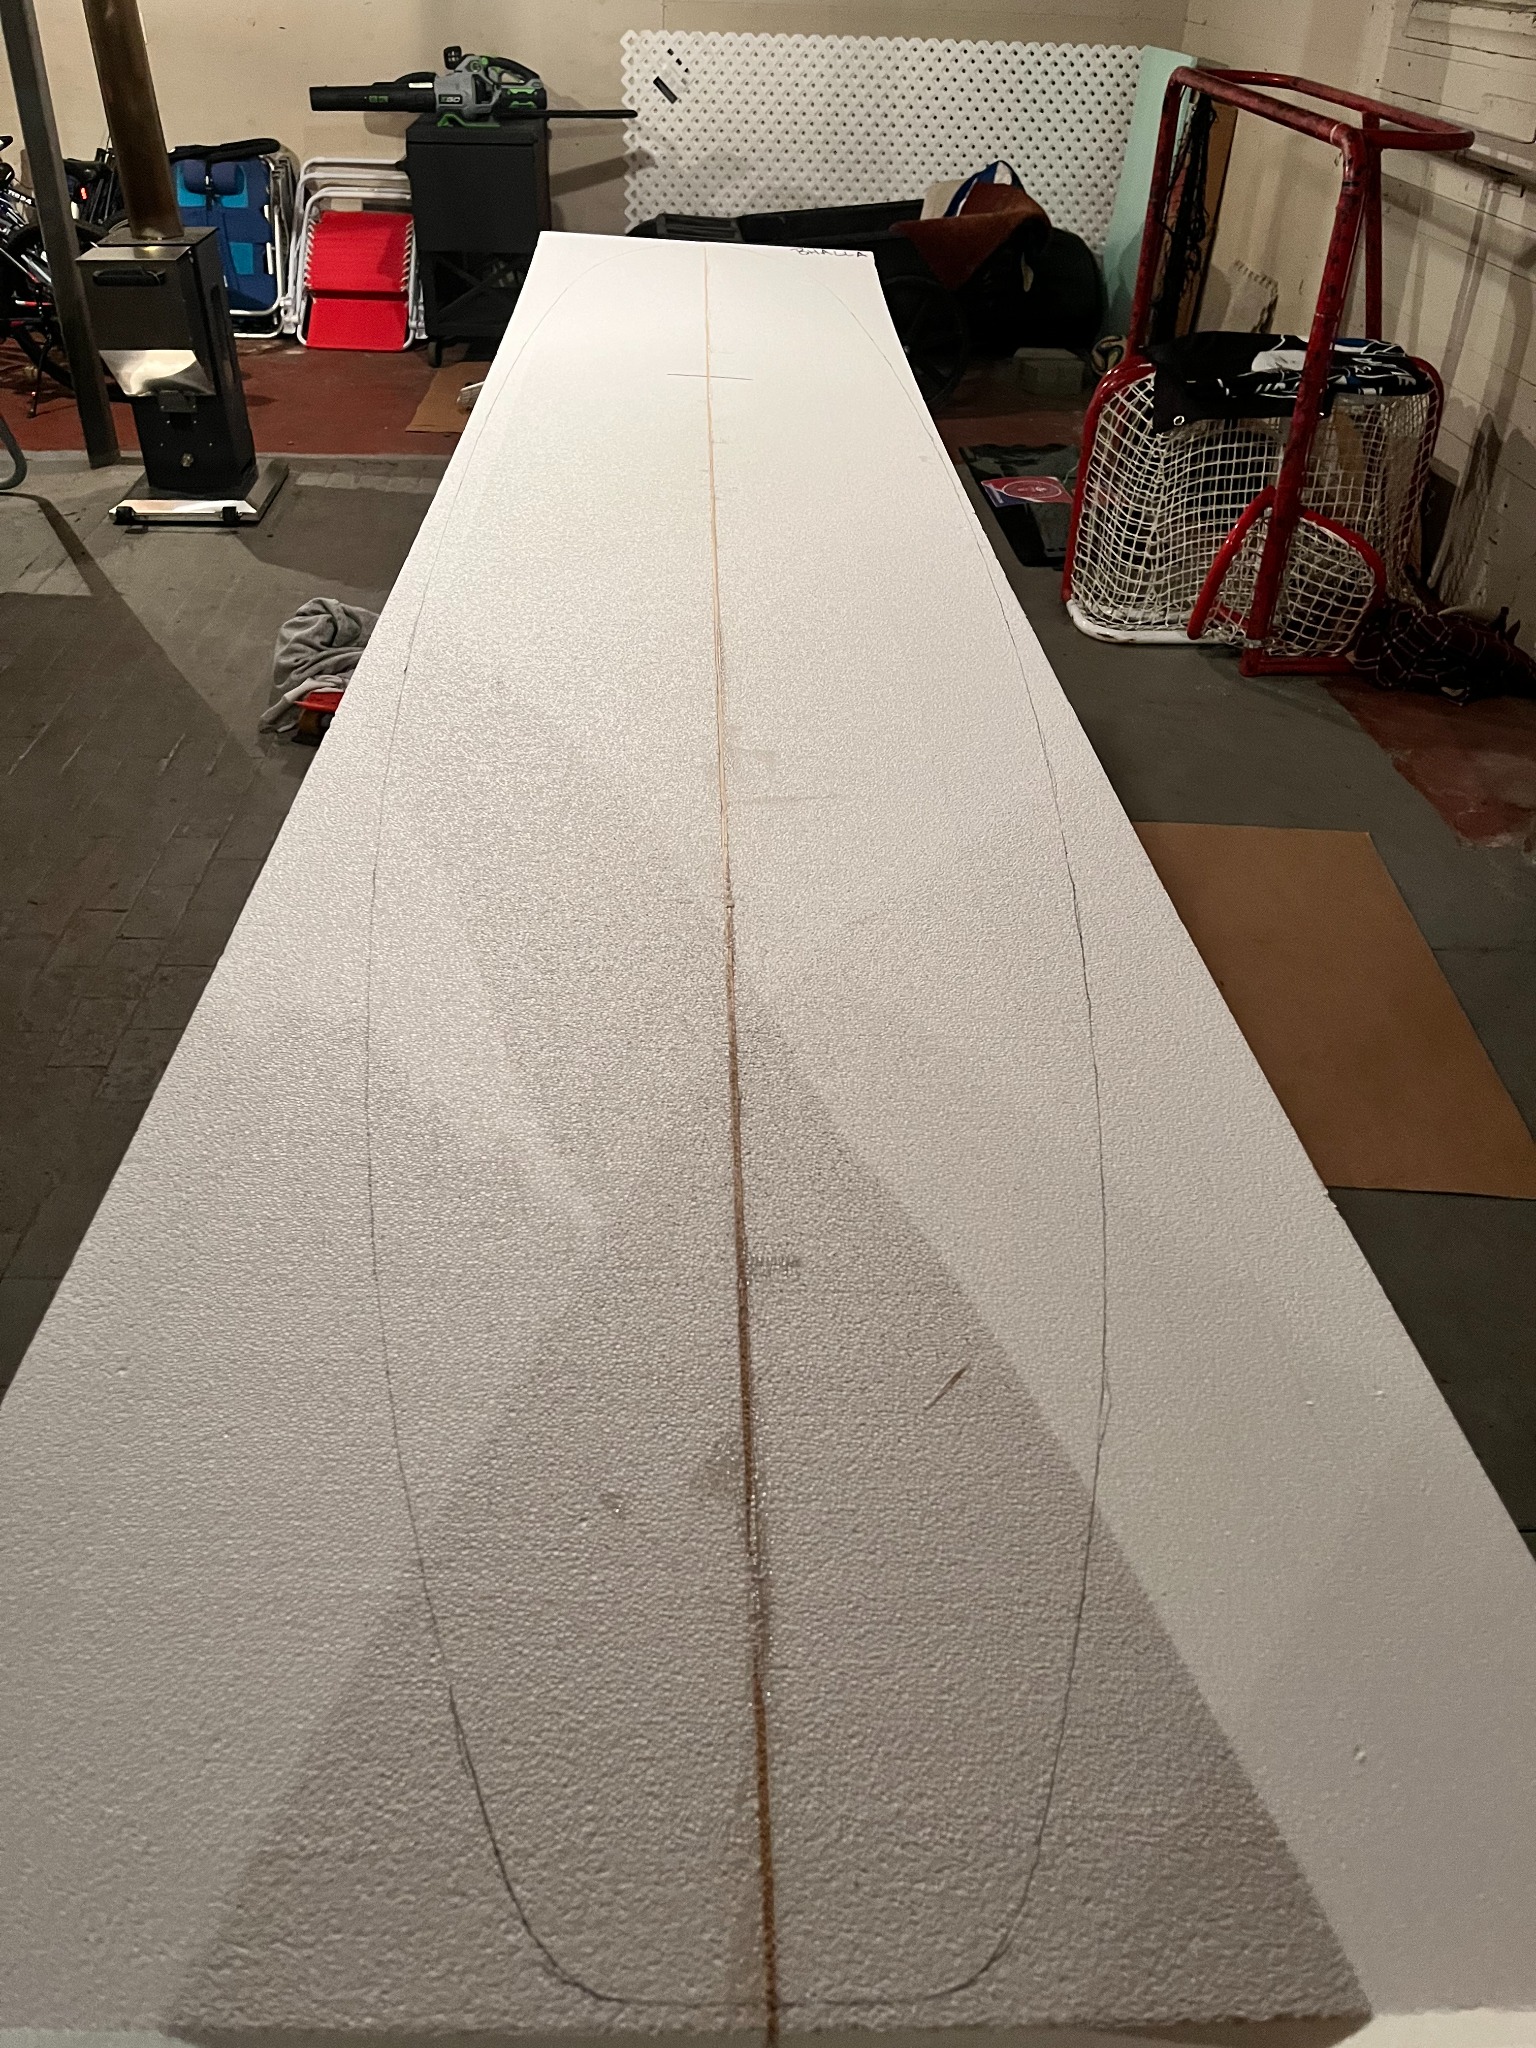
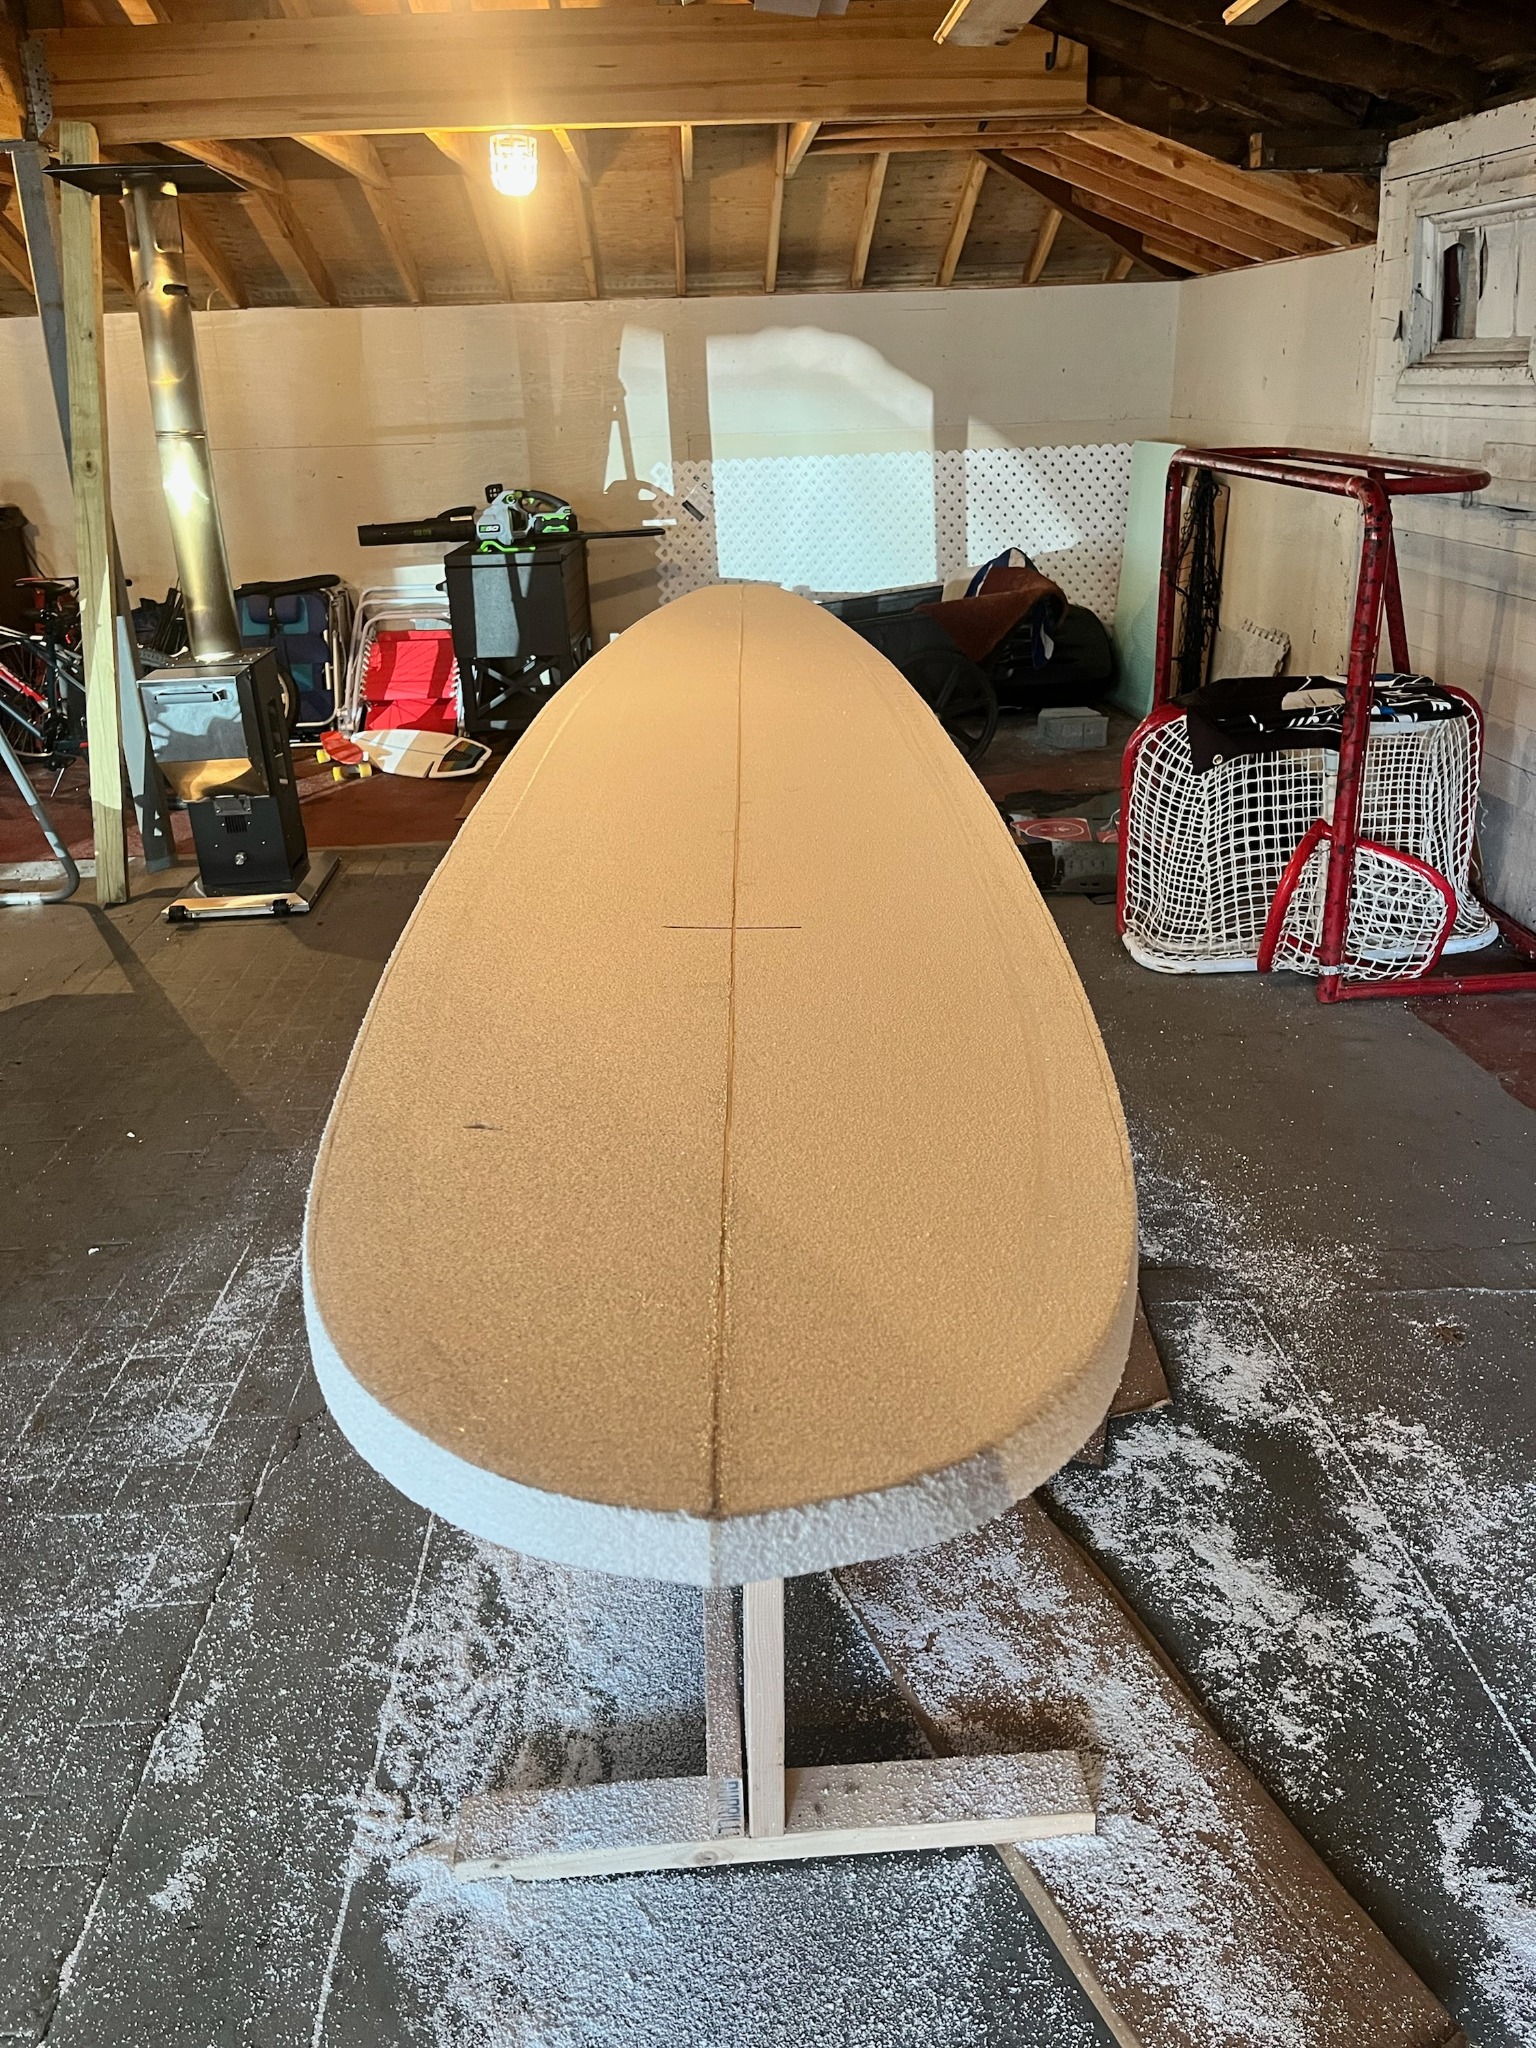
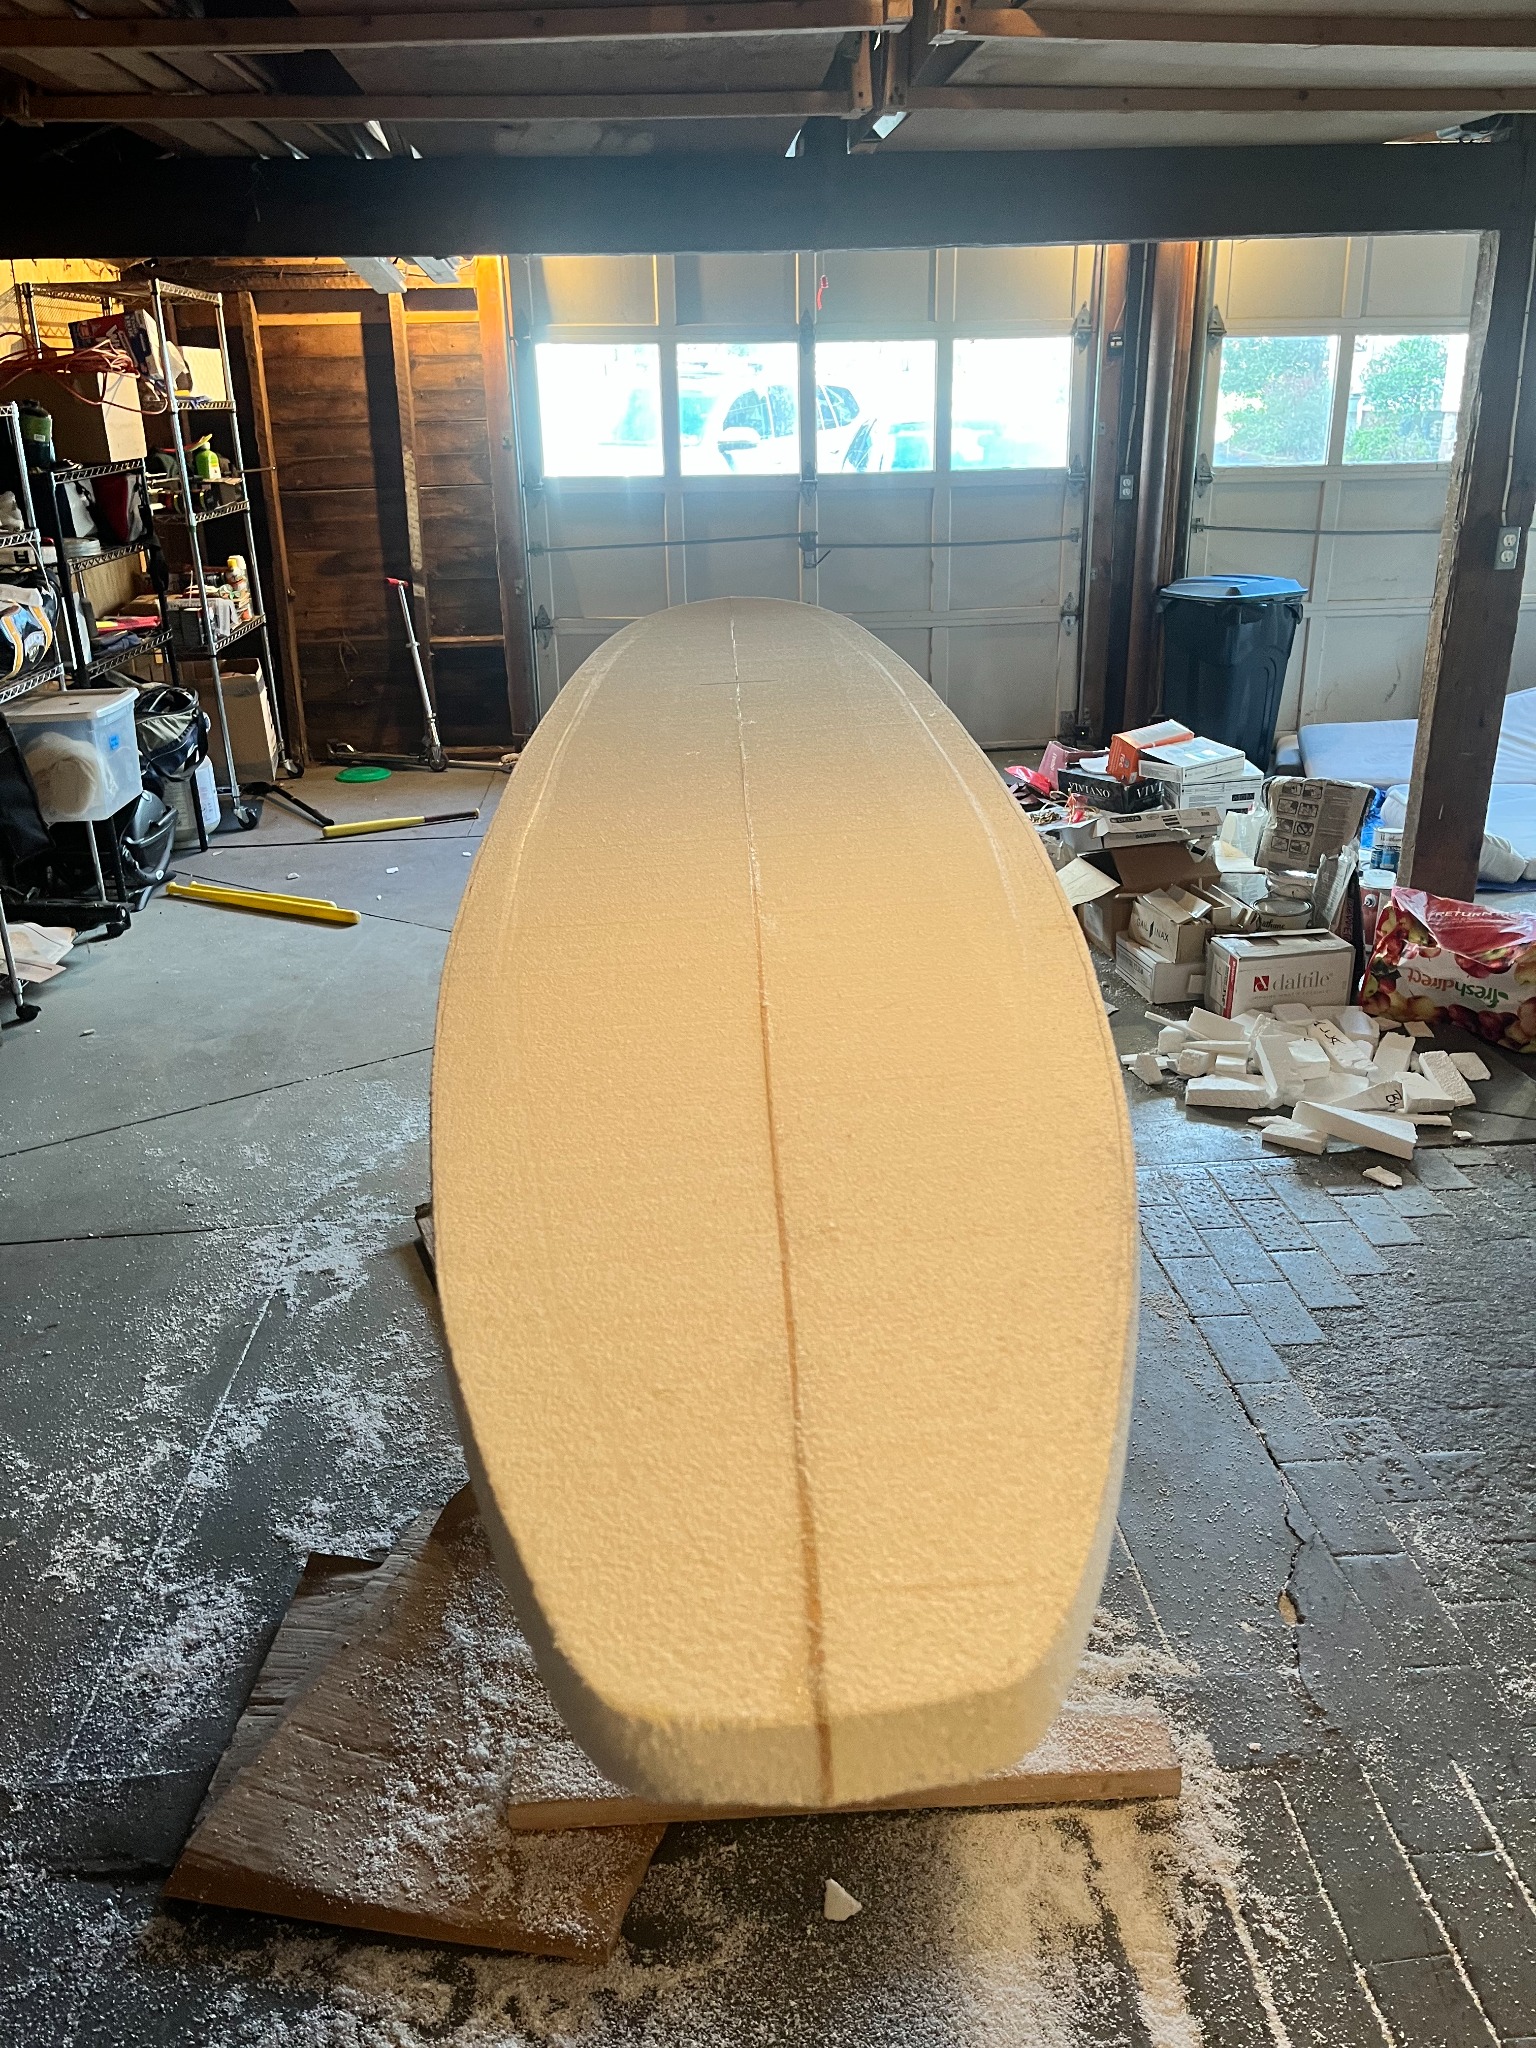
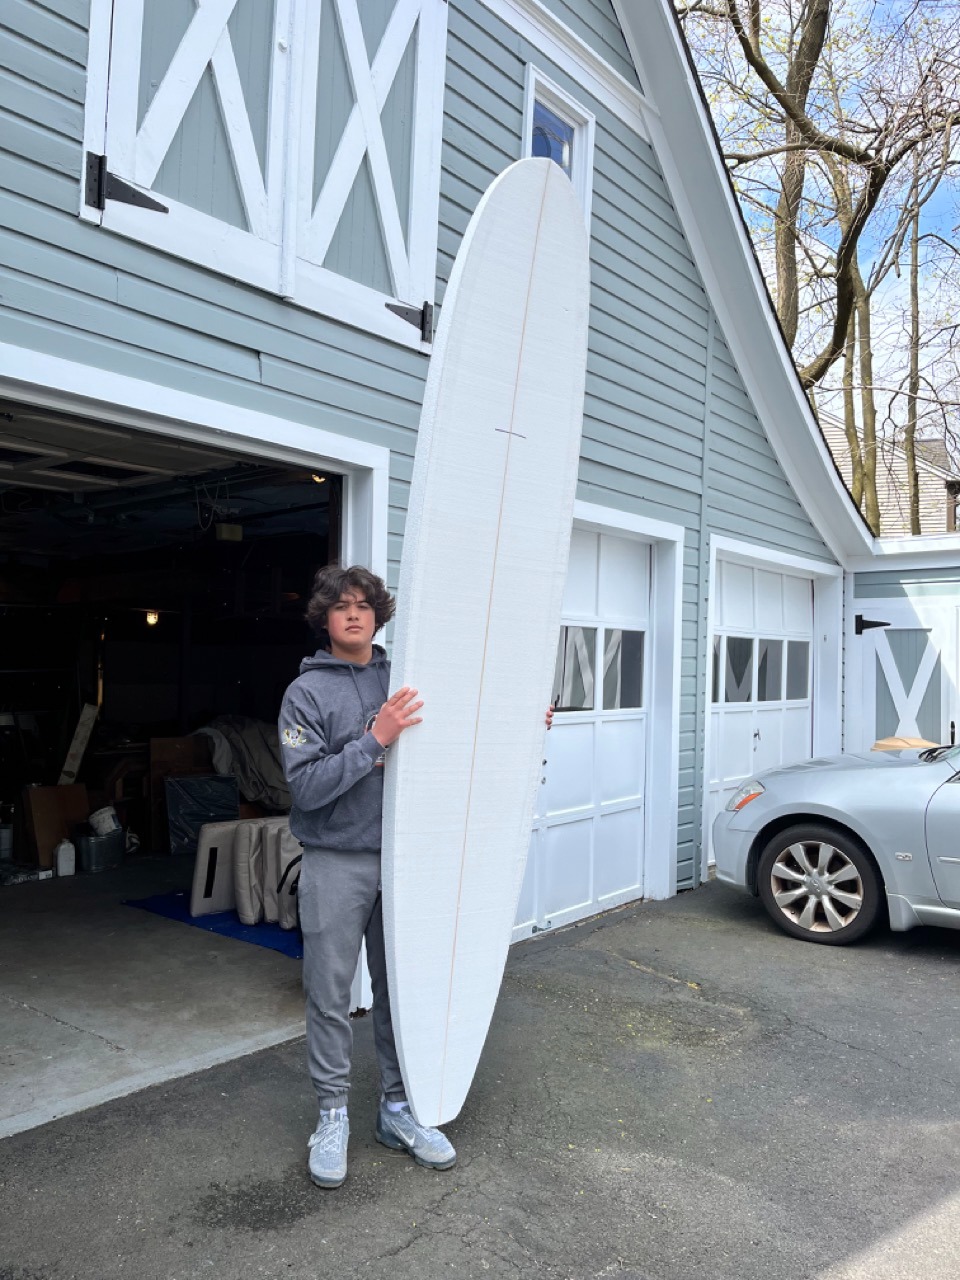
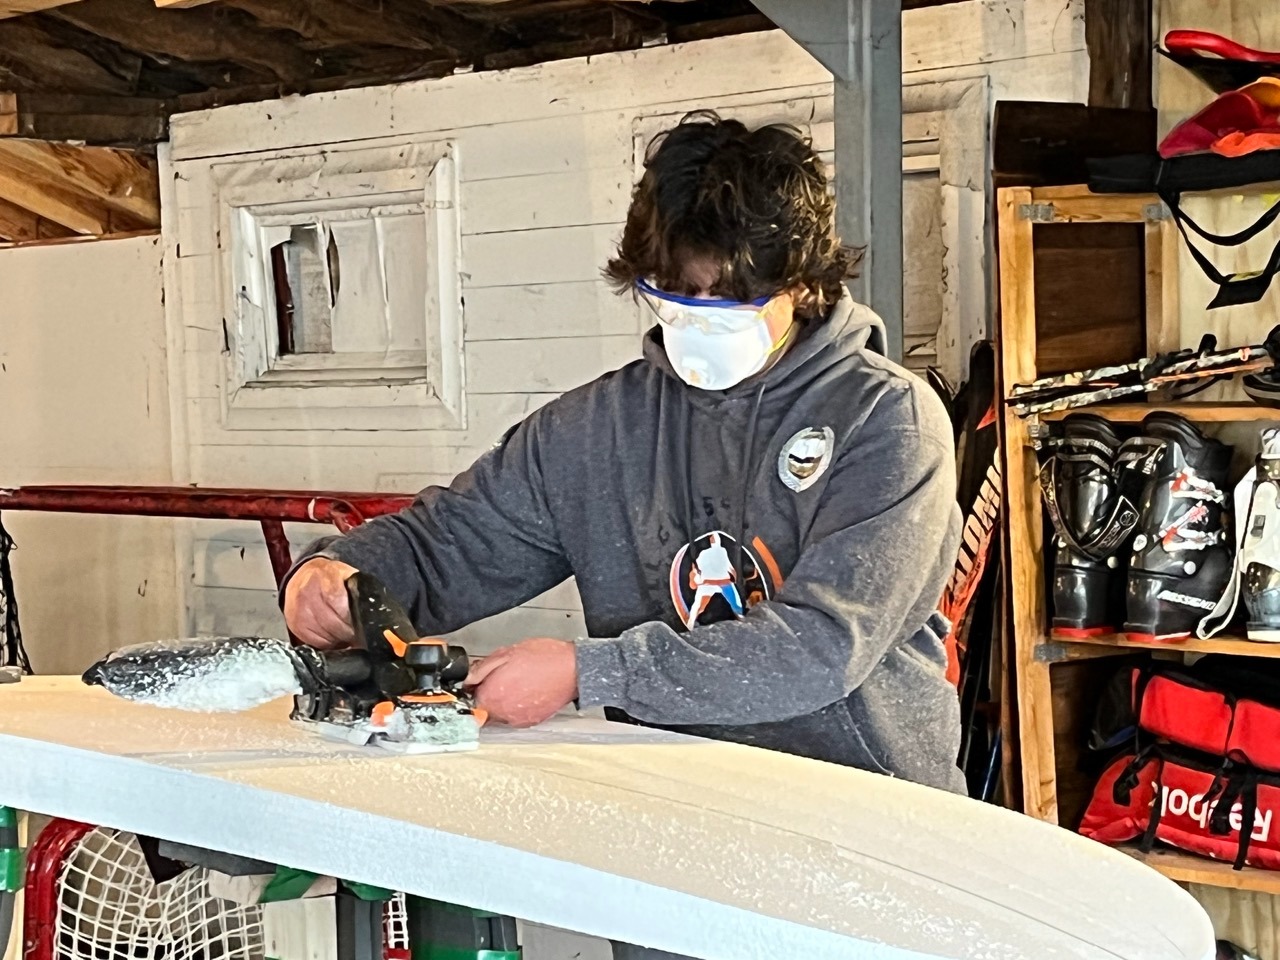
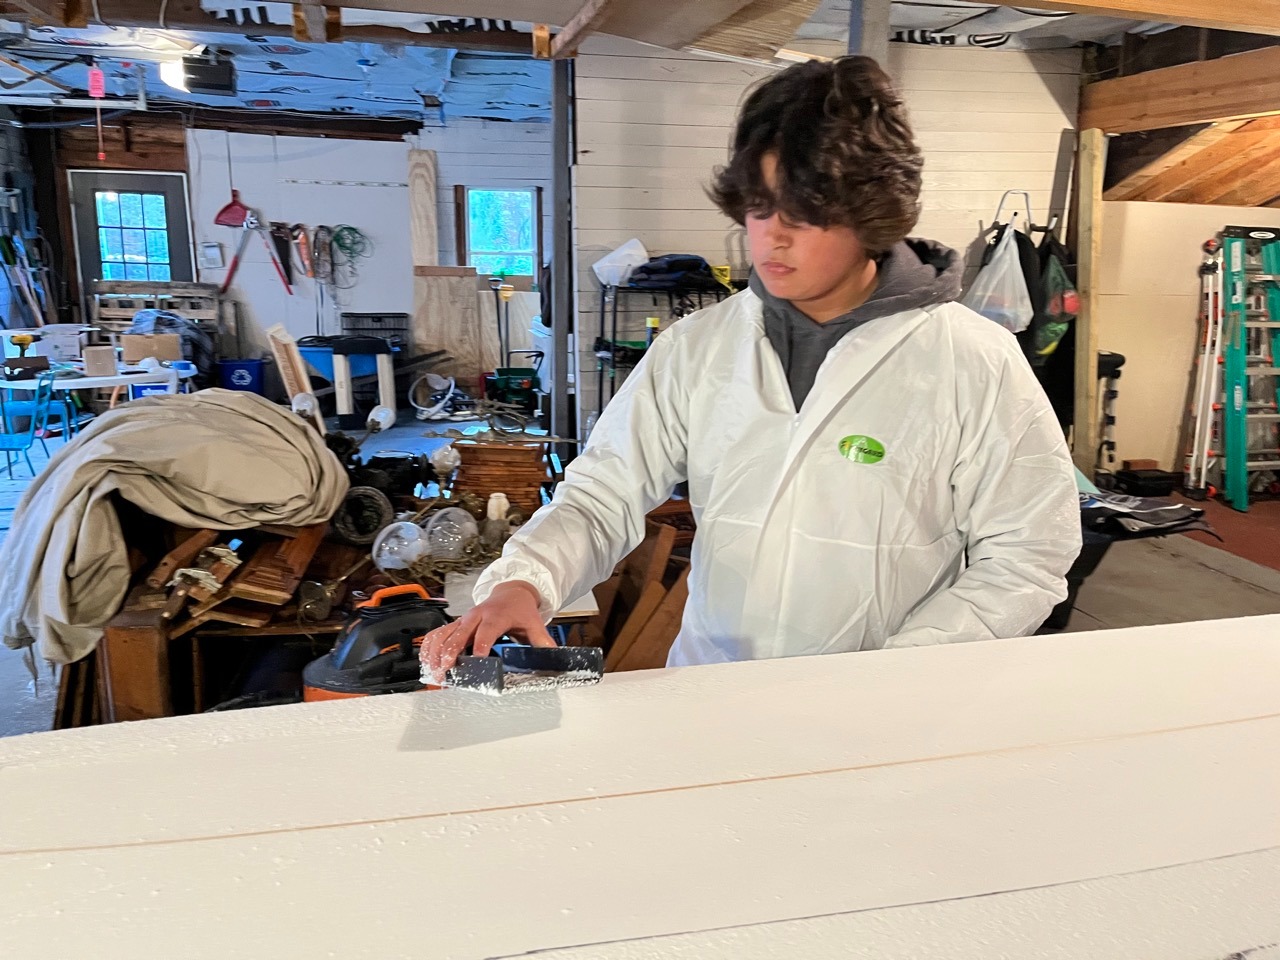
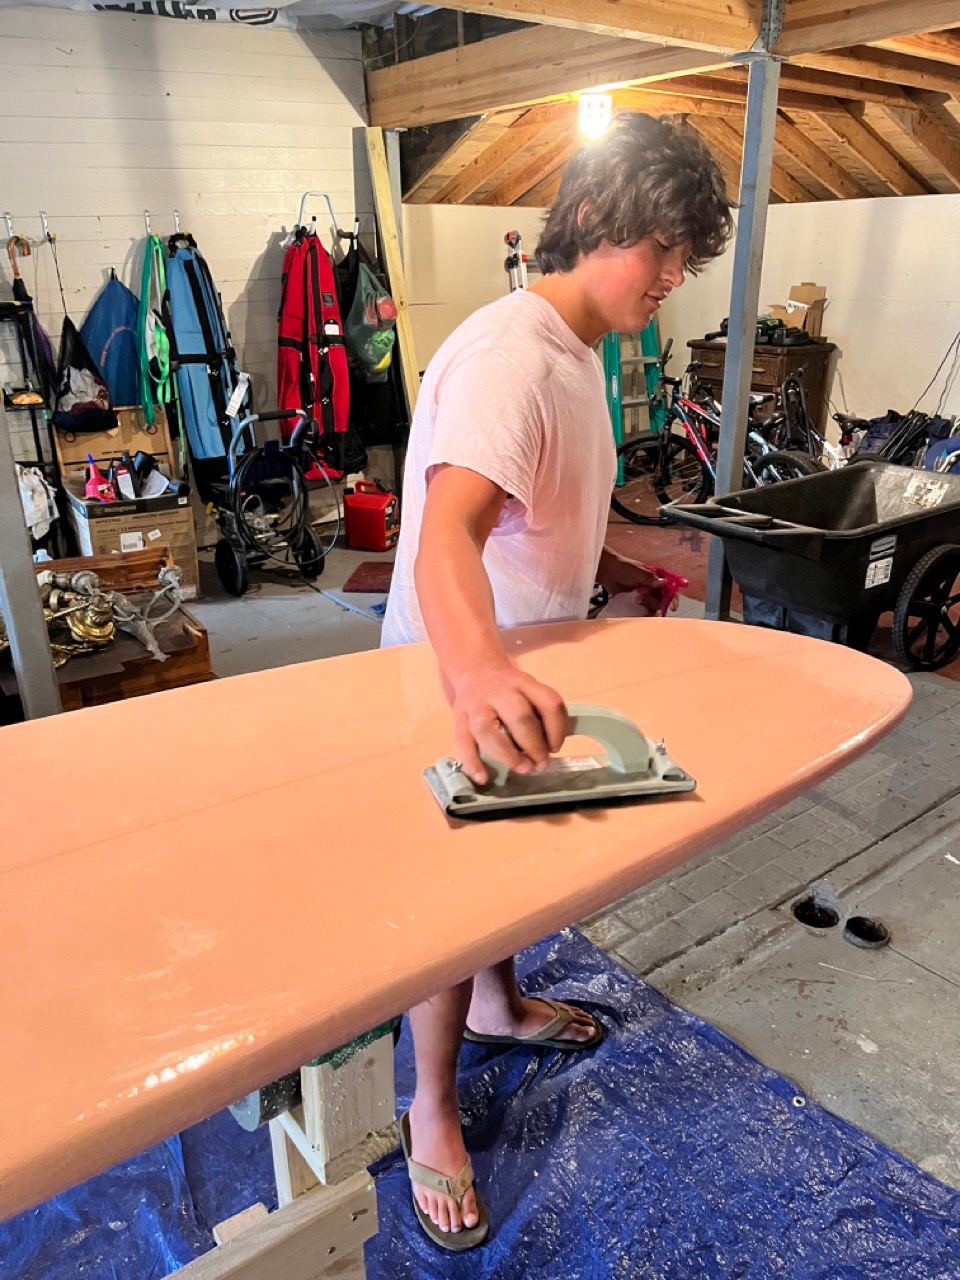
I love to surf and I love to create. In 2022 I decided to build my own 9' 9" long board. I'd never built a surfboard before and wanted to share my progress. Since then I have shaped 3 more boards and sold 2 of them
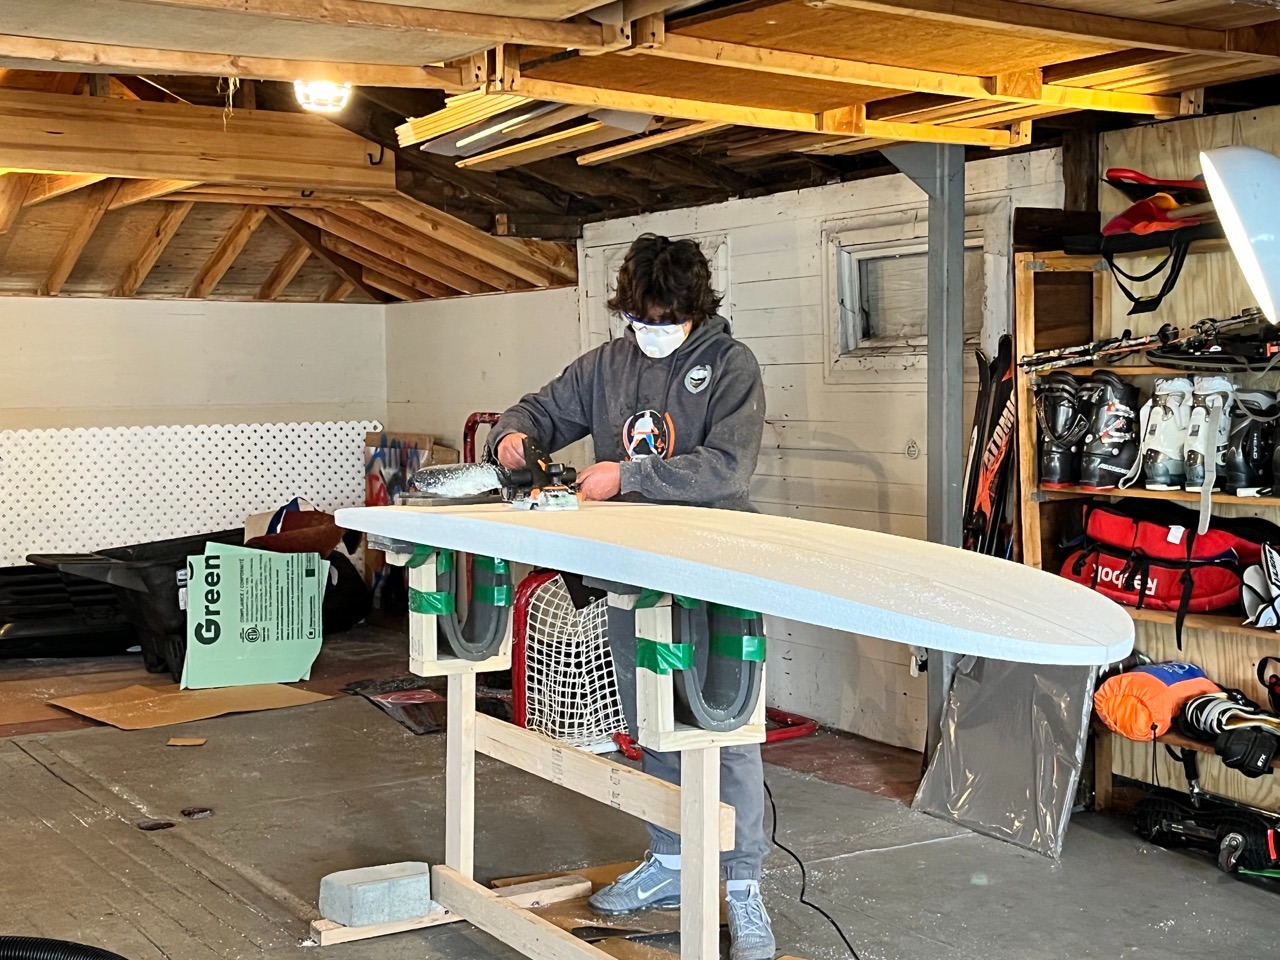
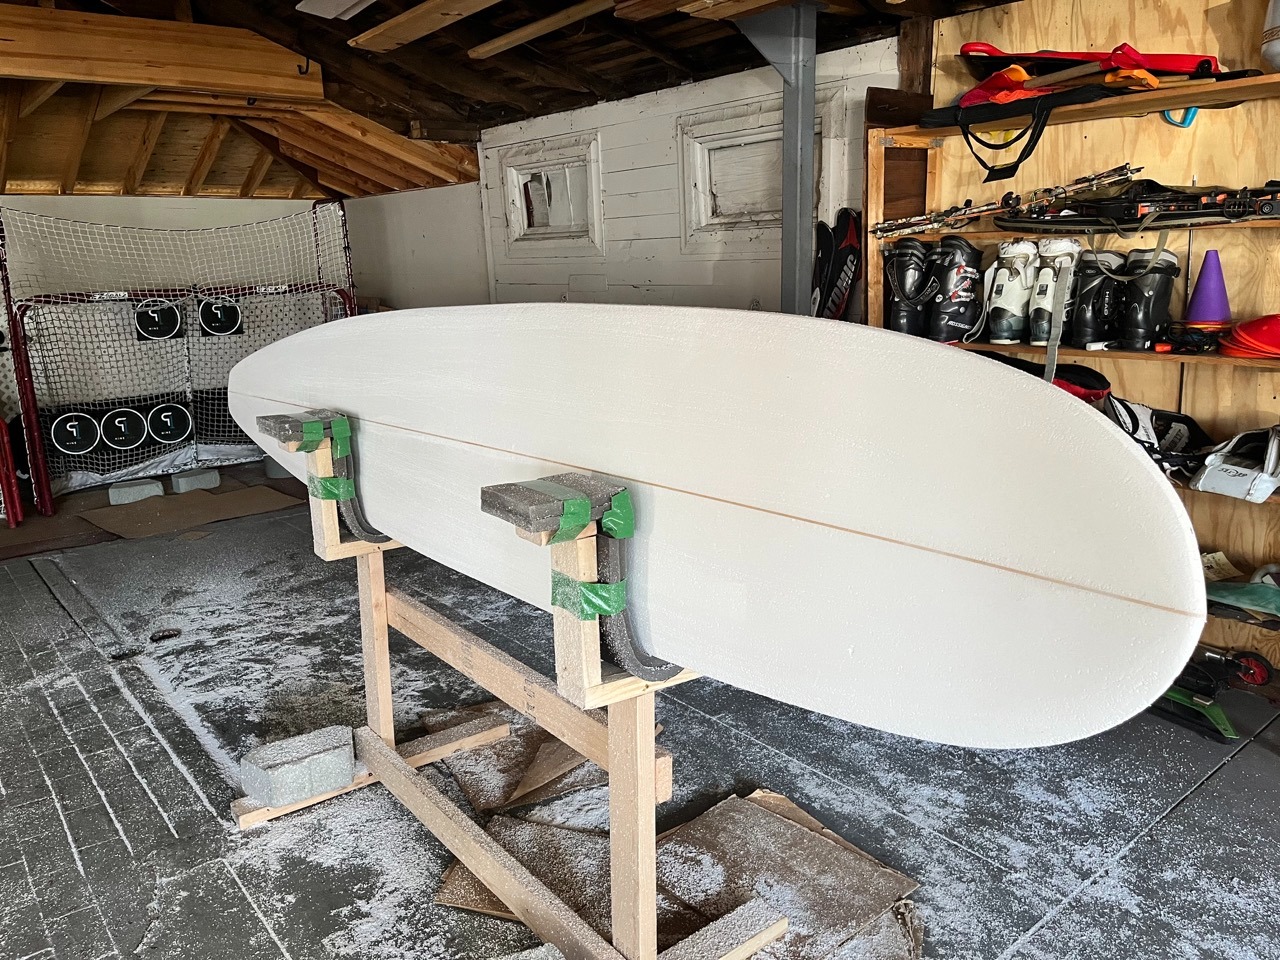
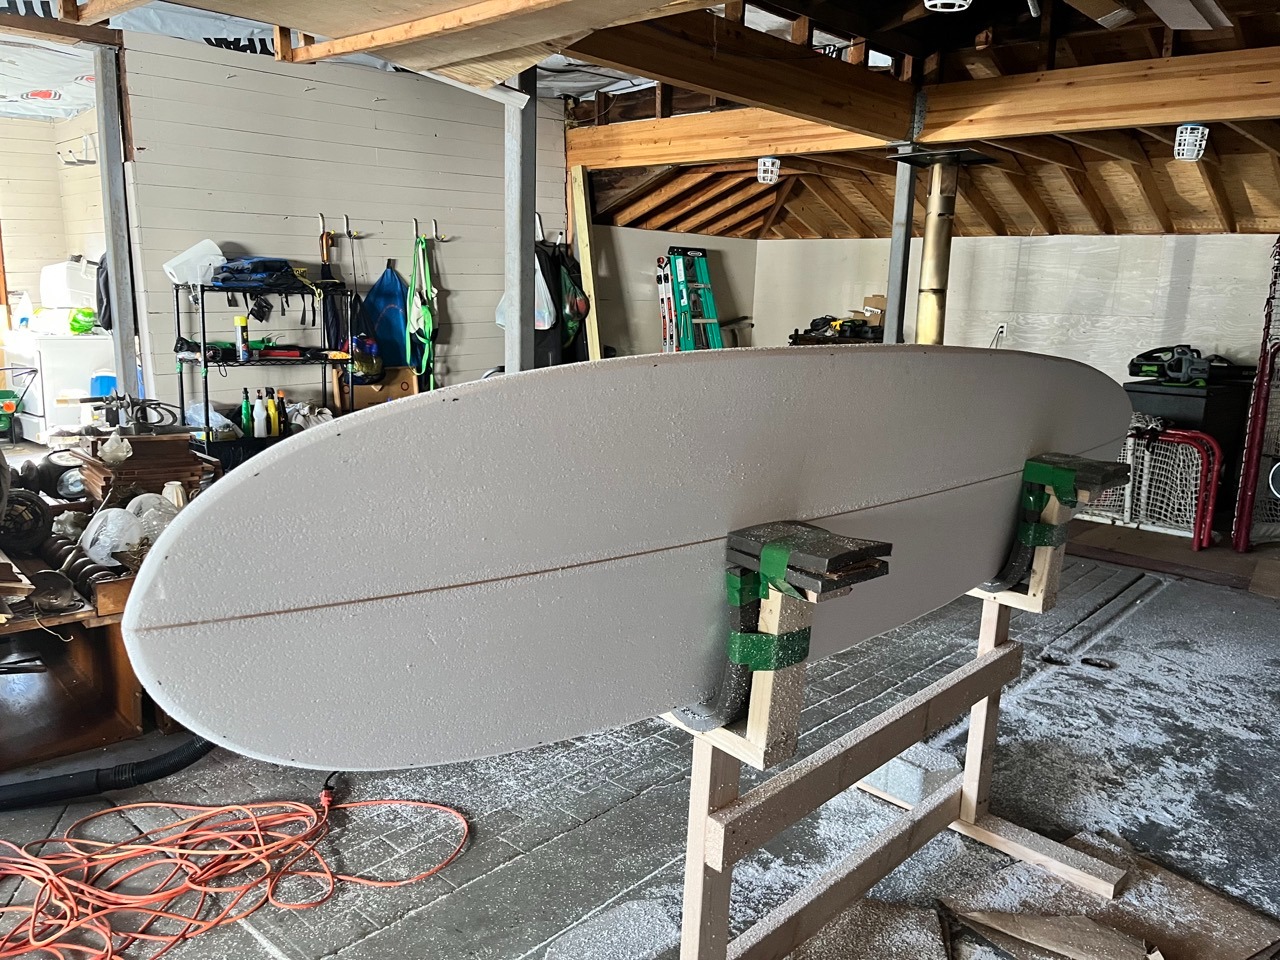
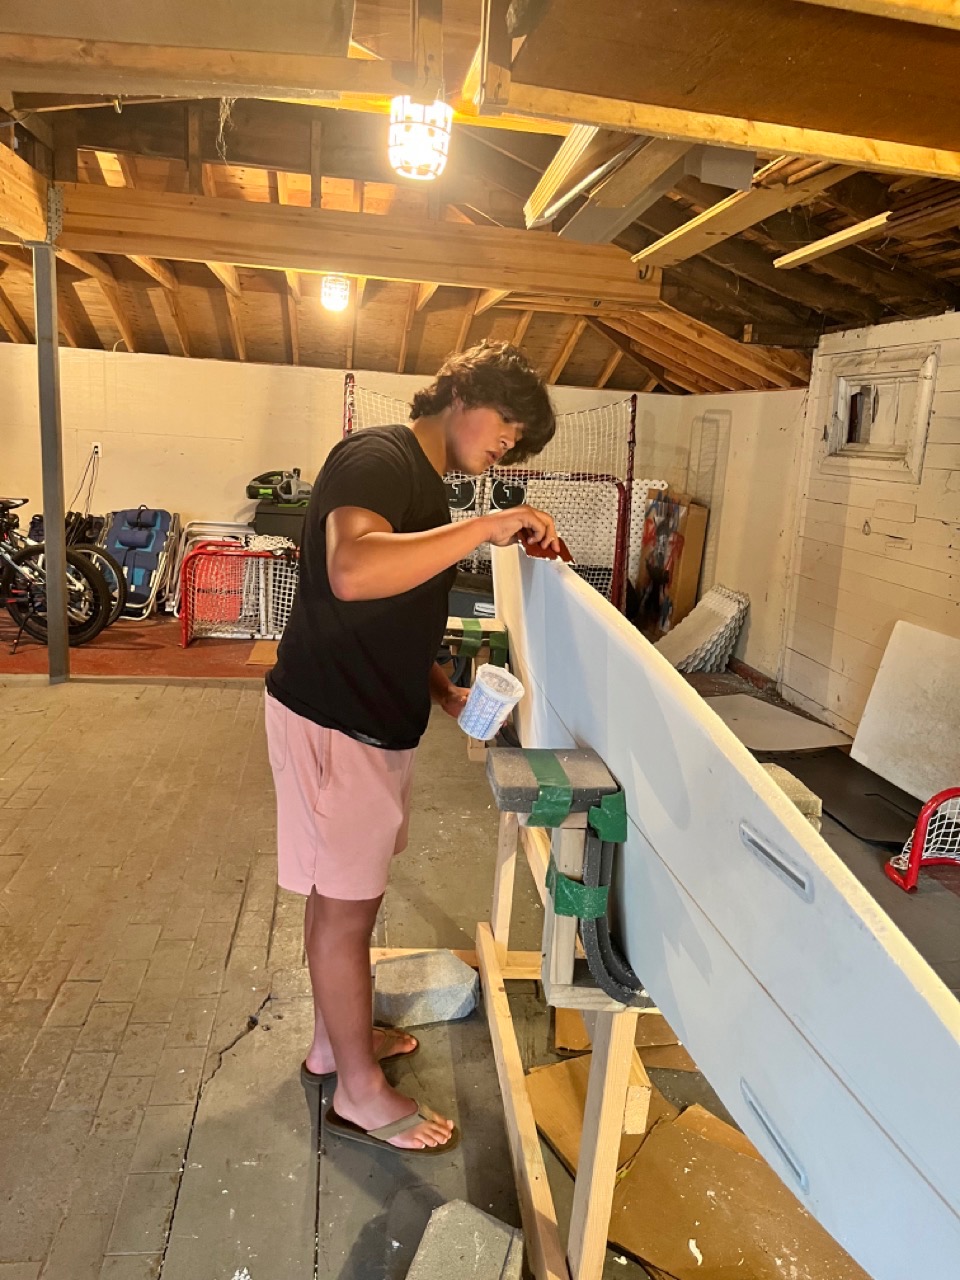
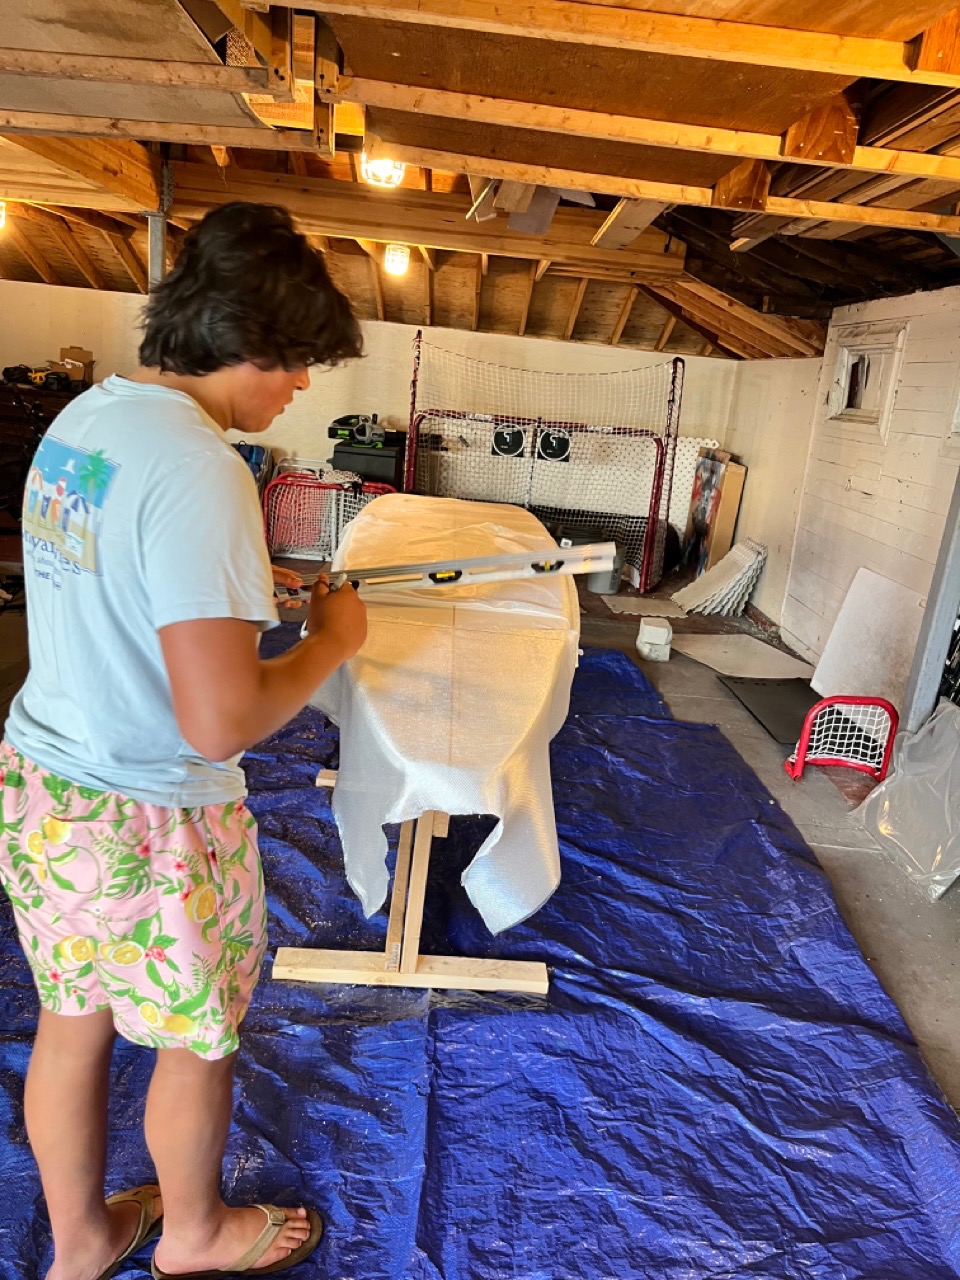
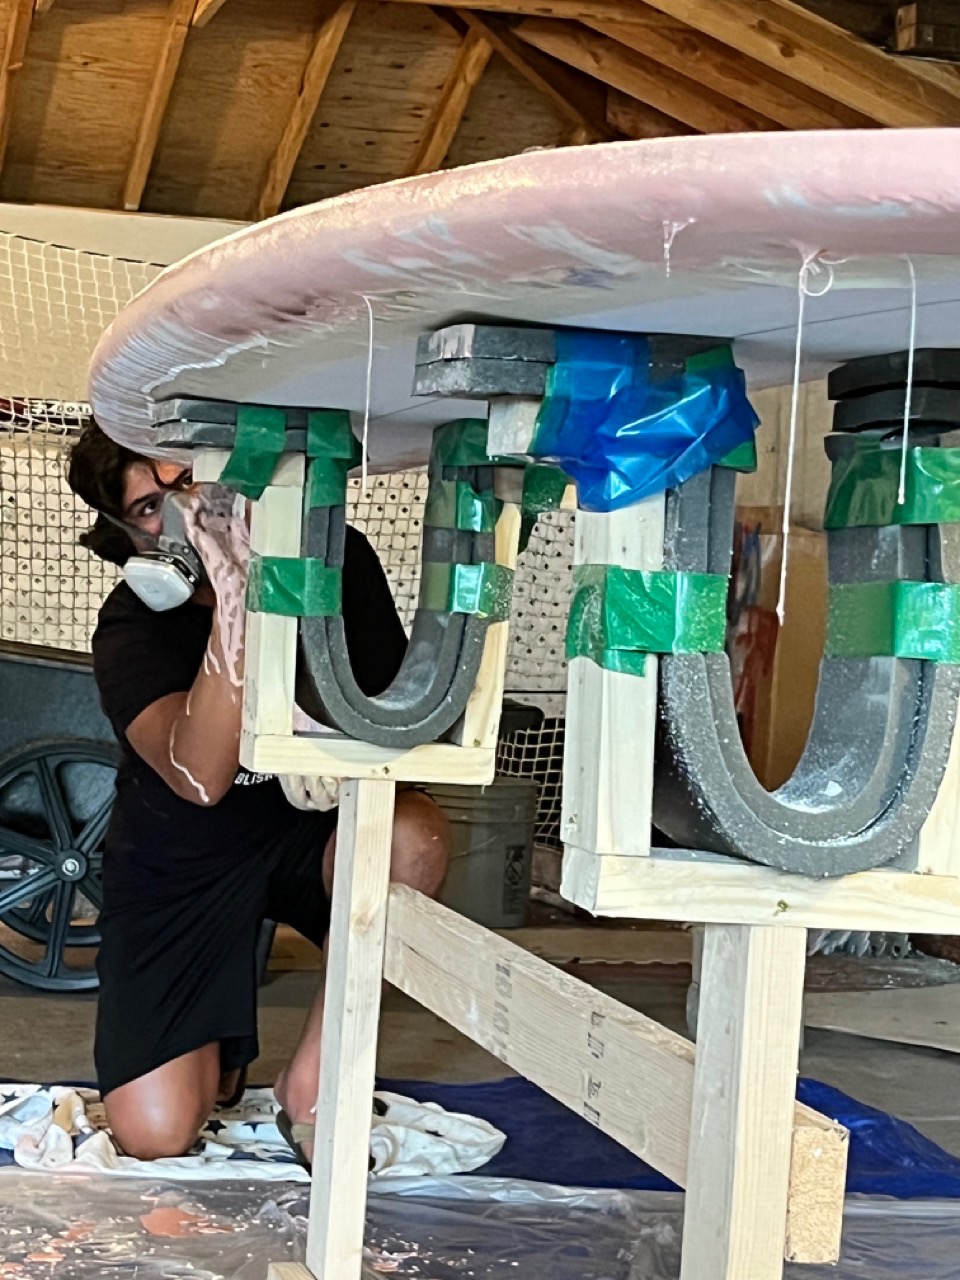
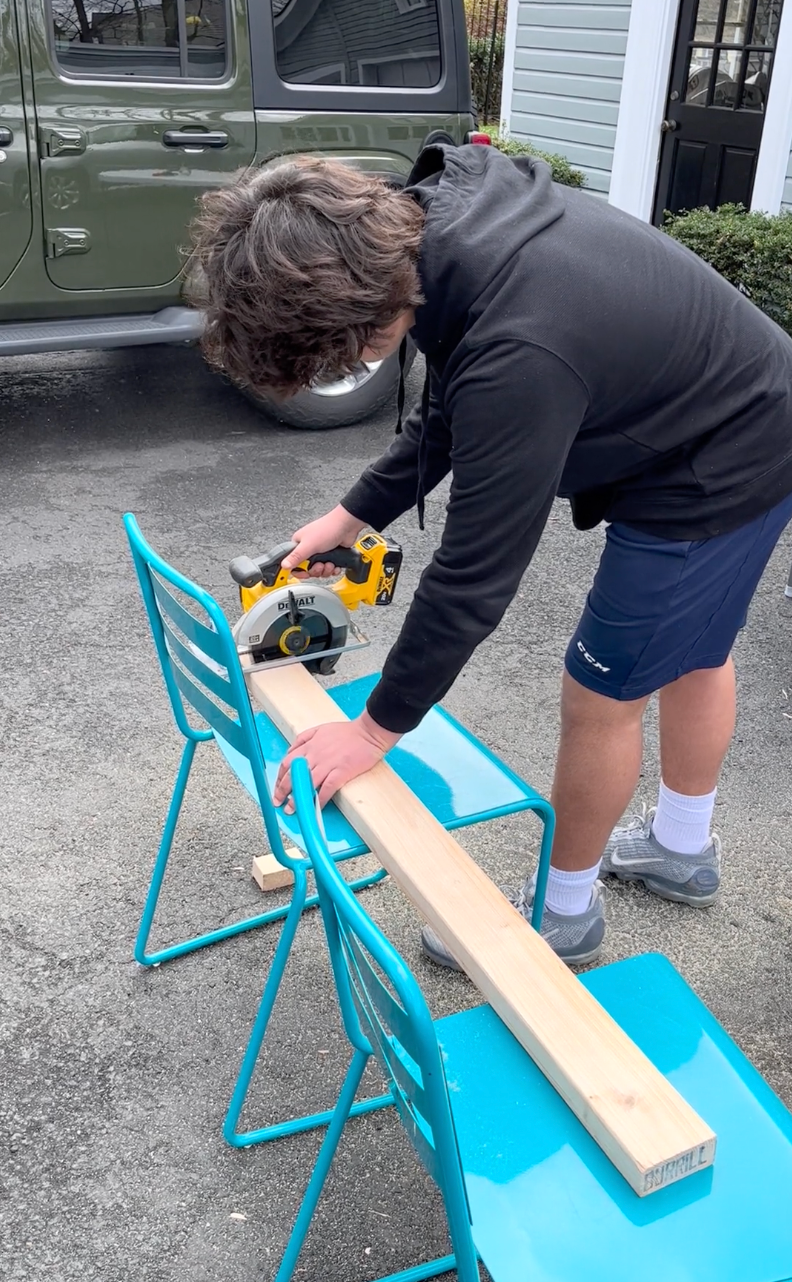
Setting Up - Building the Work Stand
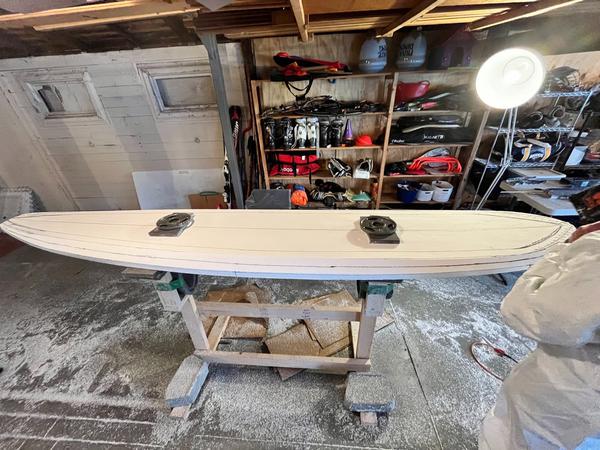
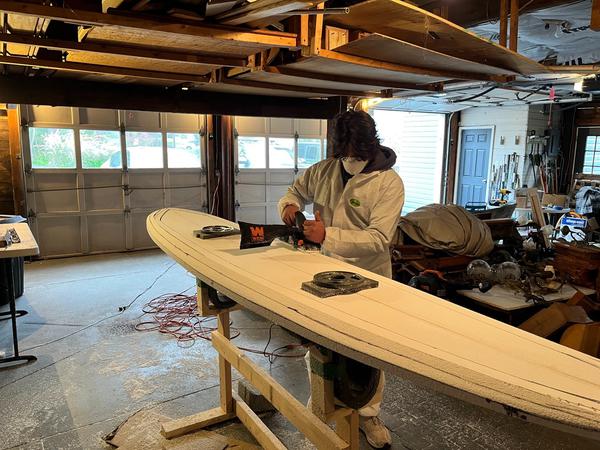
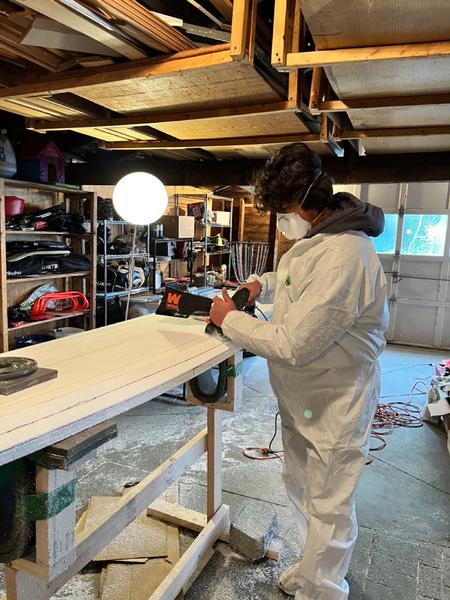
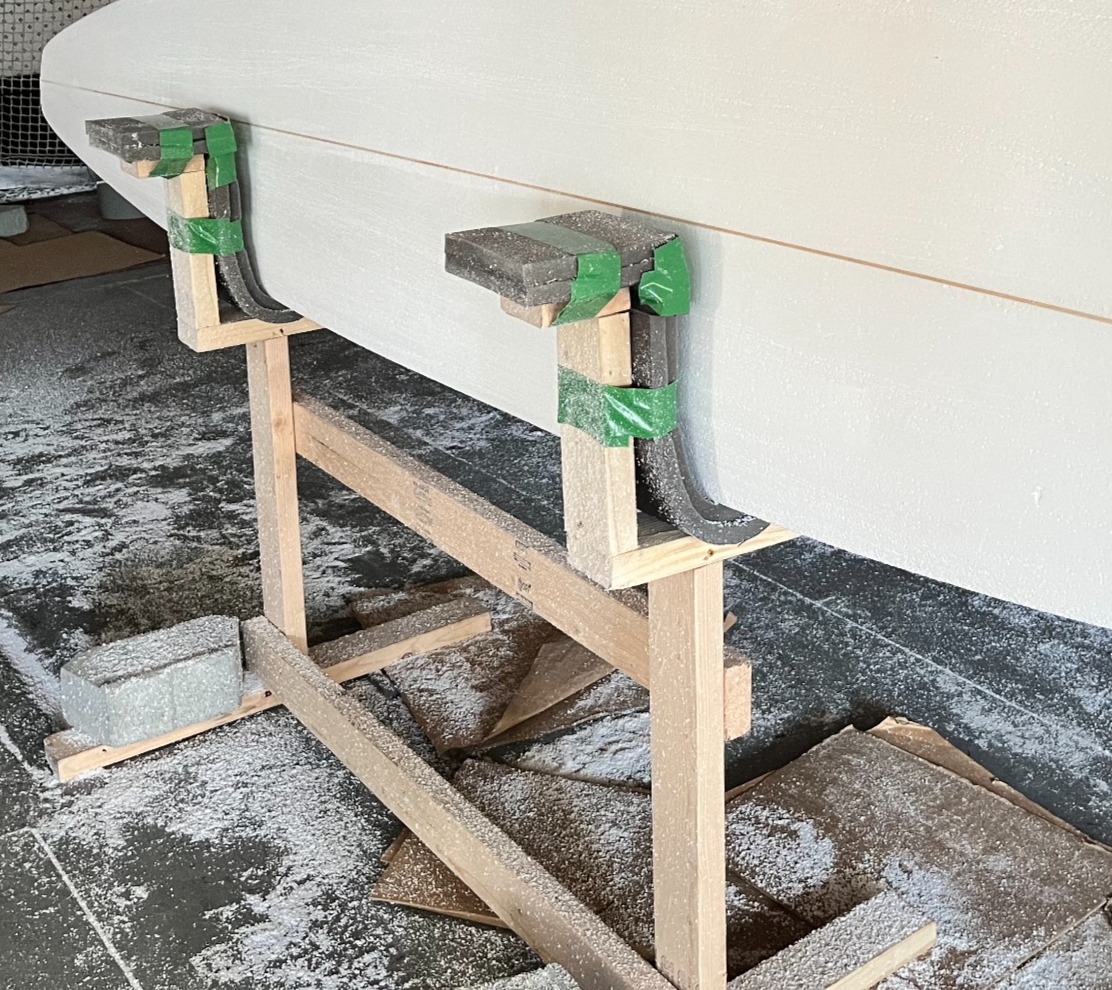
The work stand is a very important first step in a surfboard build because it is the area the shaper is using throughout the whole process. When building the stand it was very important that the stand remained level. Building the stand instead of purchasing one saved about $150.
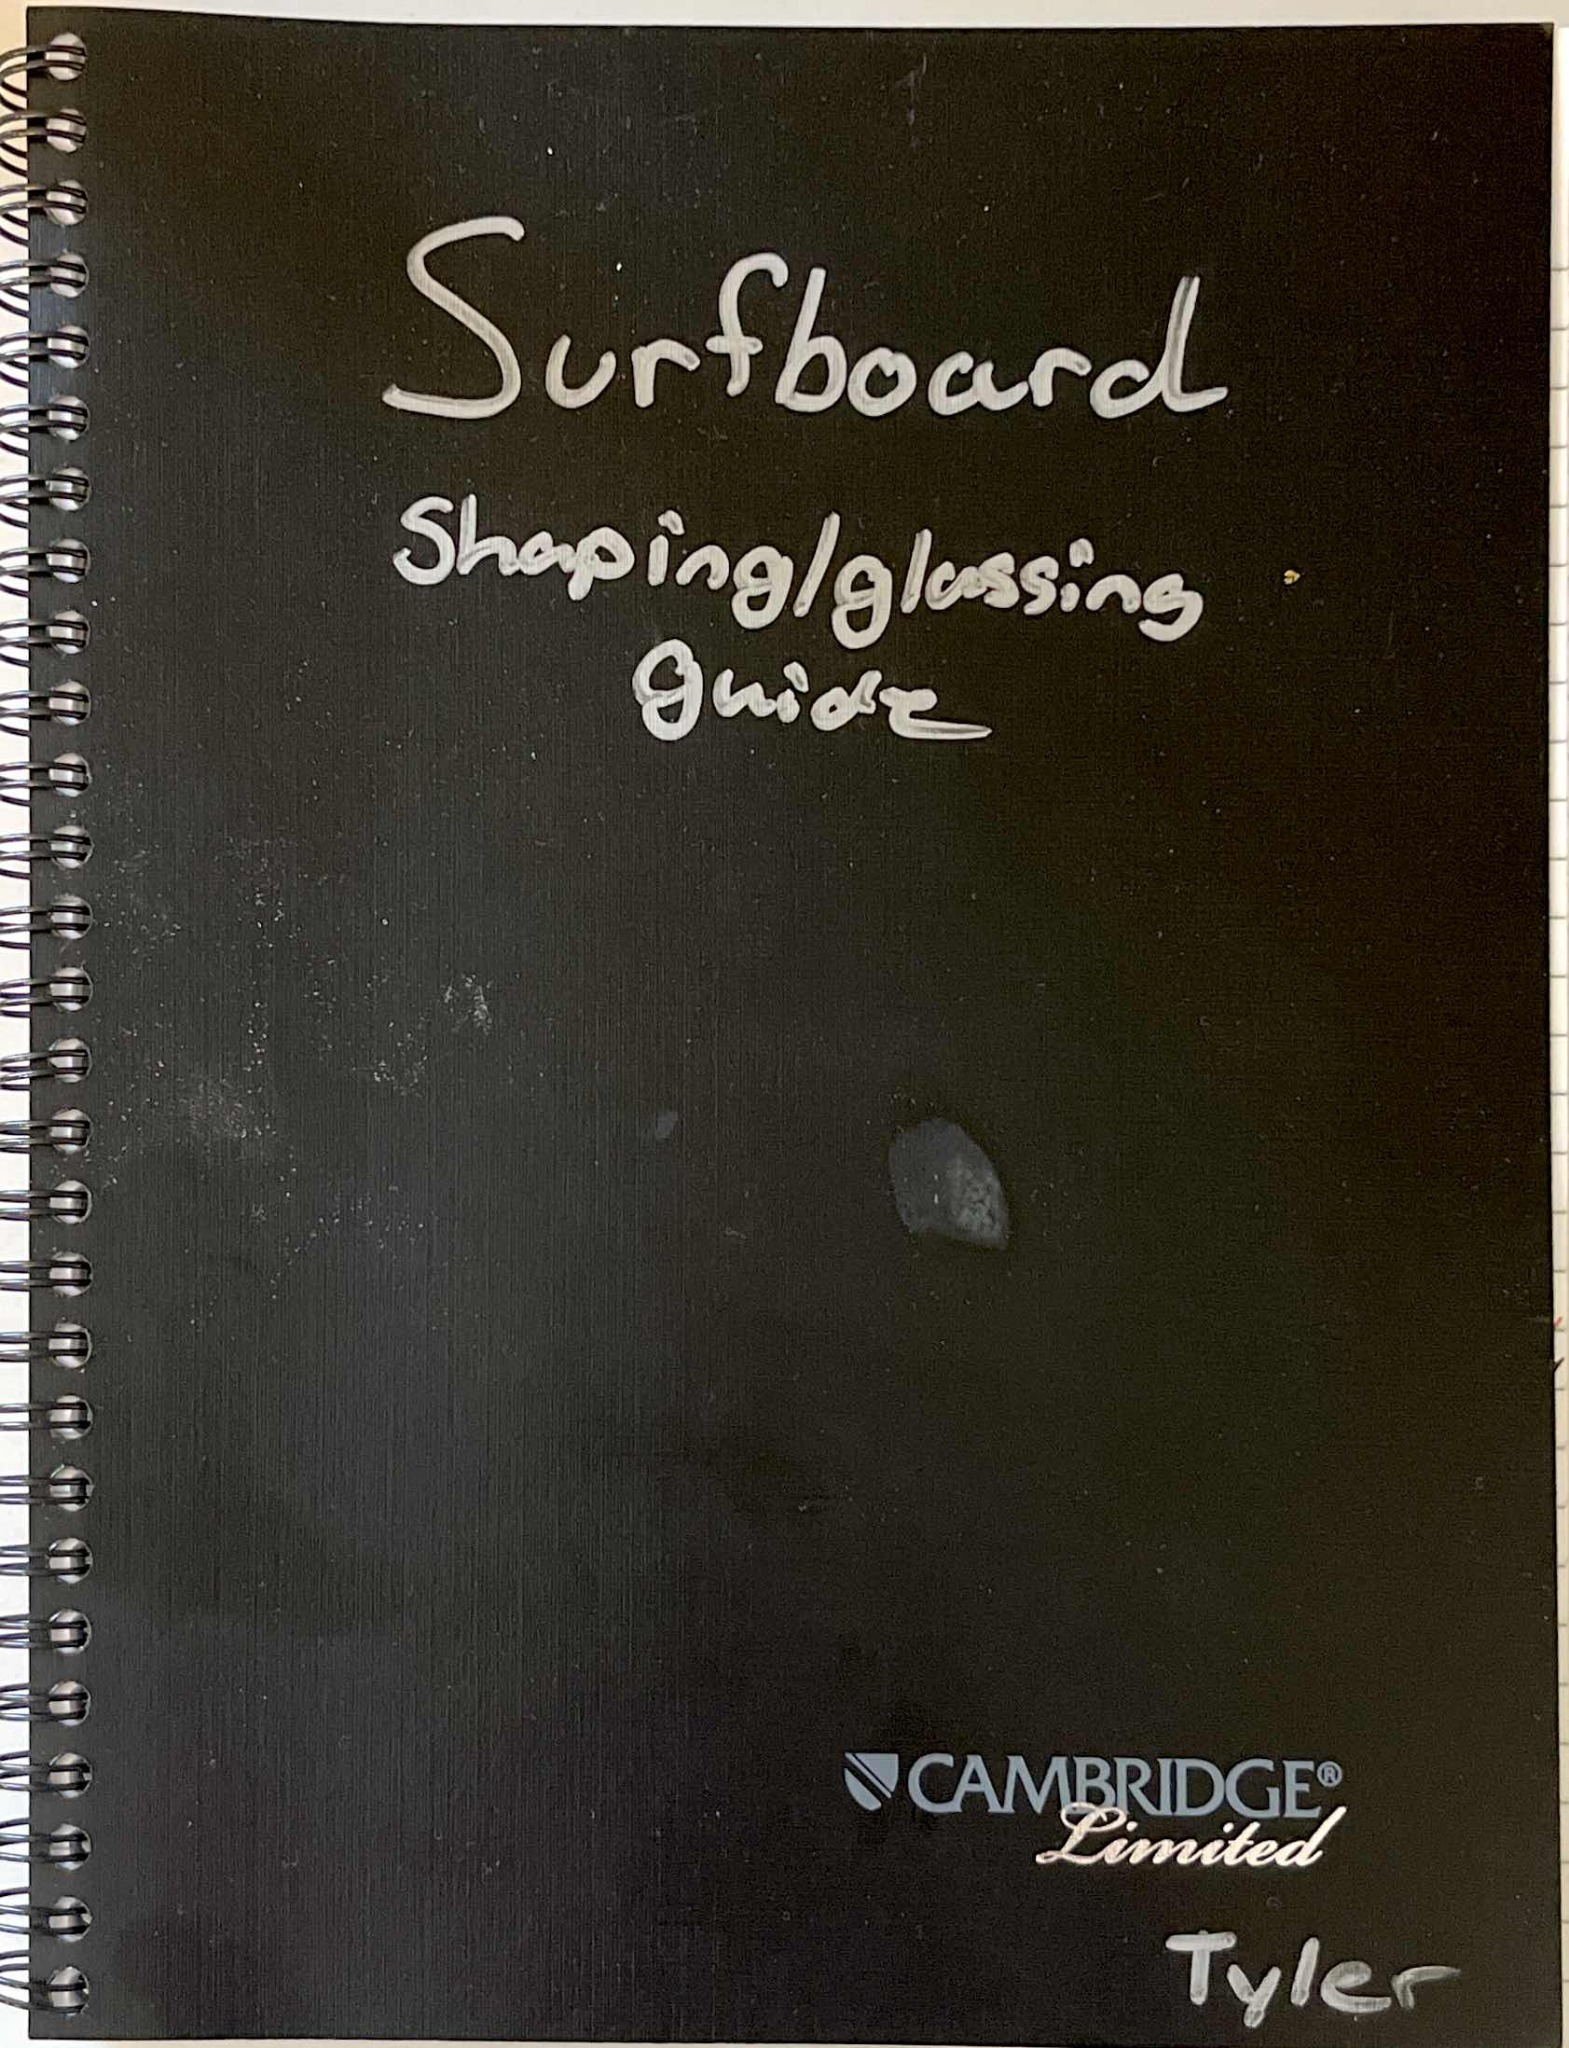
Before beginning the build I spent a few weeks researching all the materials and tools I would need and then created a notebook with all the steps and drawings before I started. Below is a flipbook of the guide I created.
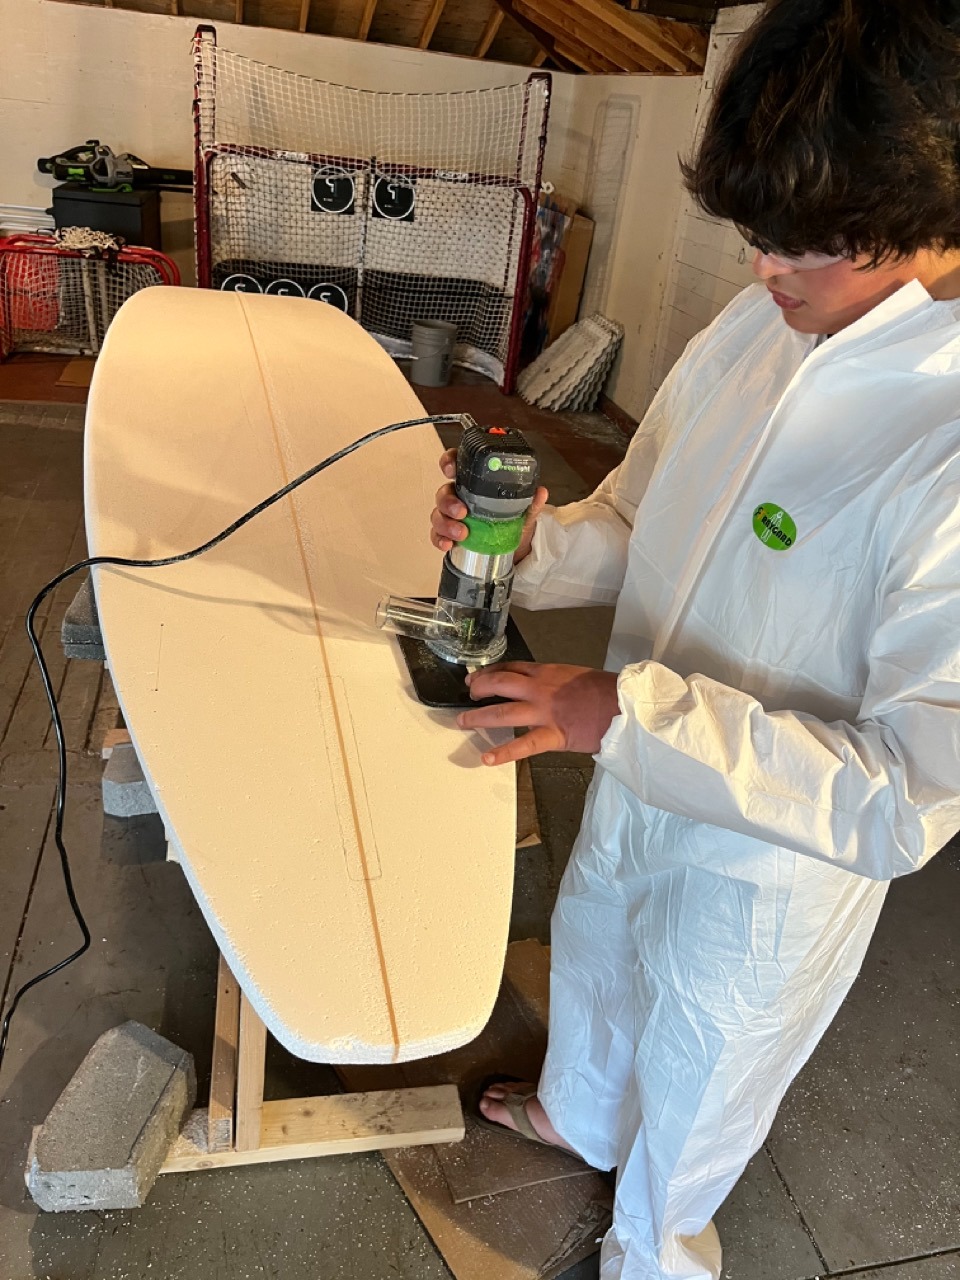
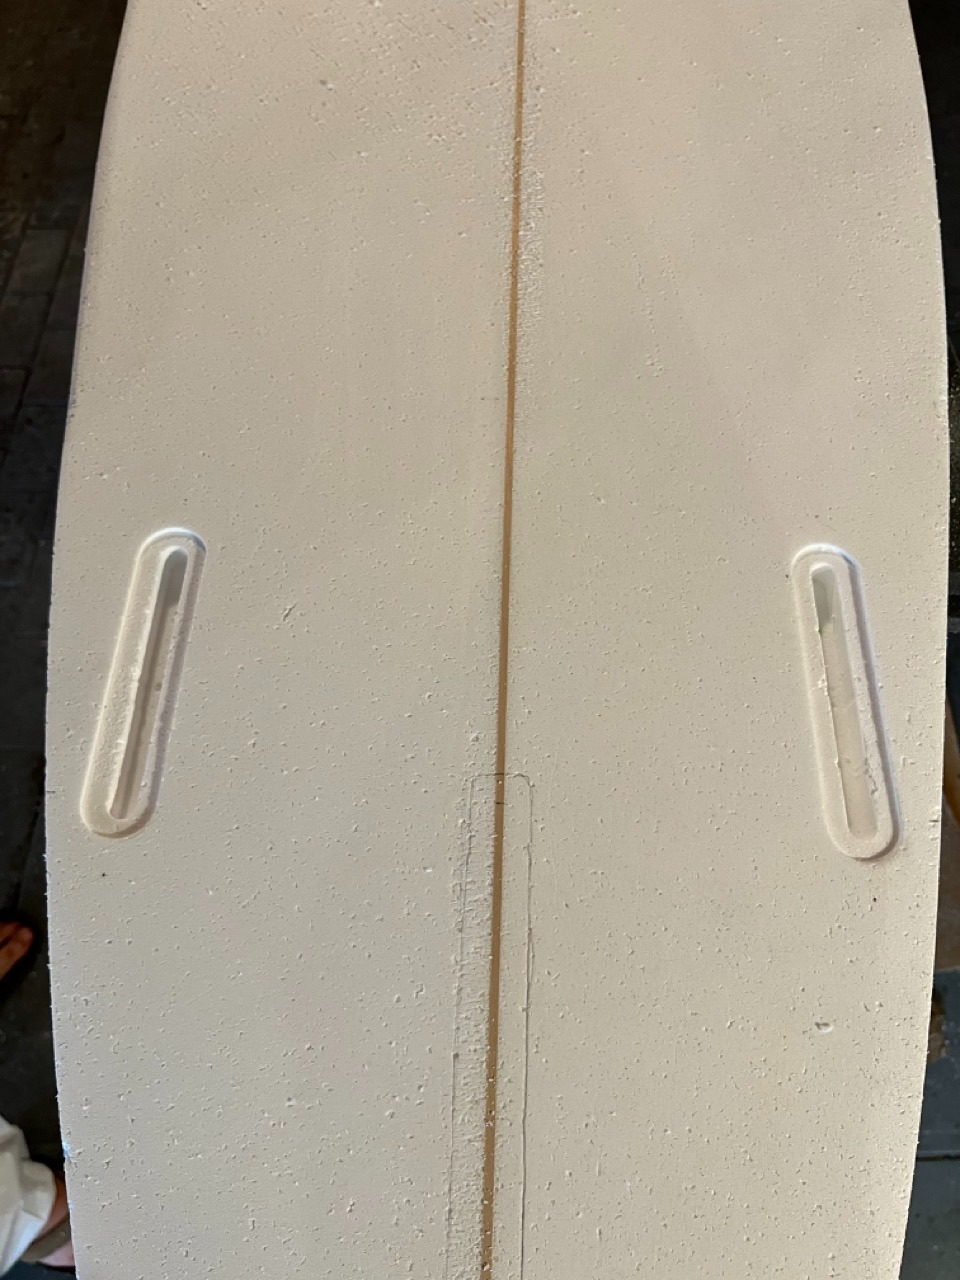
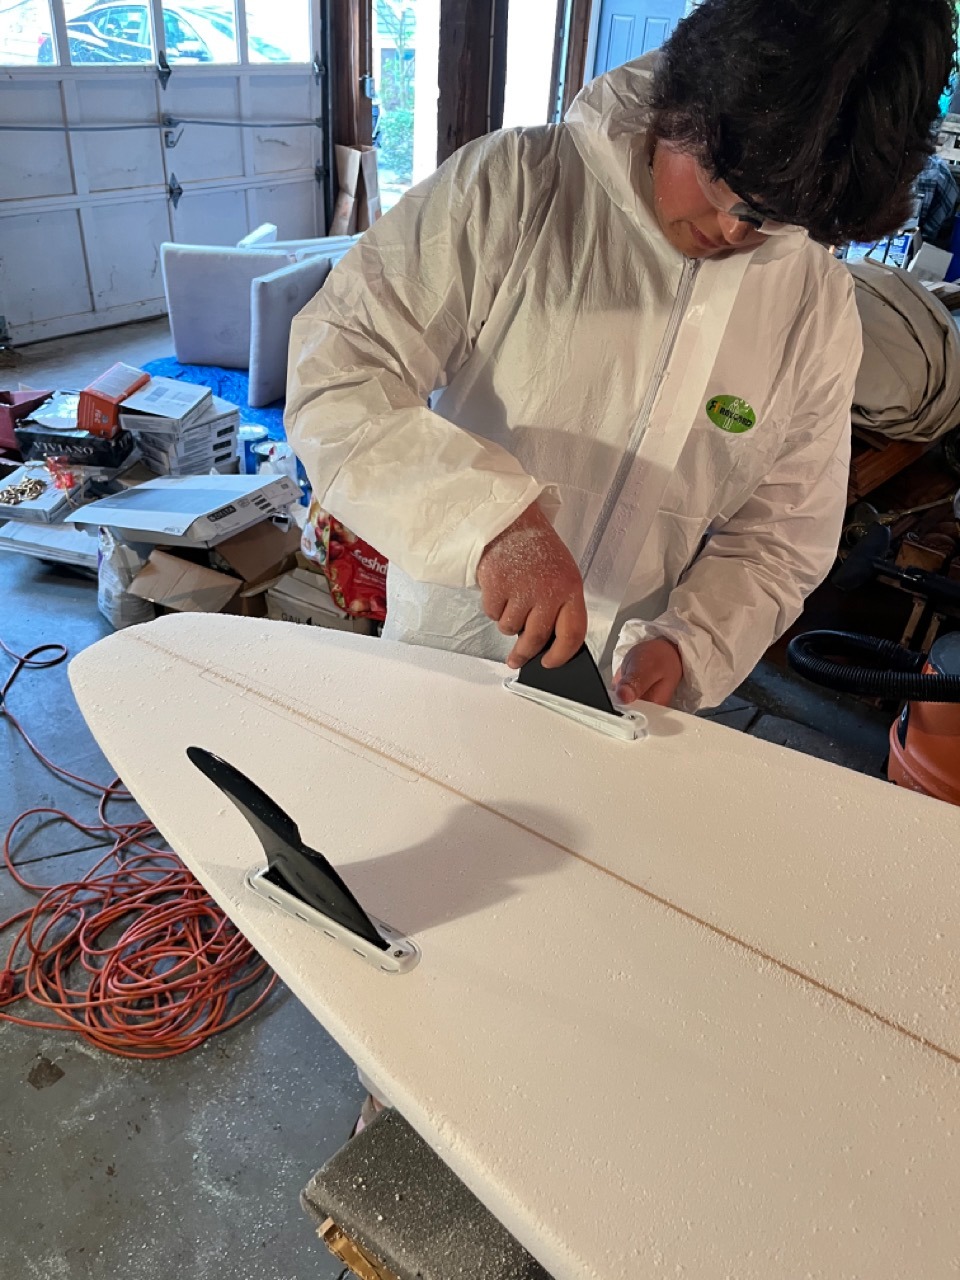
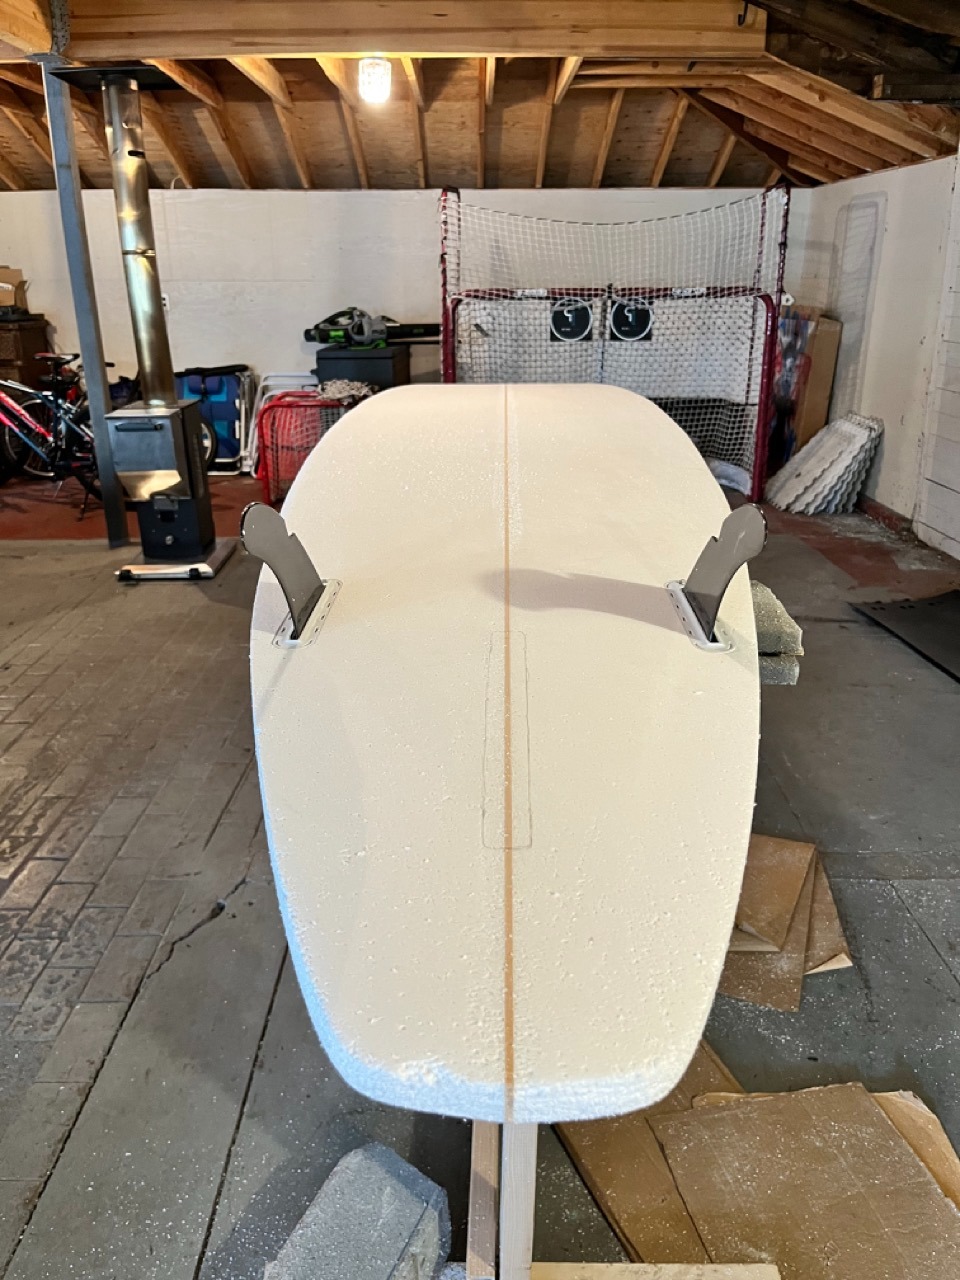
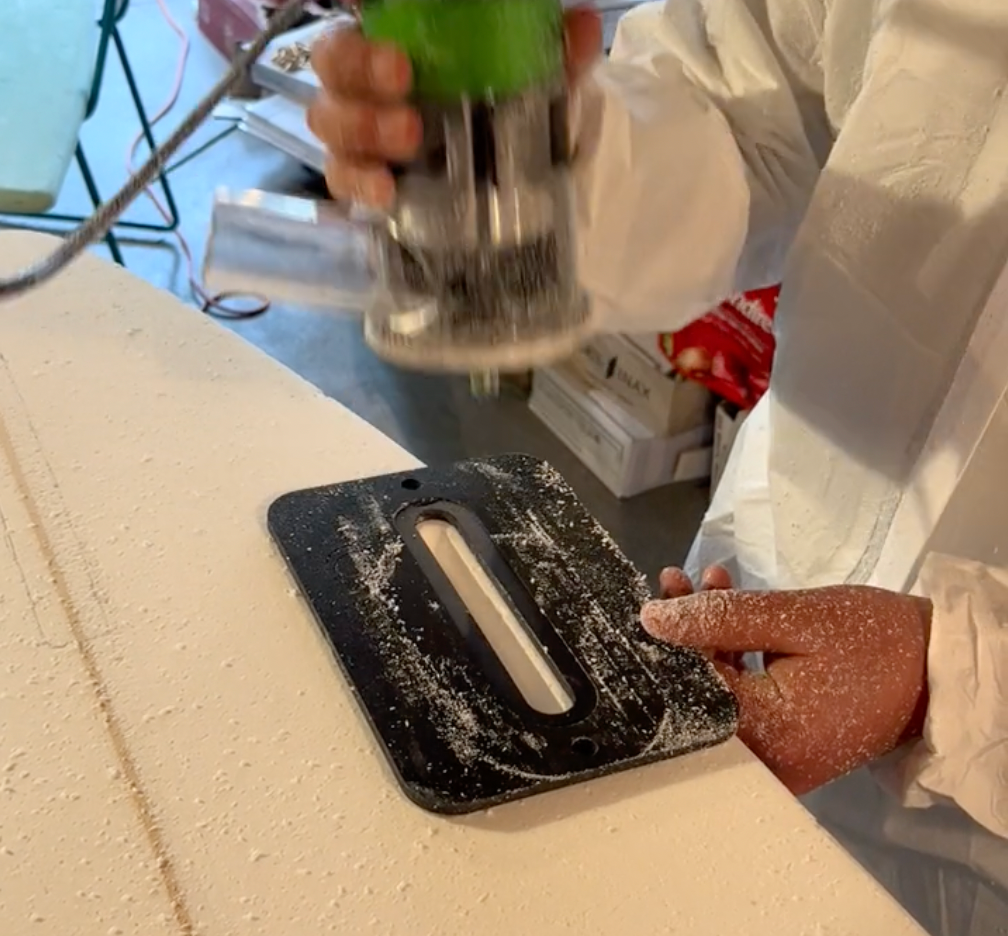
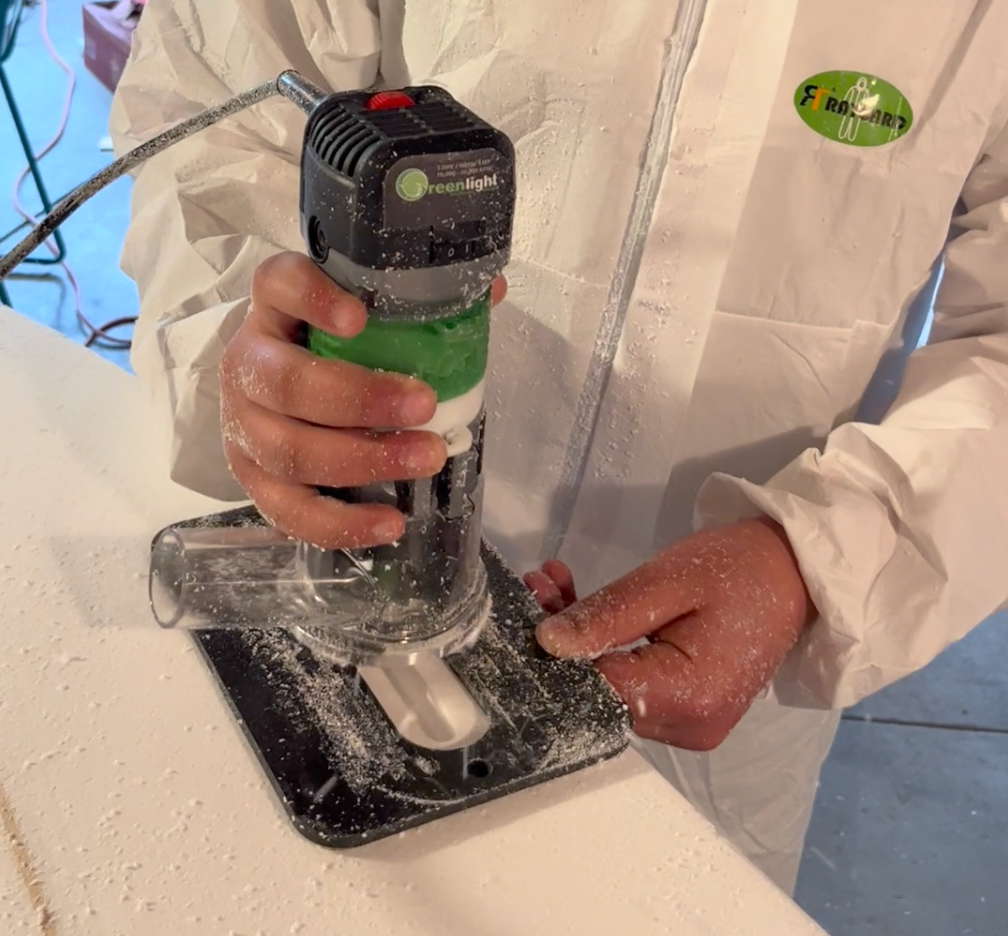
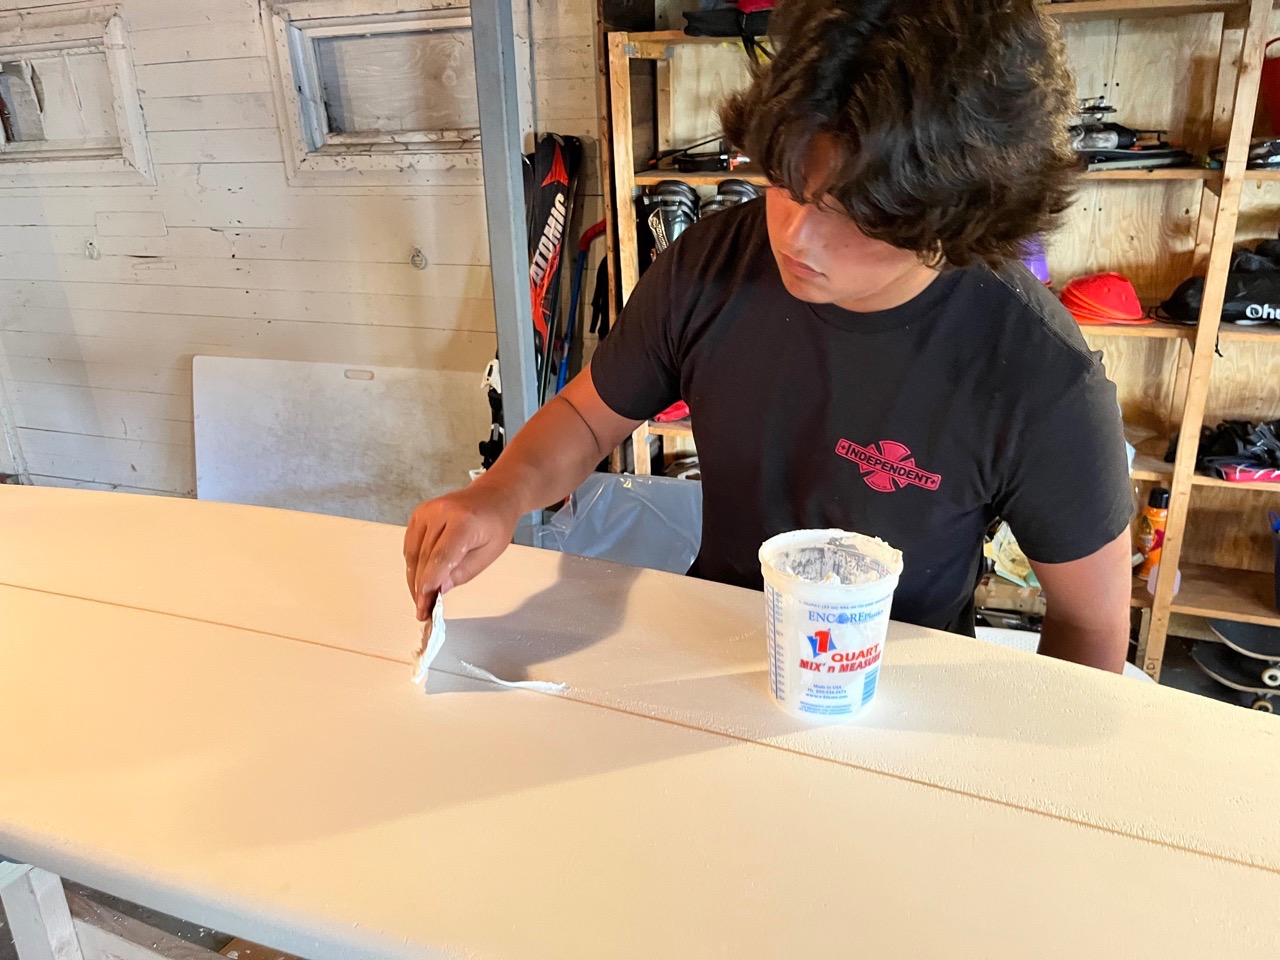
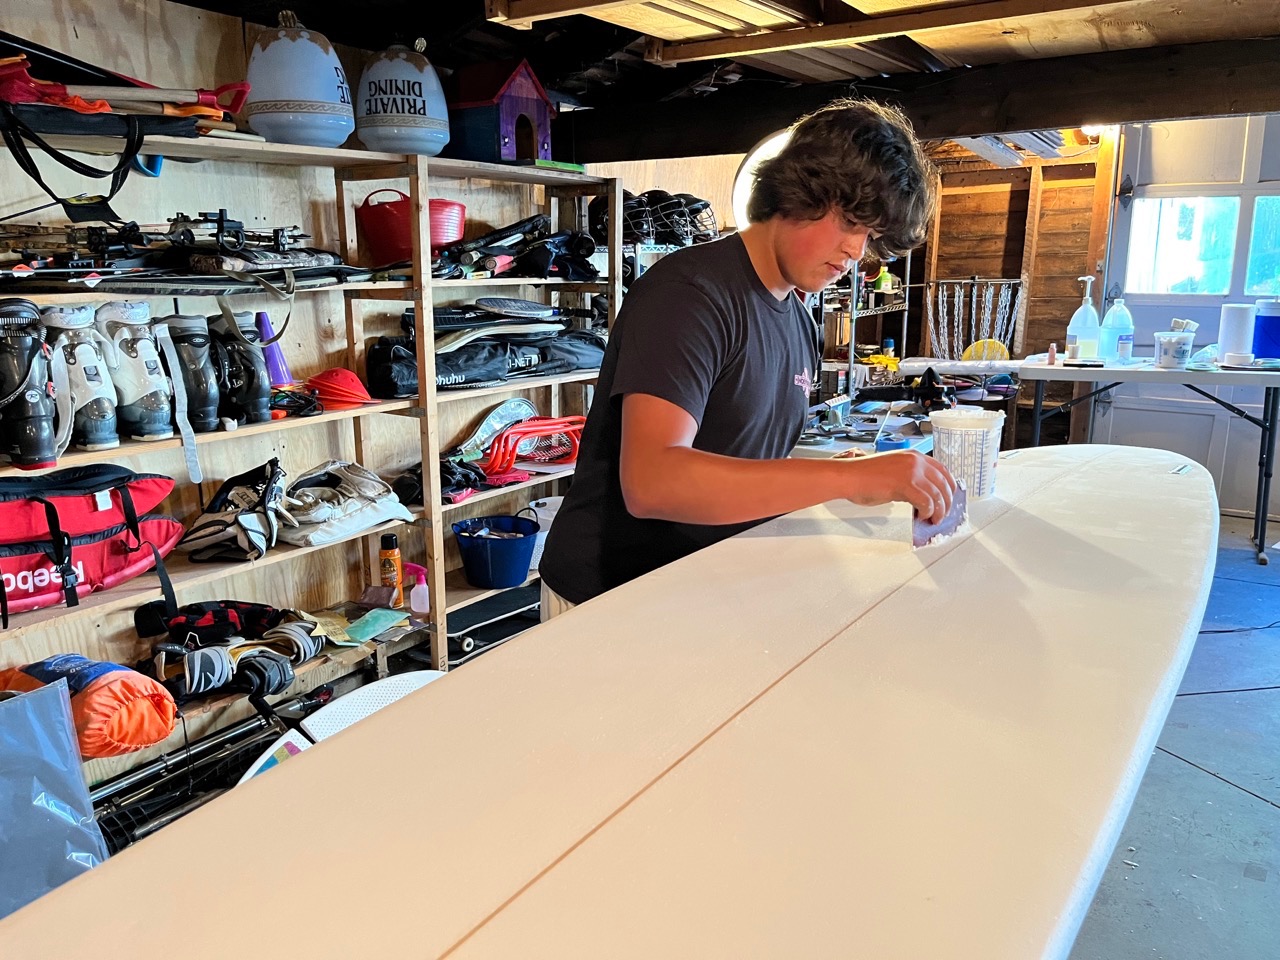
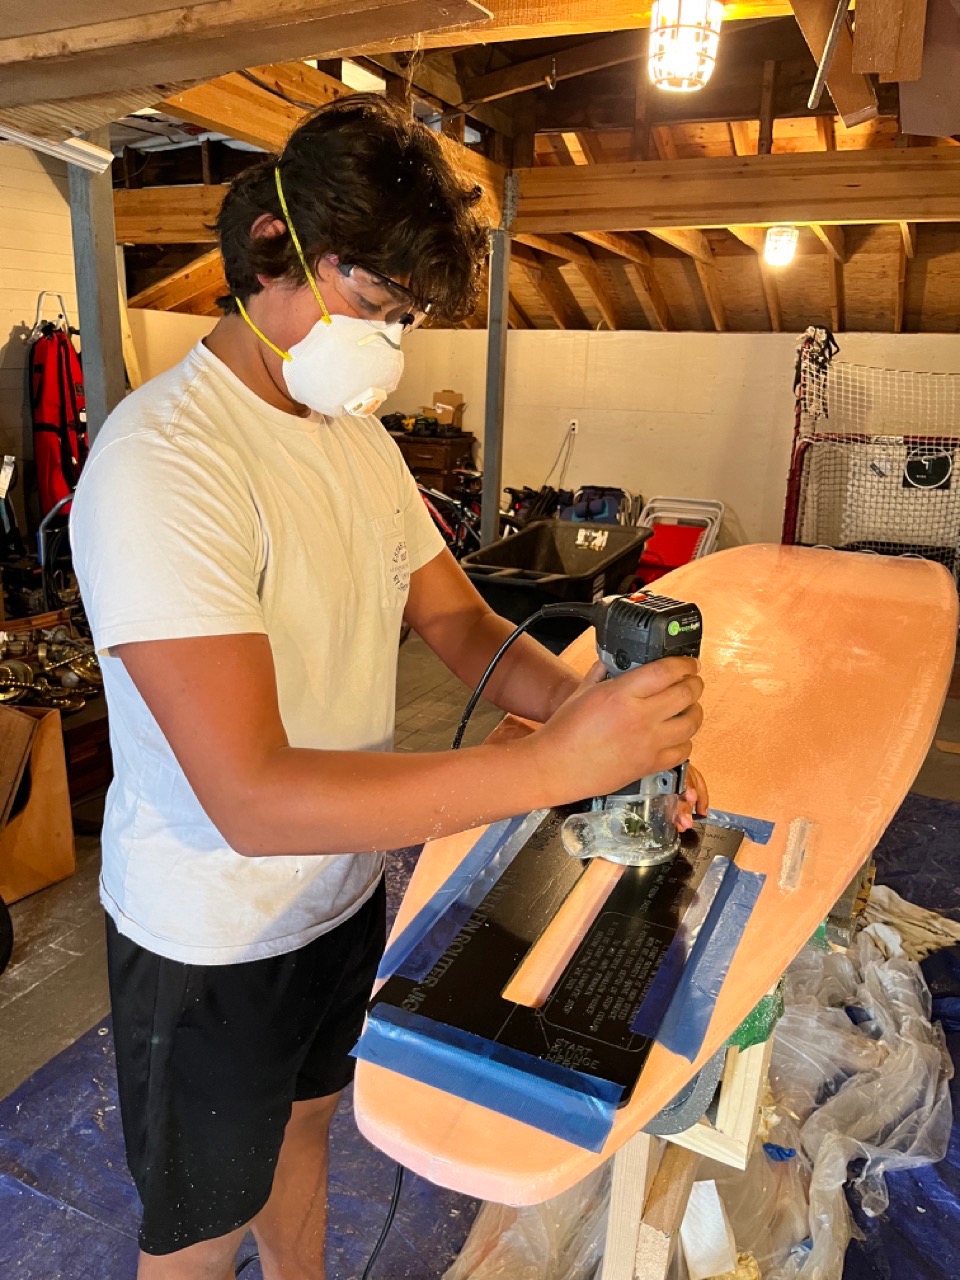
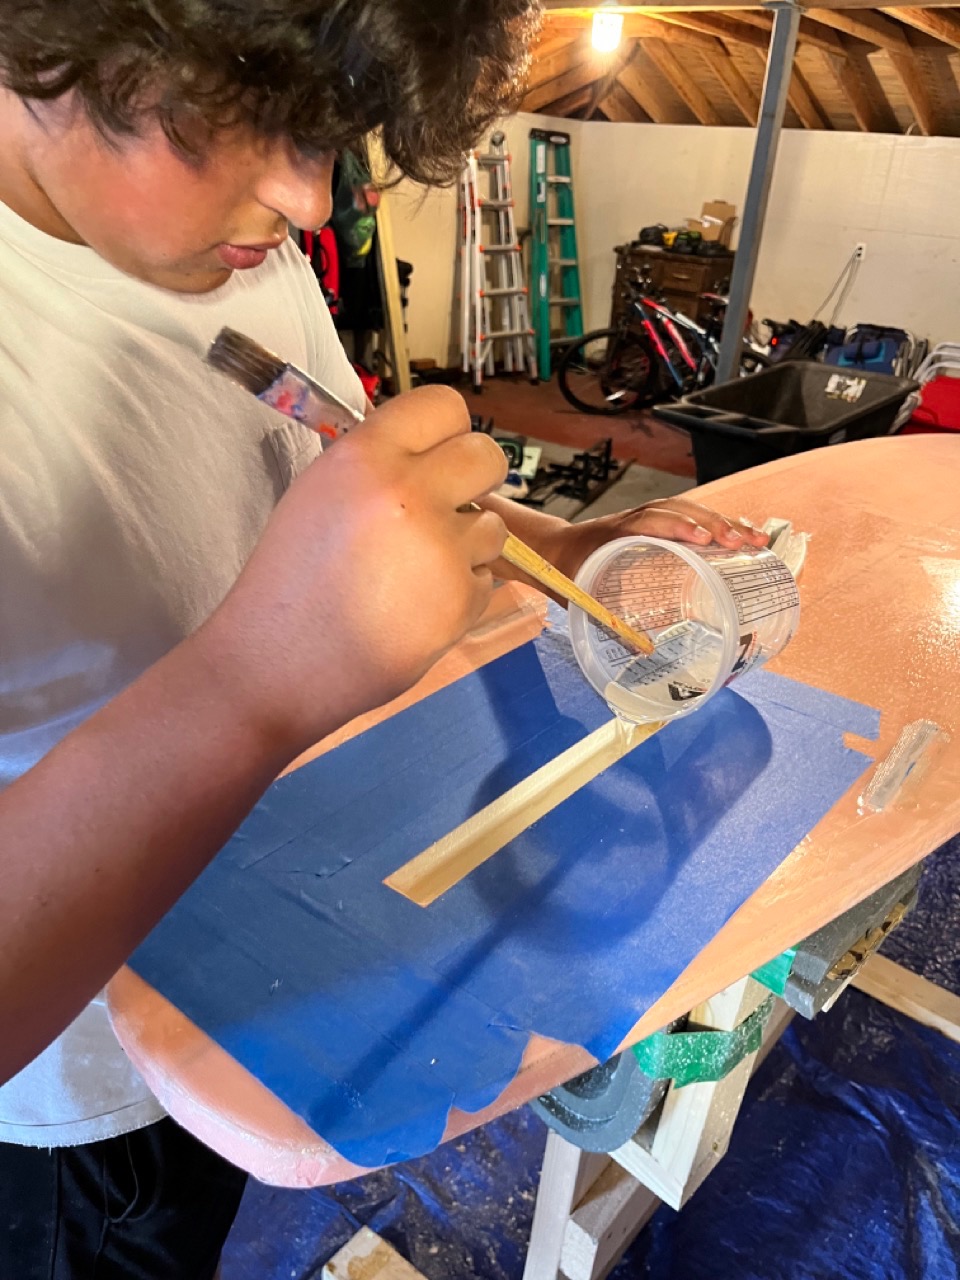
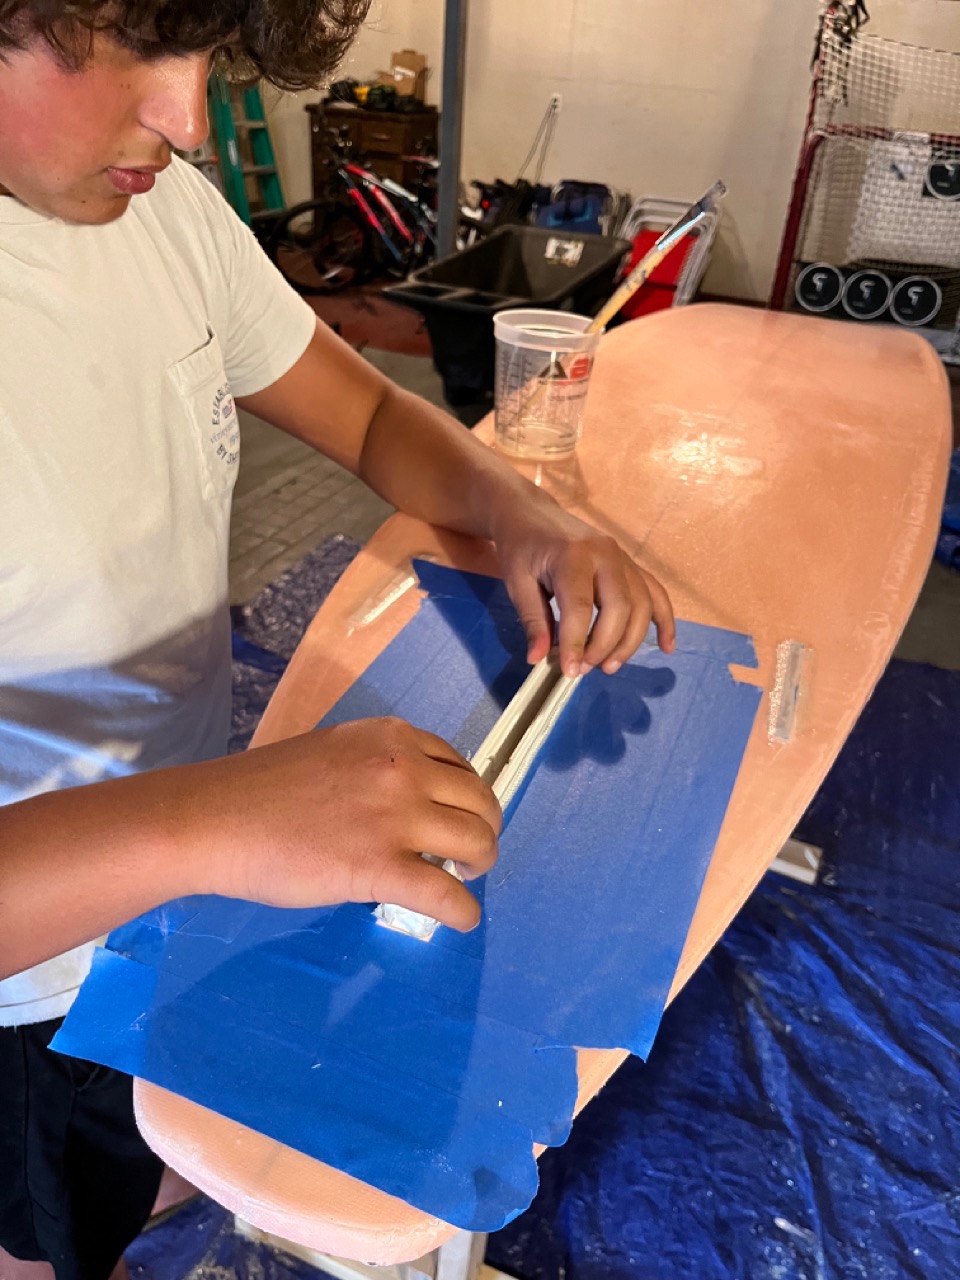
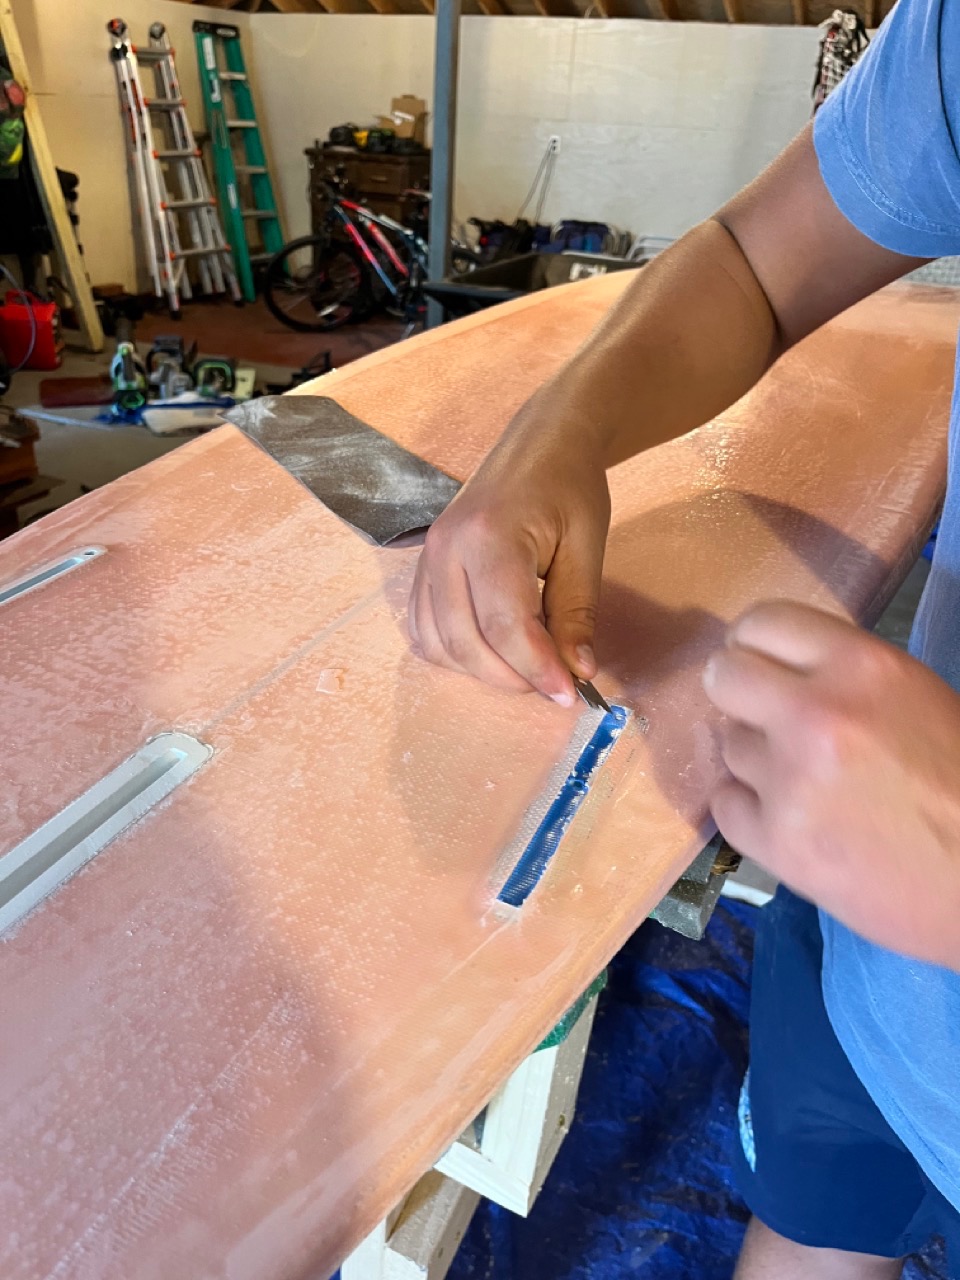
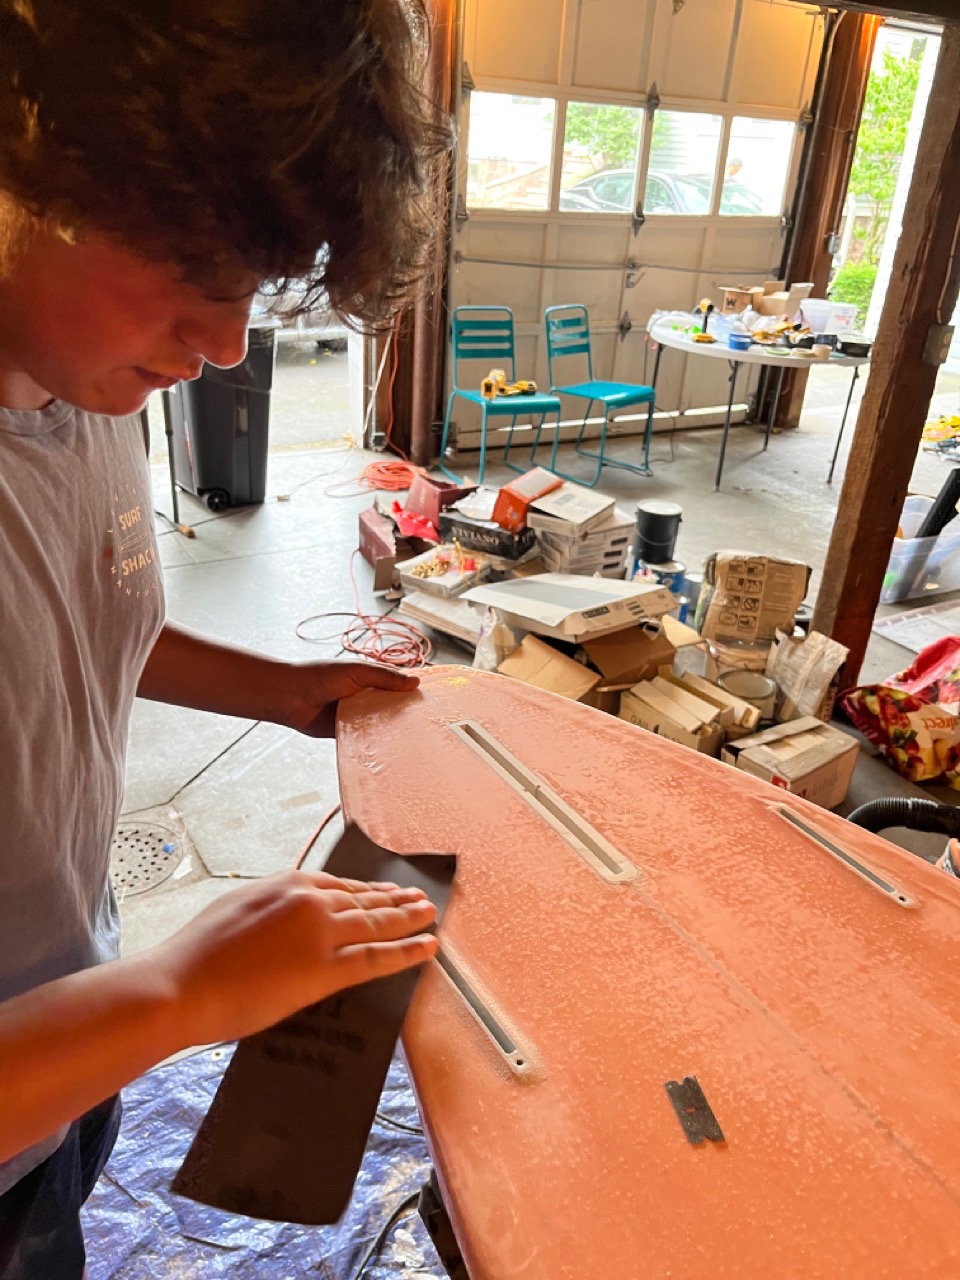
Fin Boxes
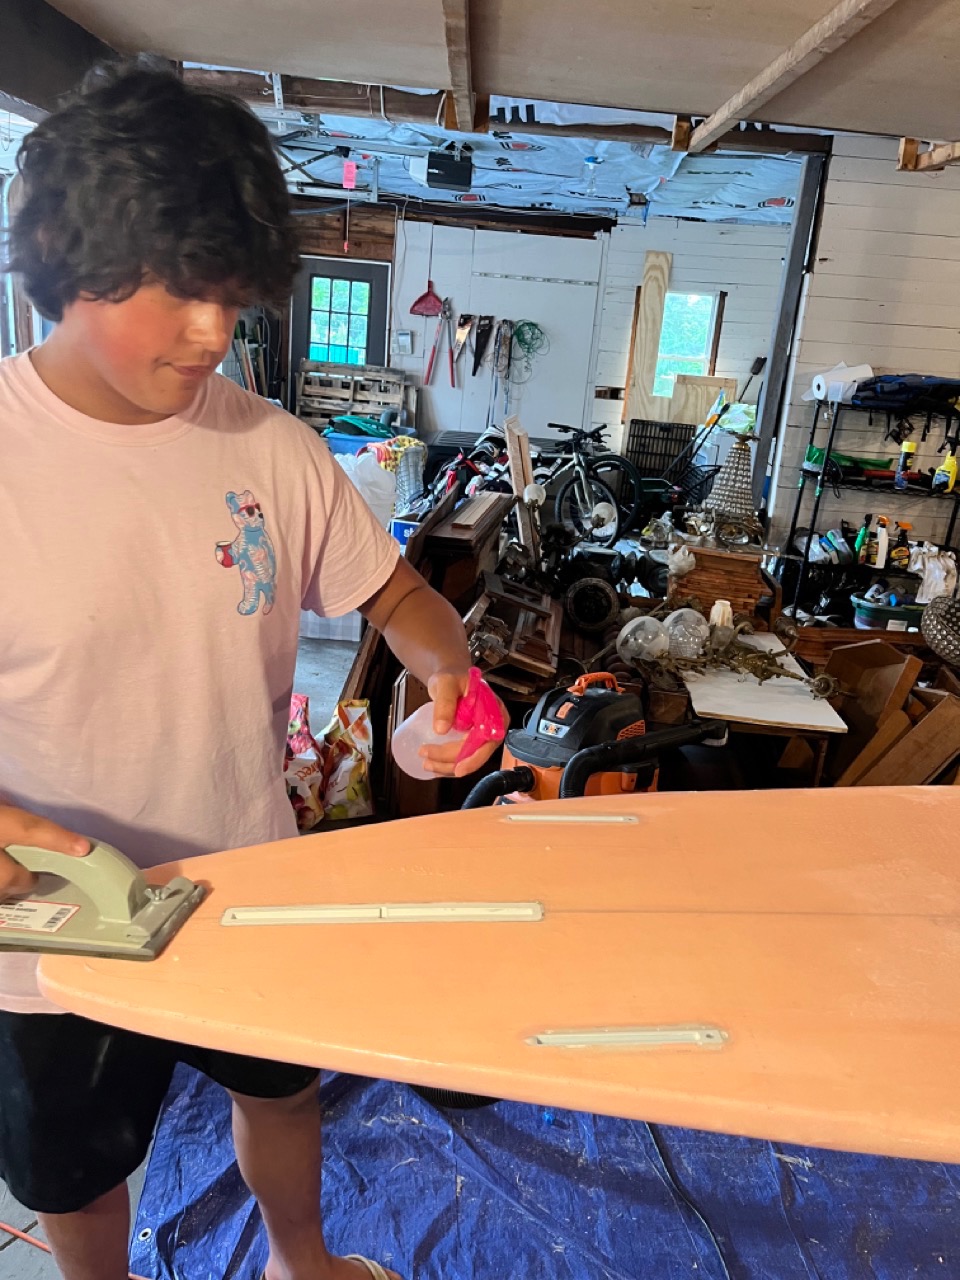
Creating the slot where the fin boxes will sit is a very important step. If the there is not symmetry between the fin boxes the board will not ride well. There could be pull or wobble.
Glassing & Tinting
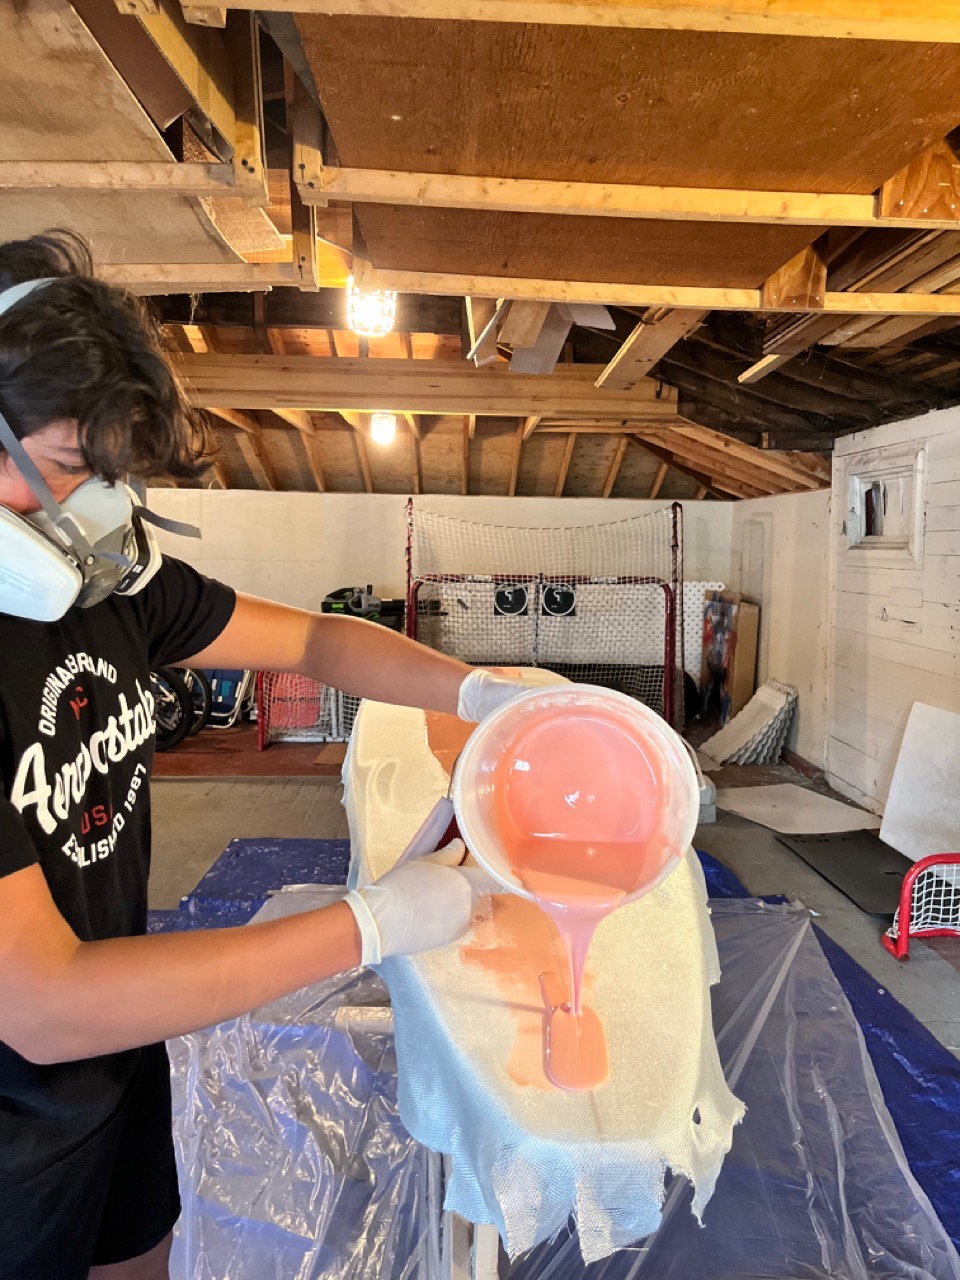
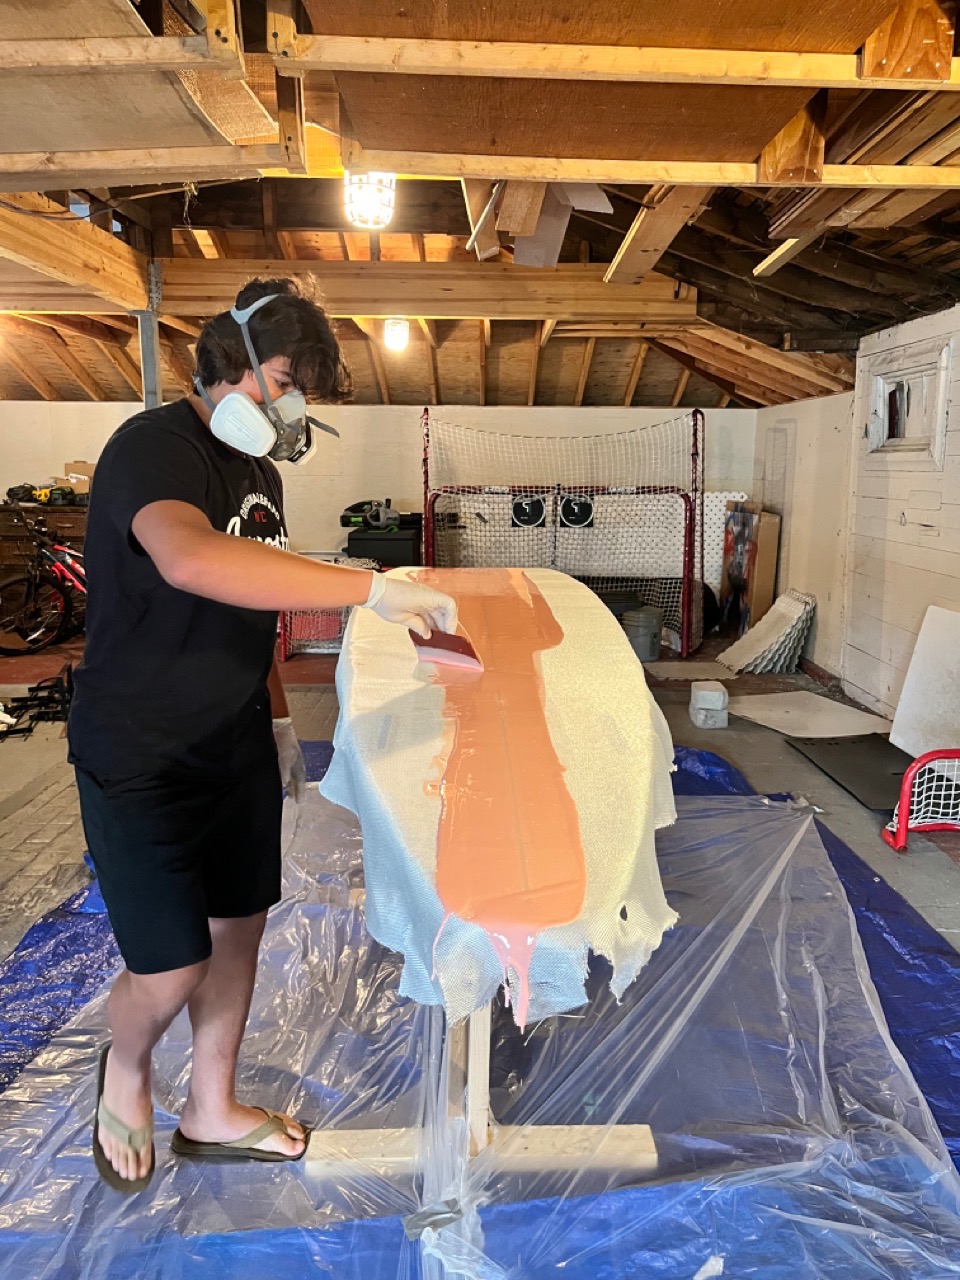
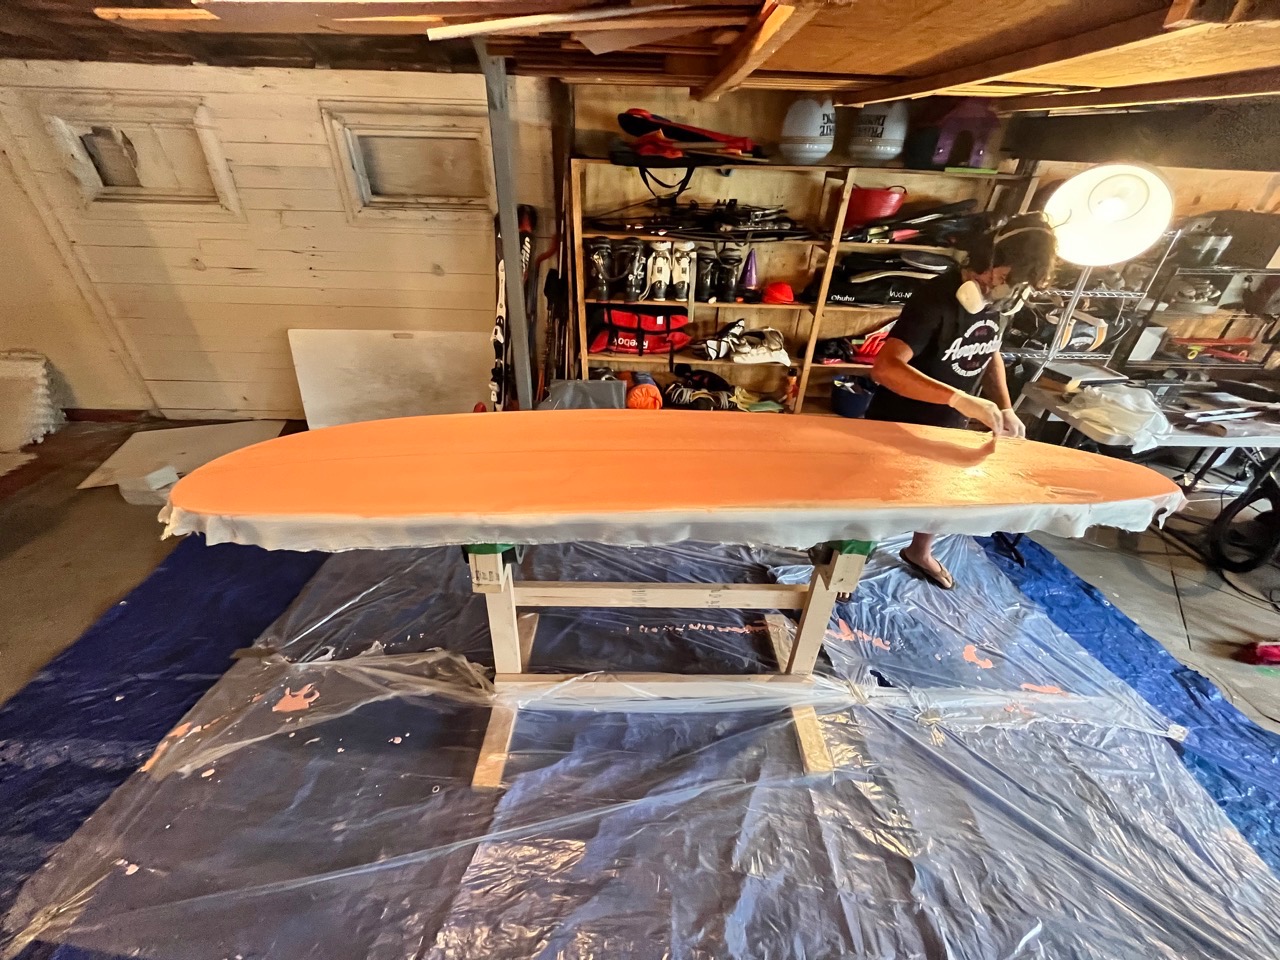
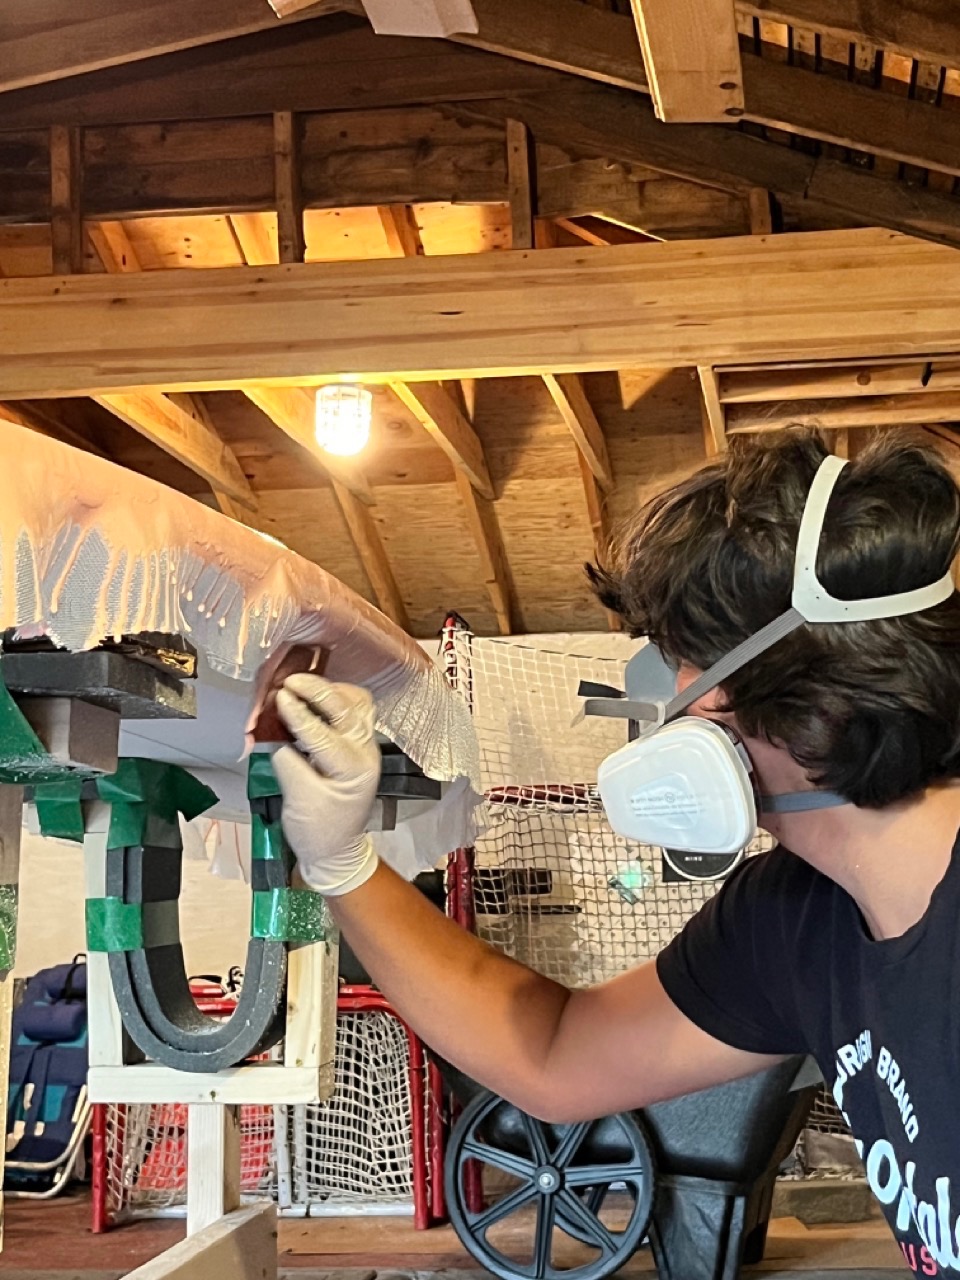
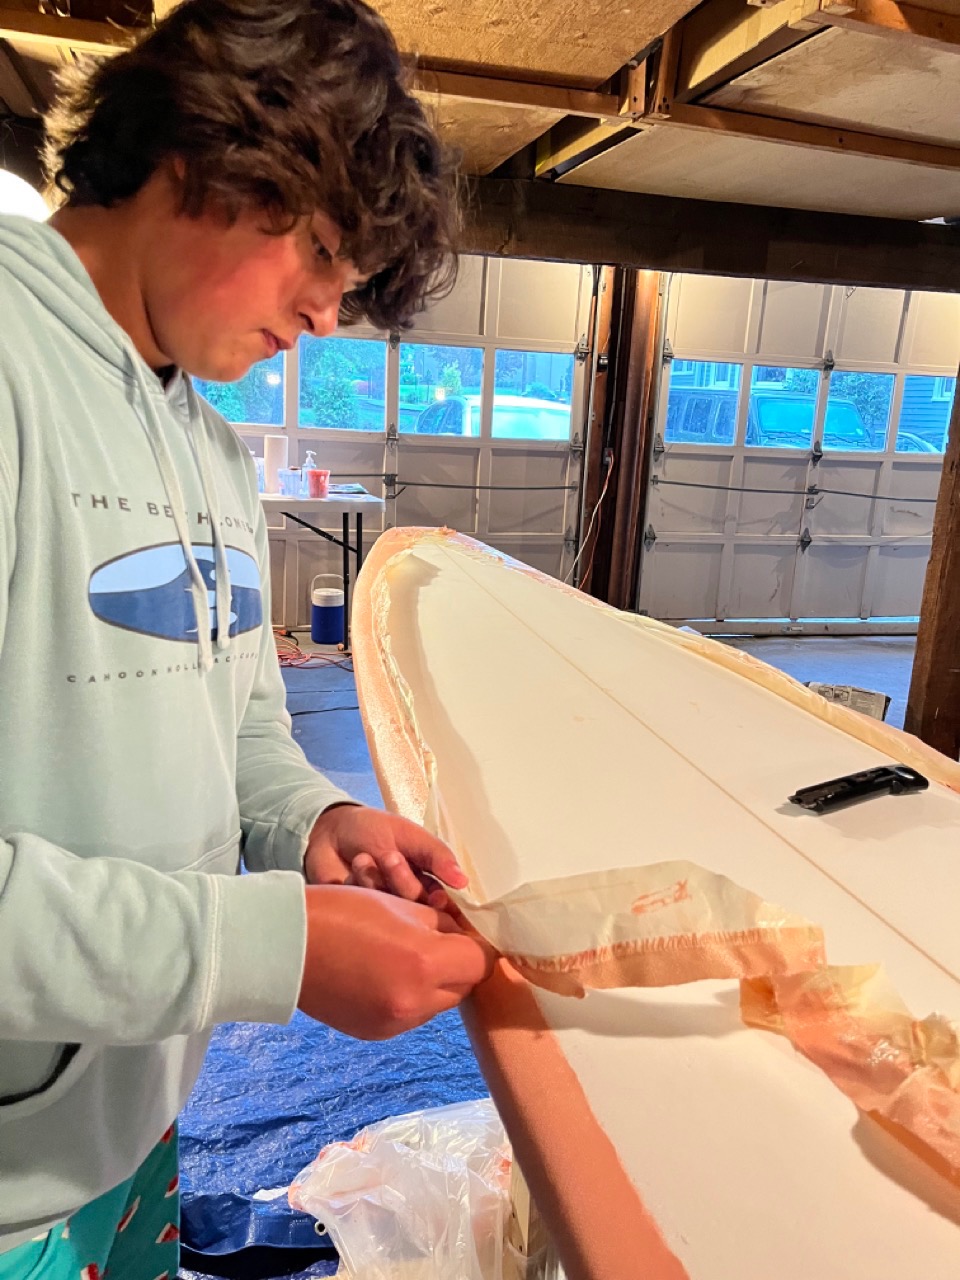
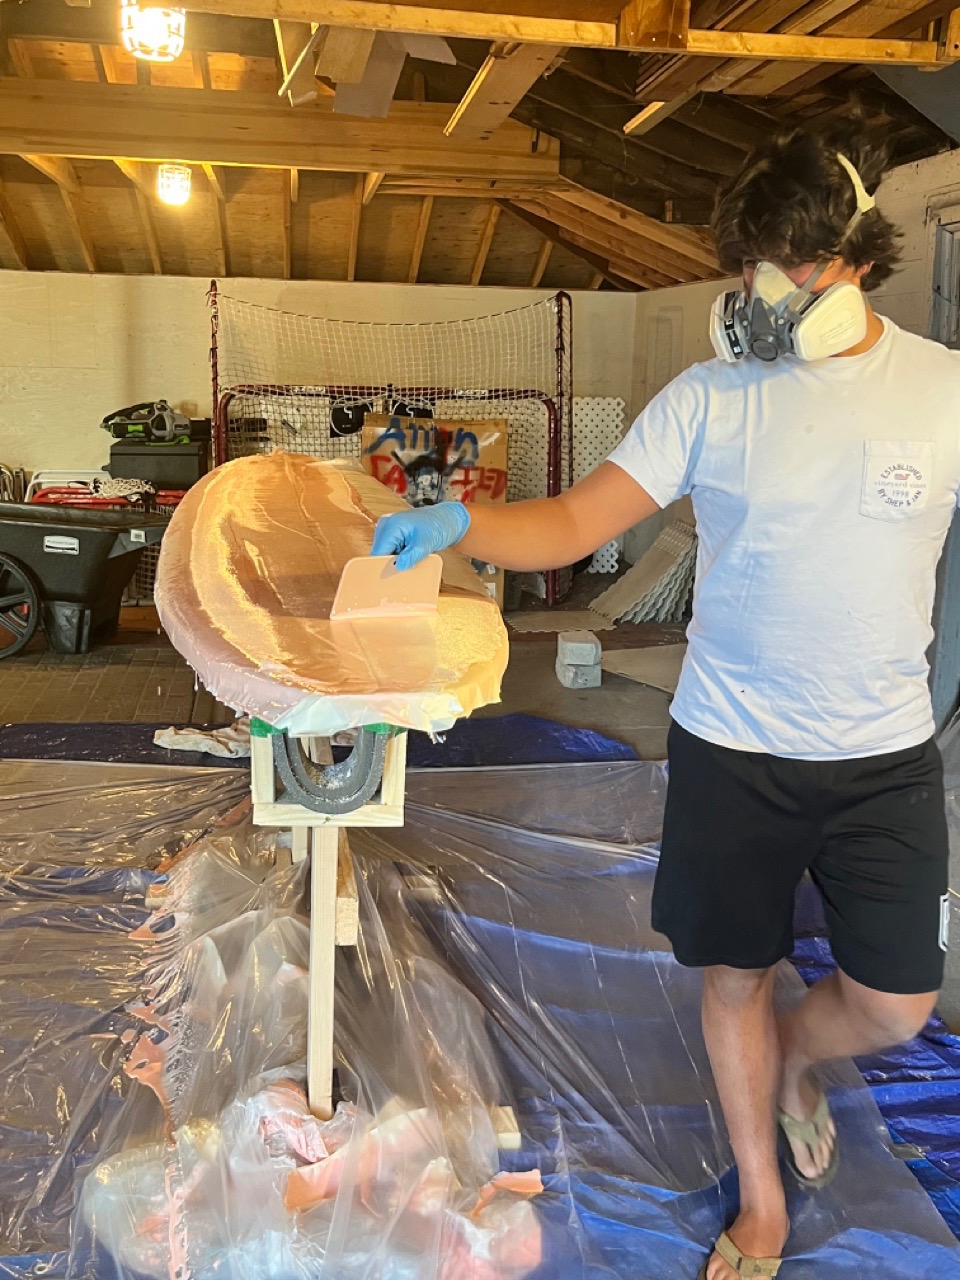
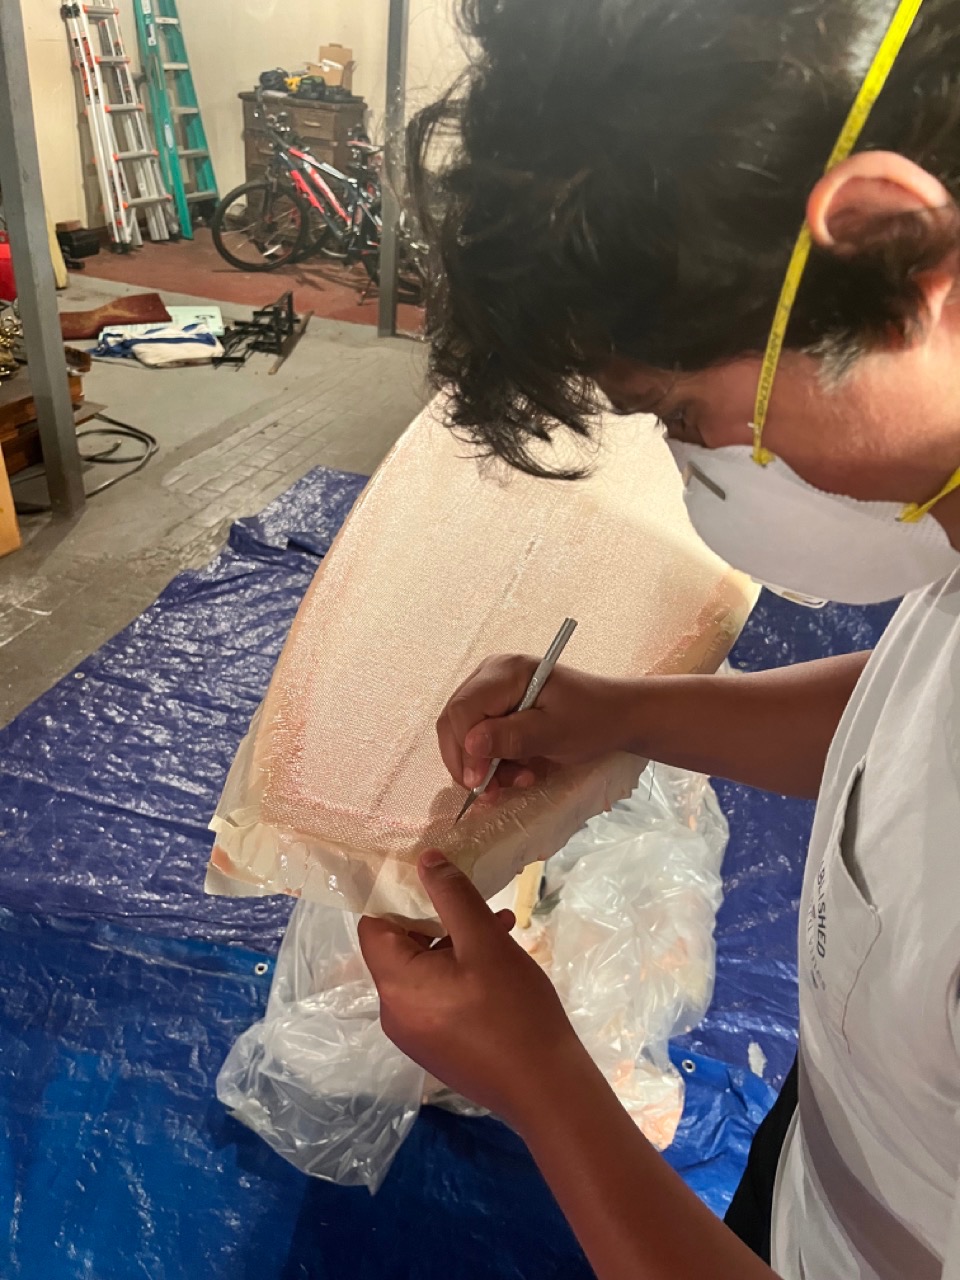
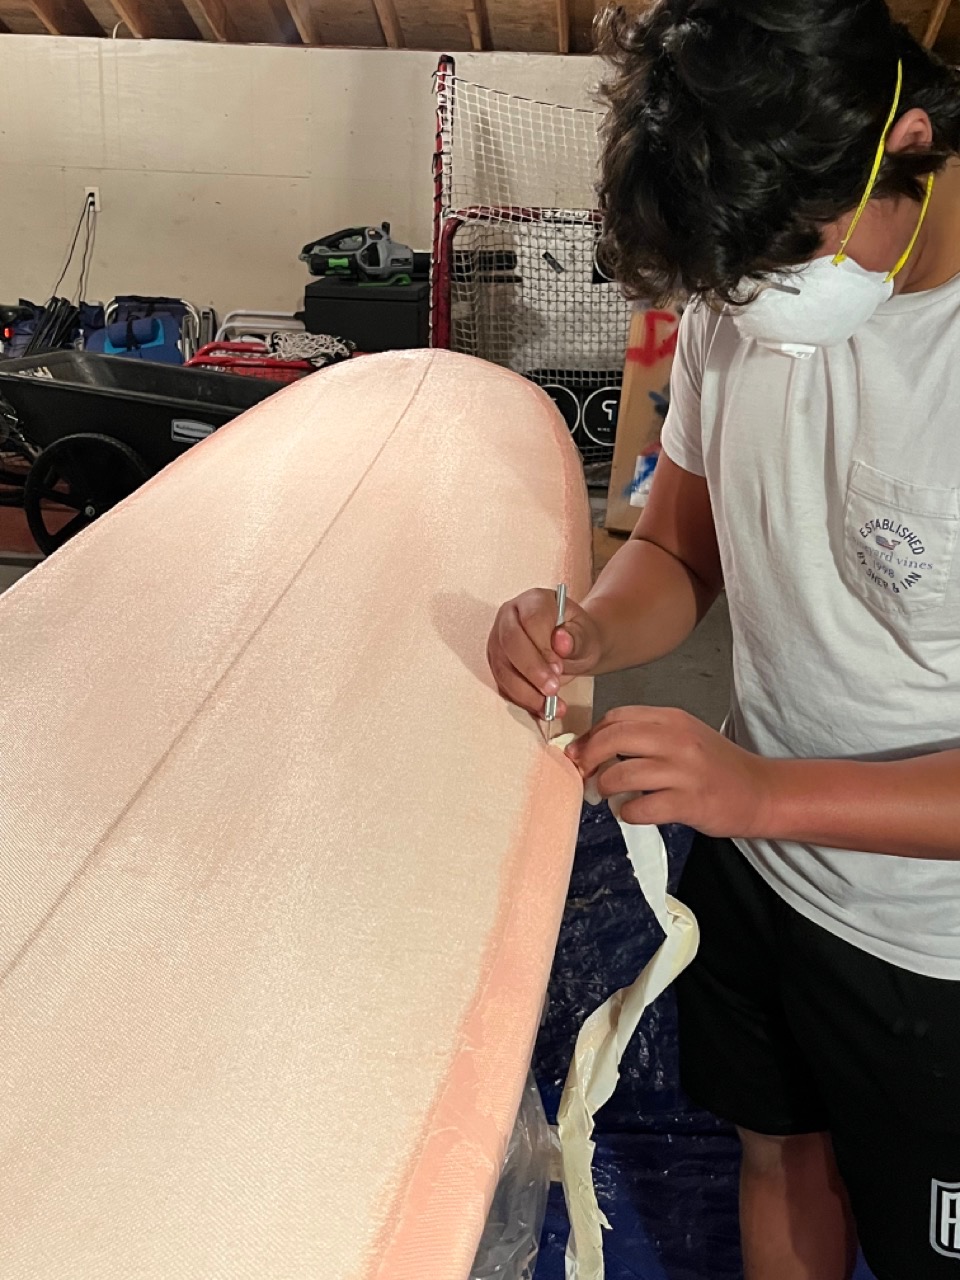
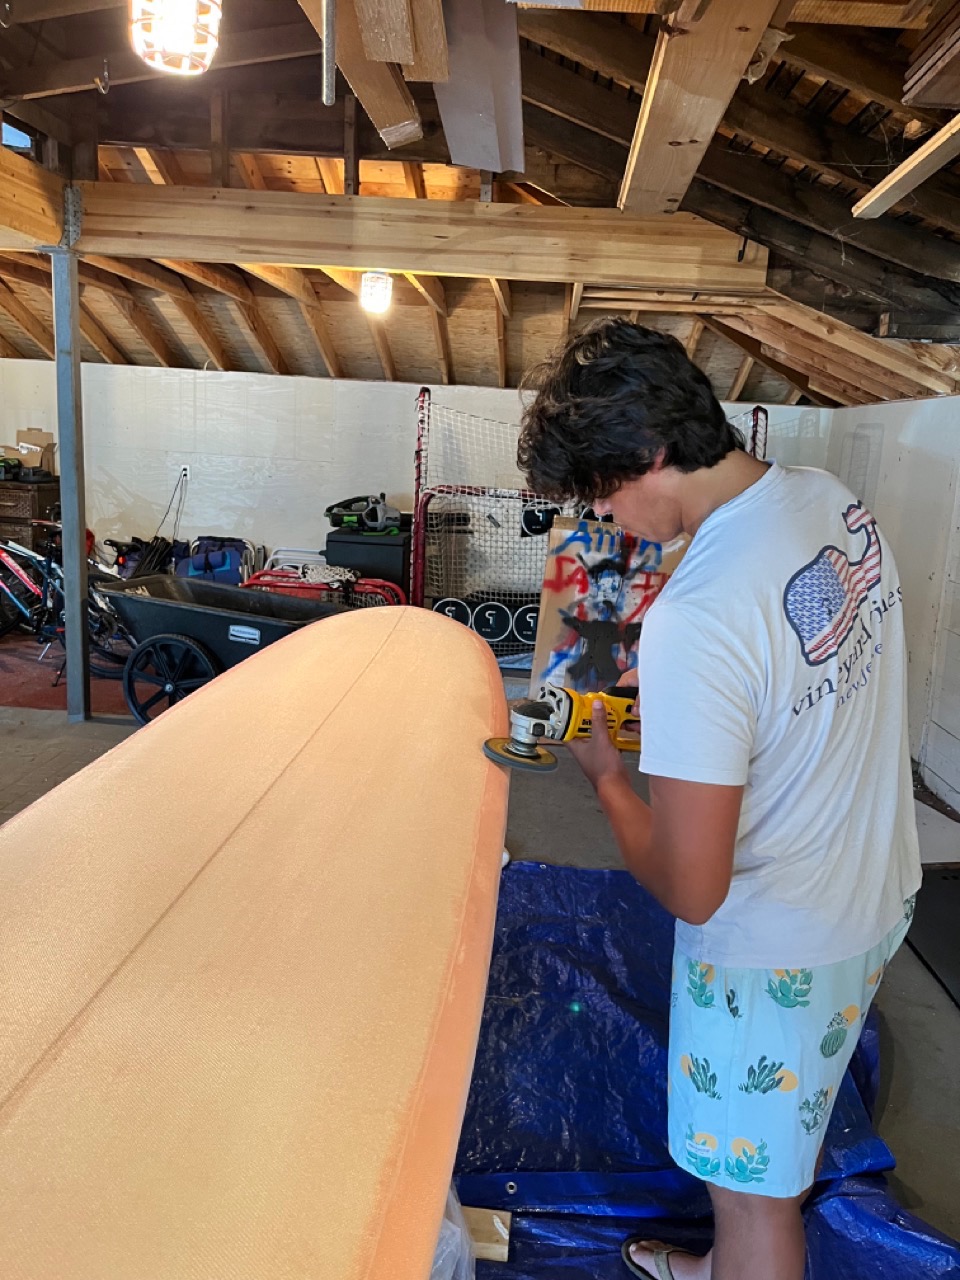
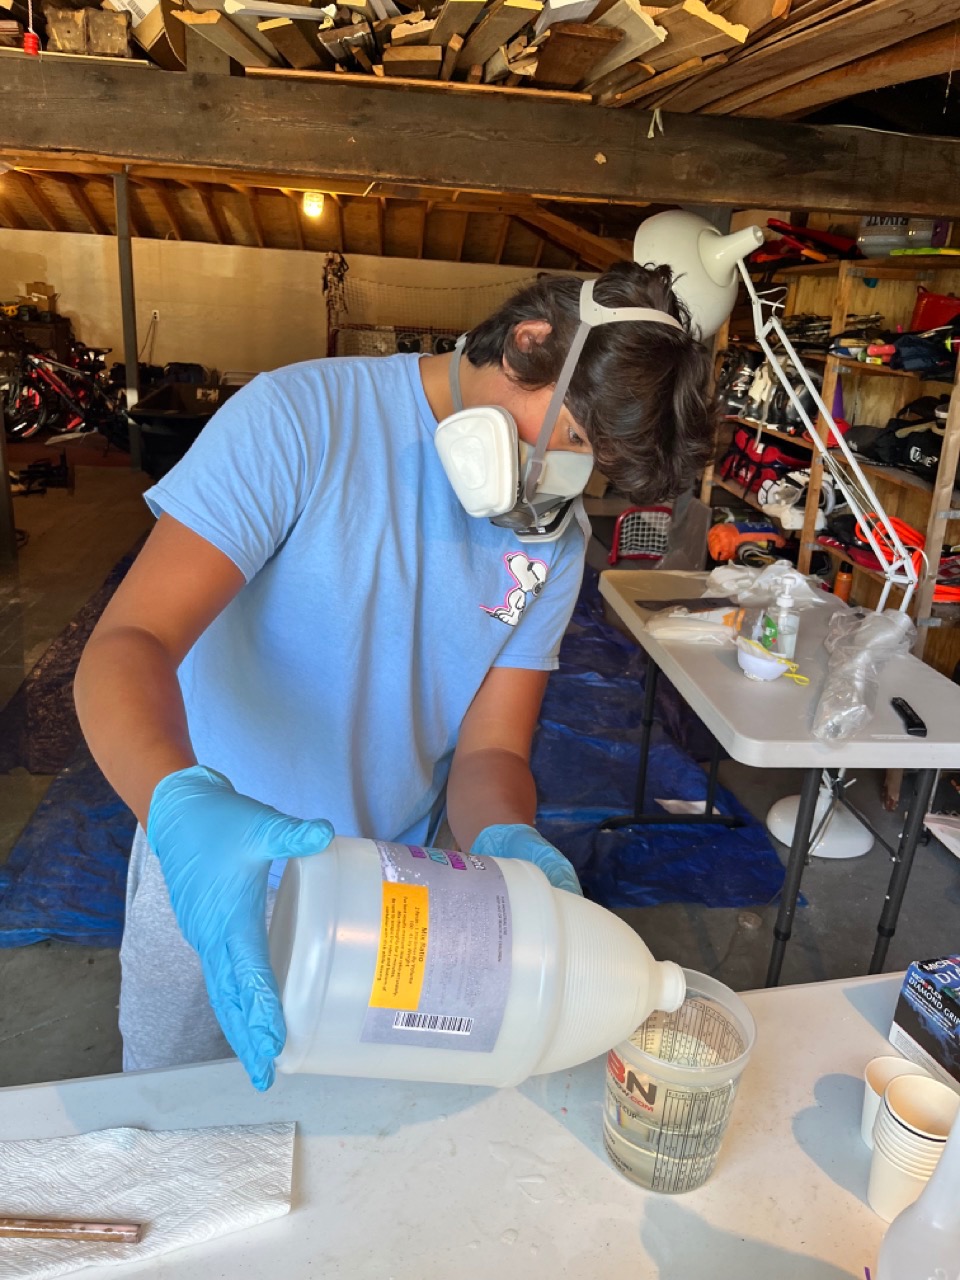
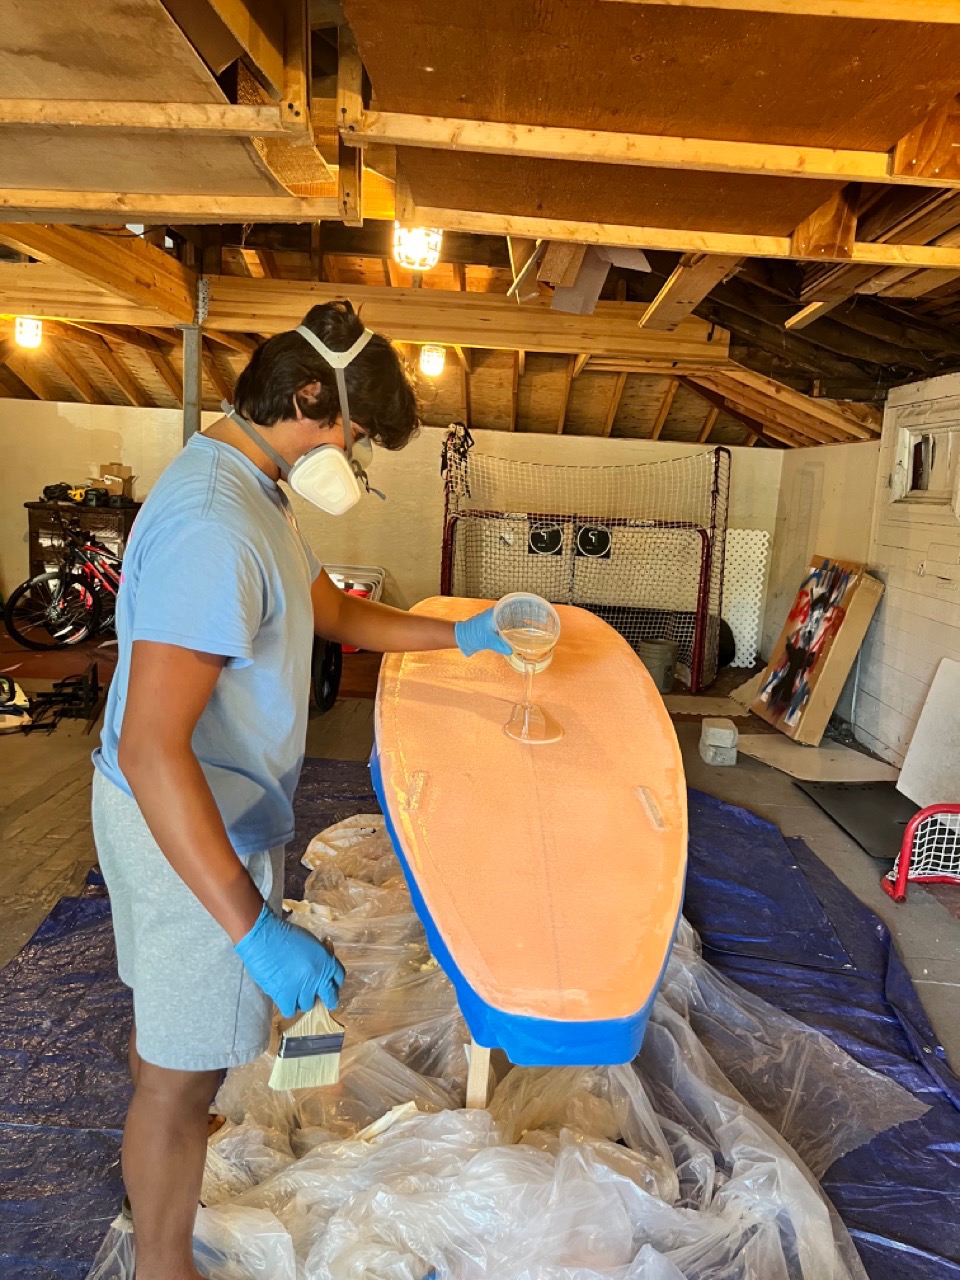
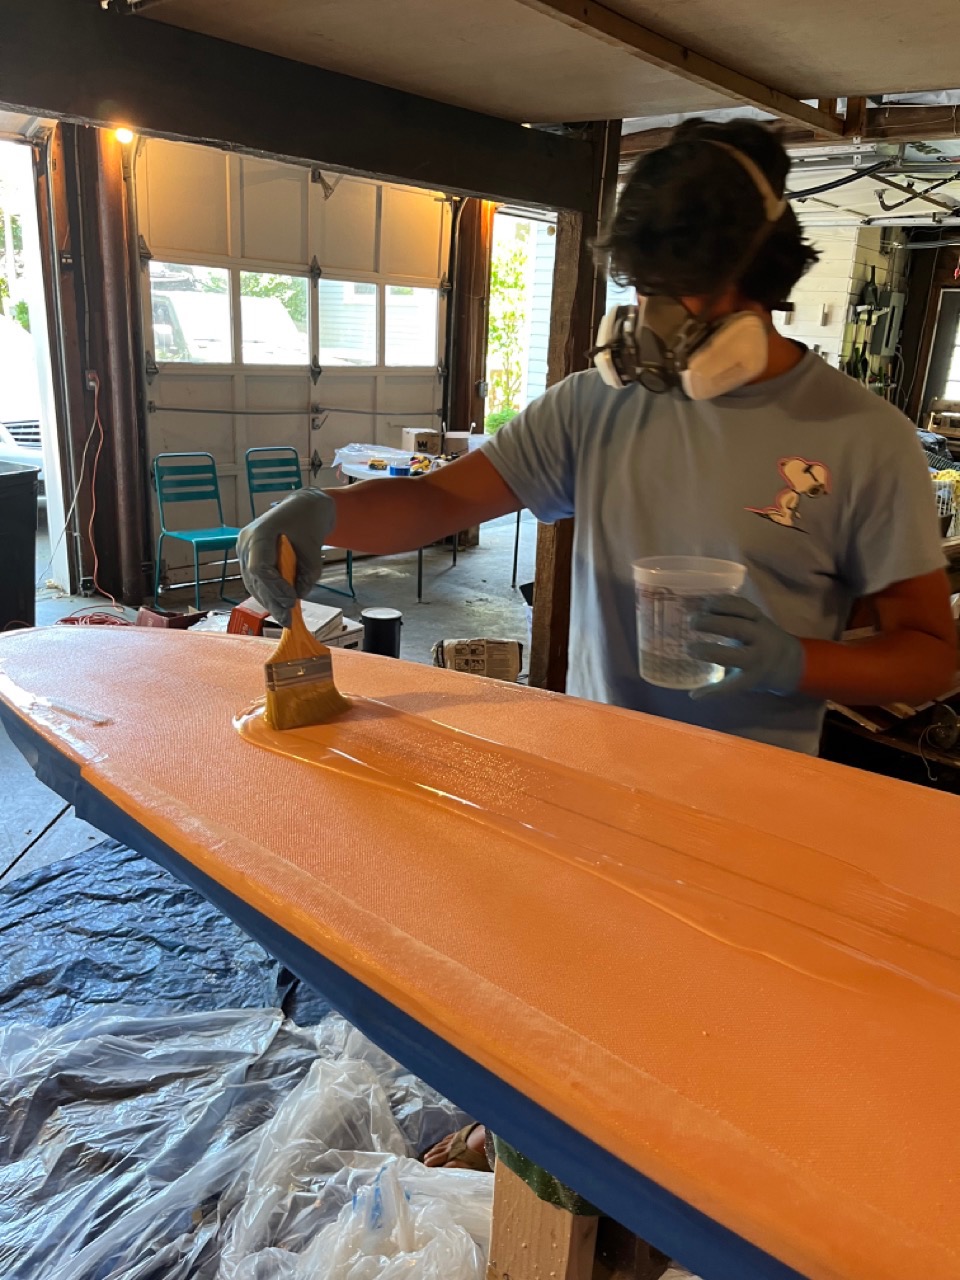
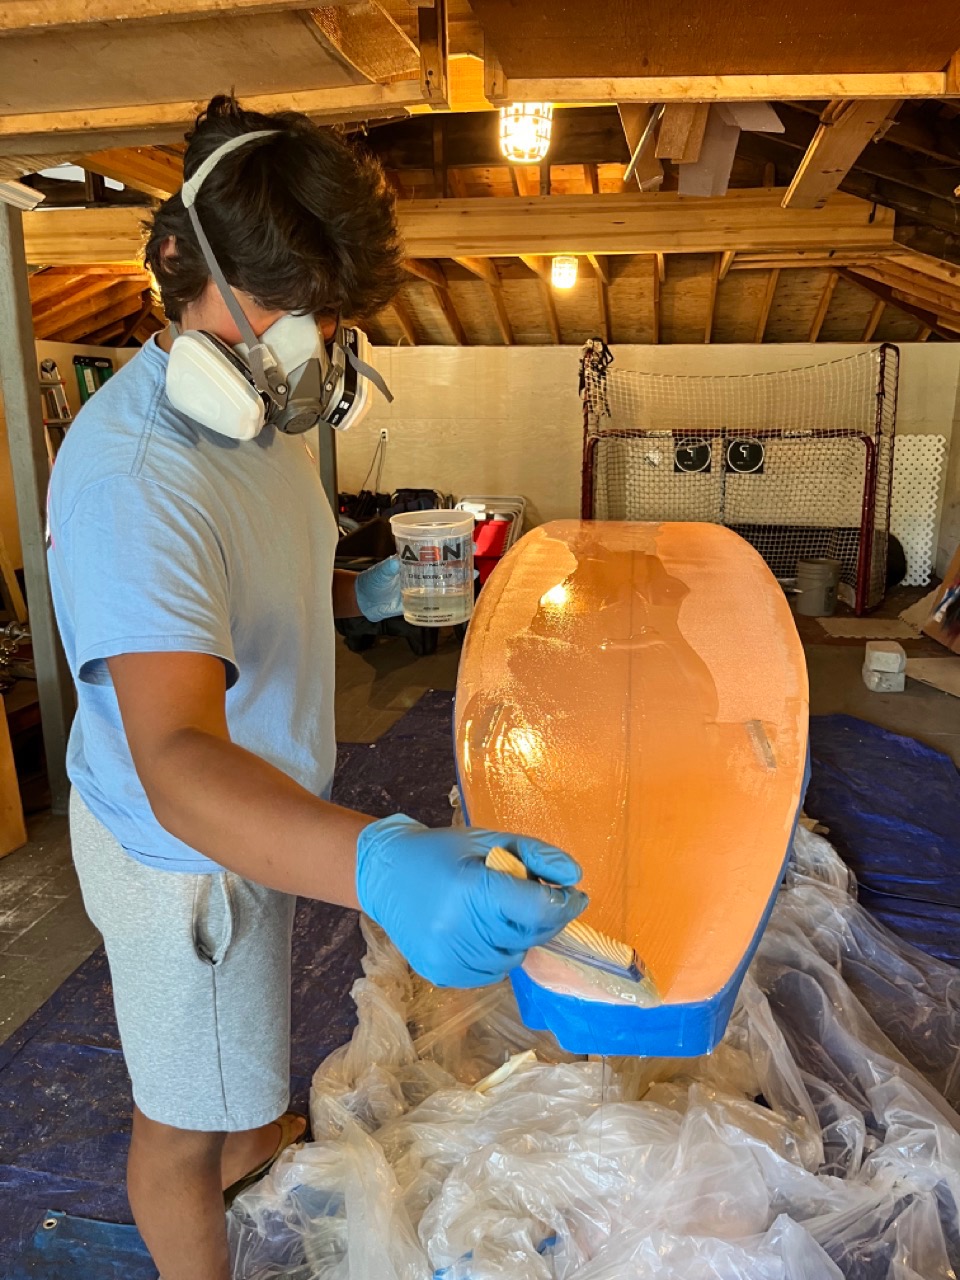
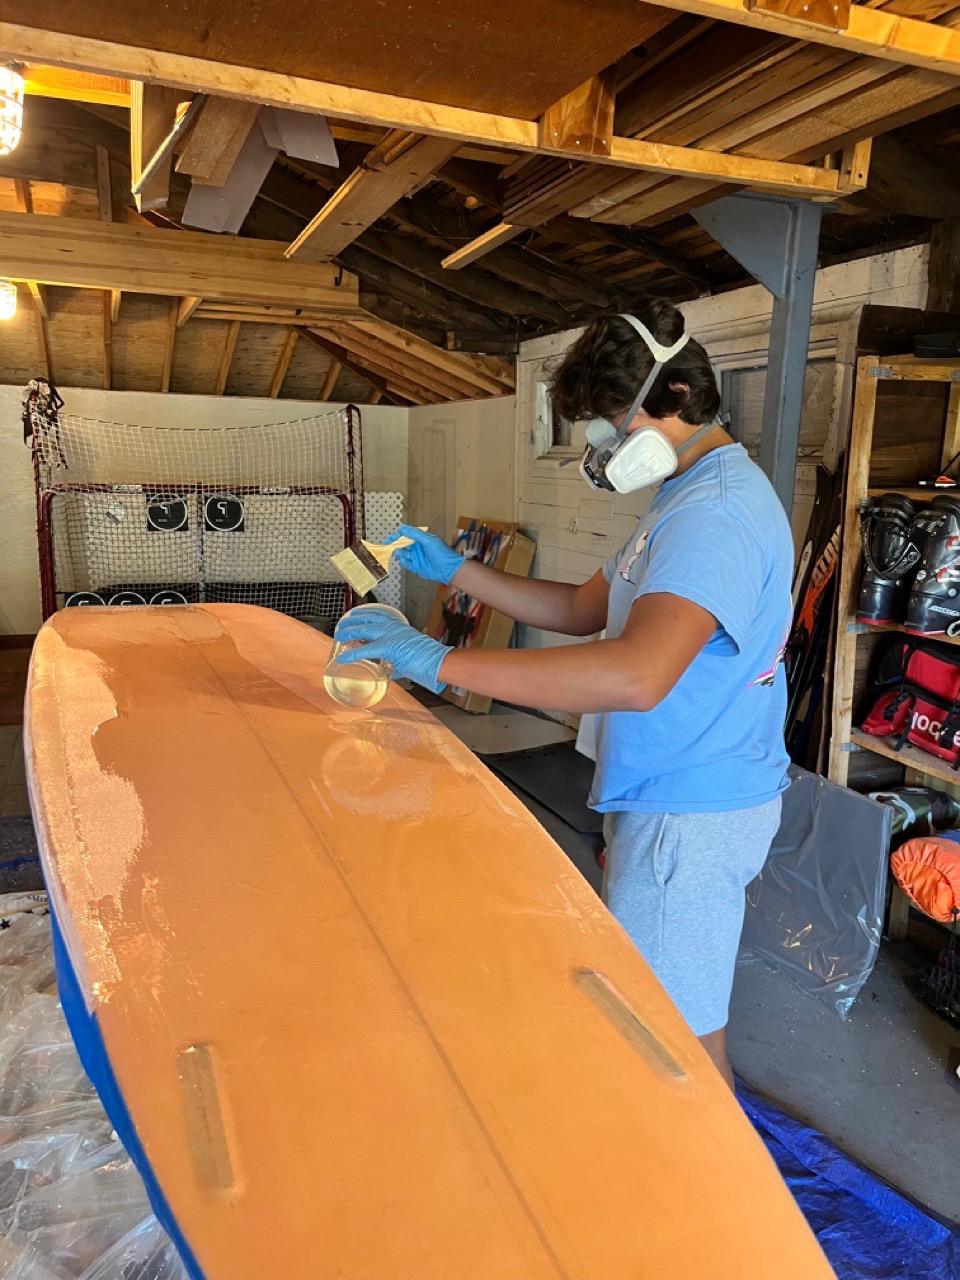
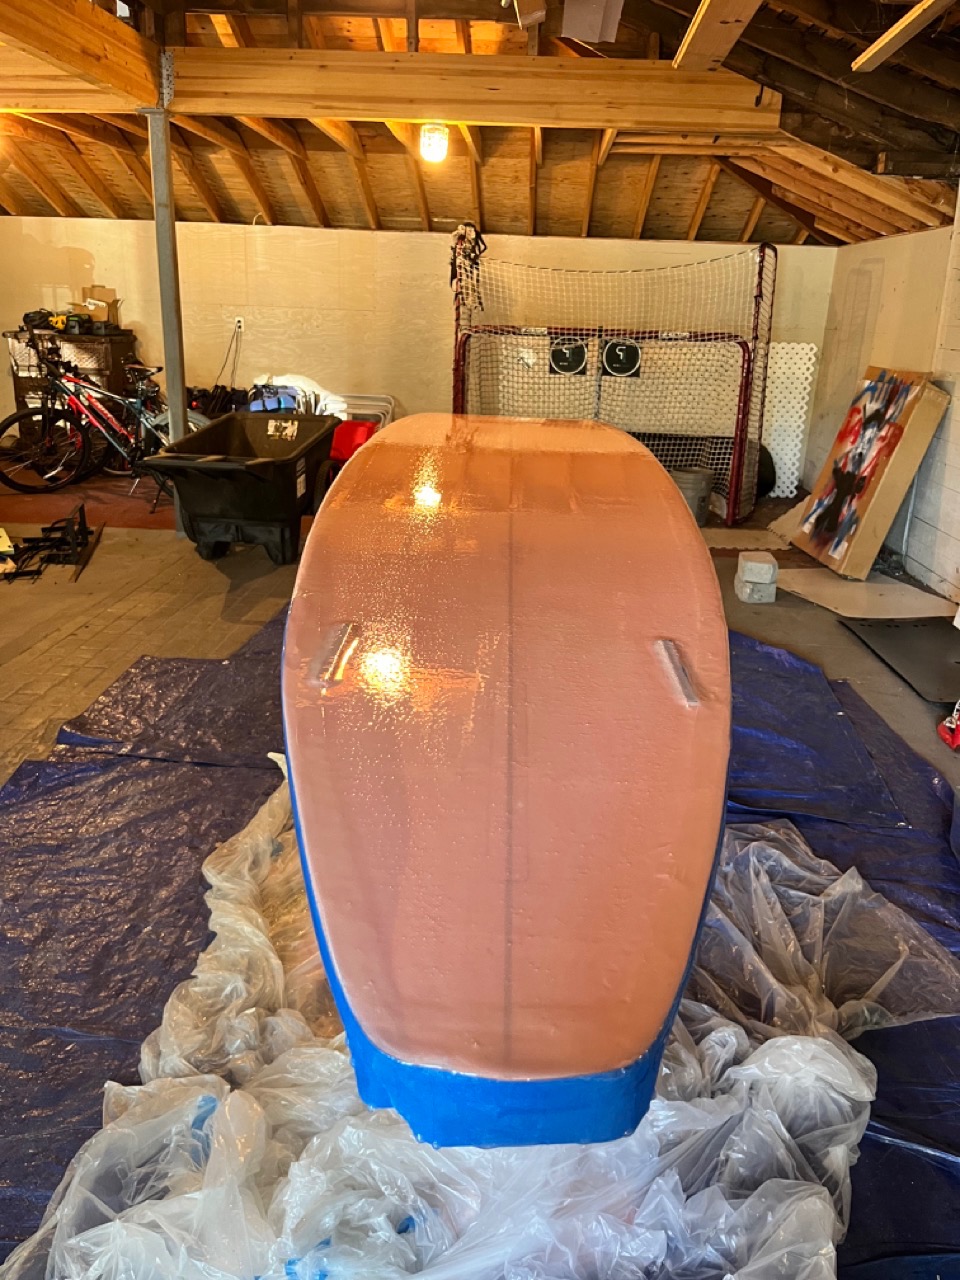
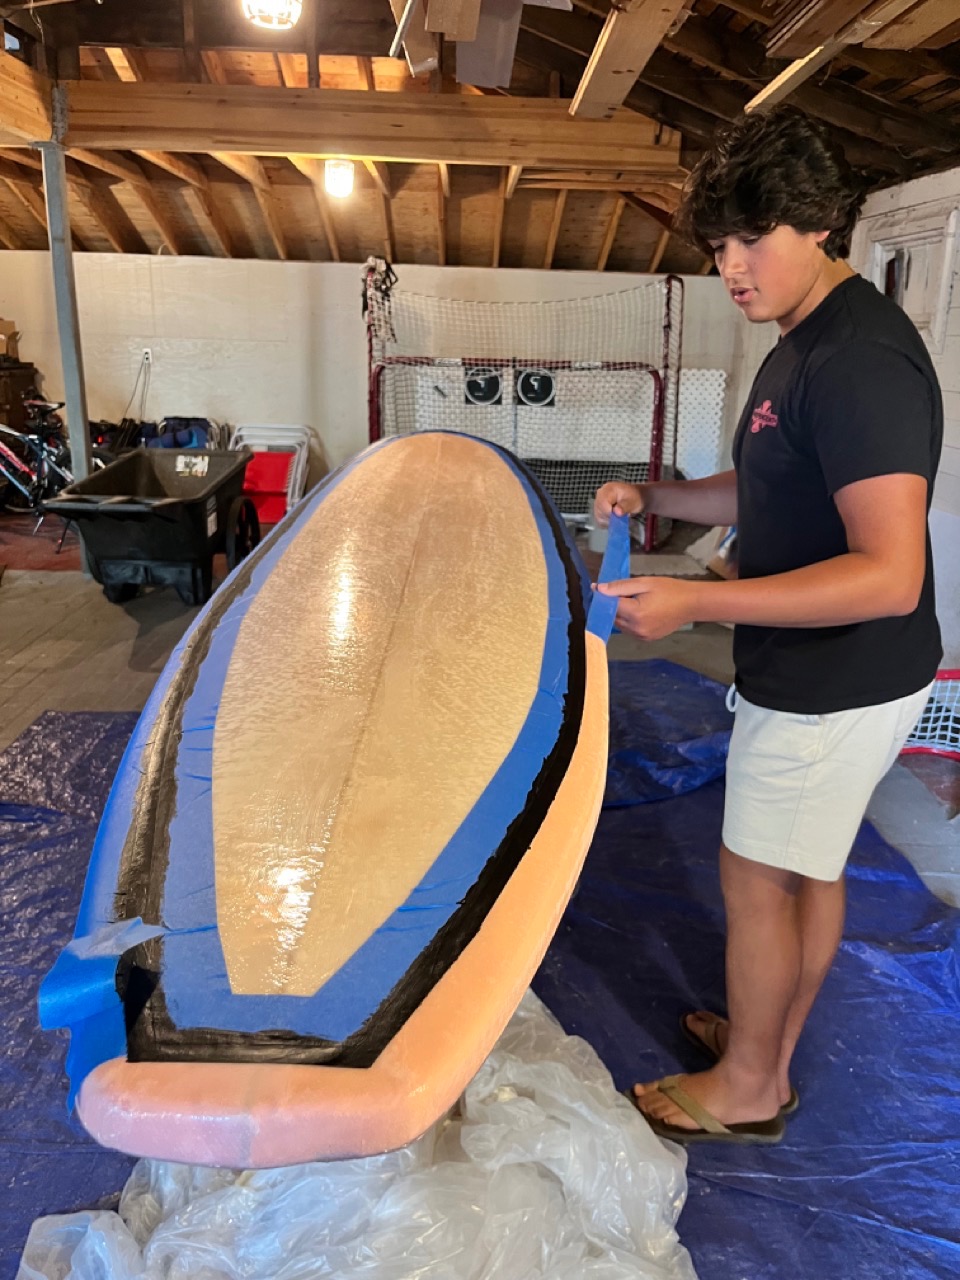
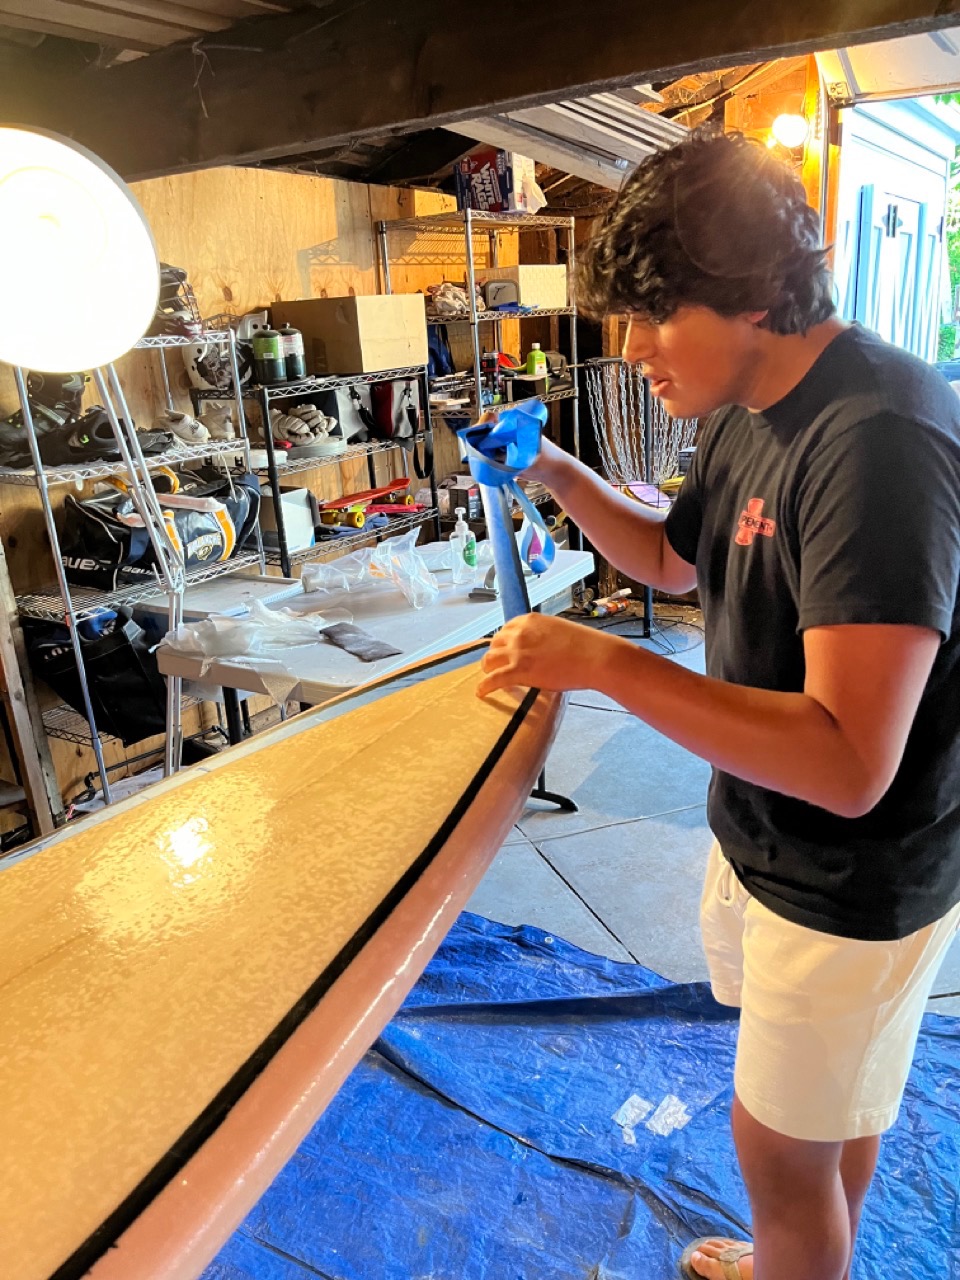
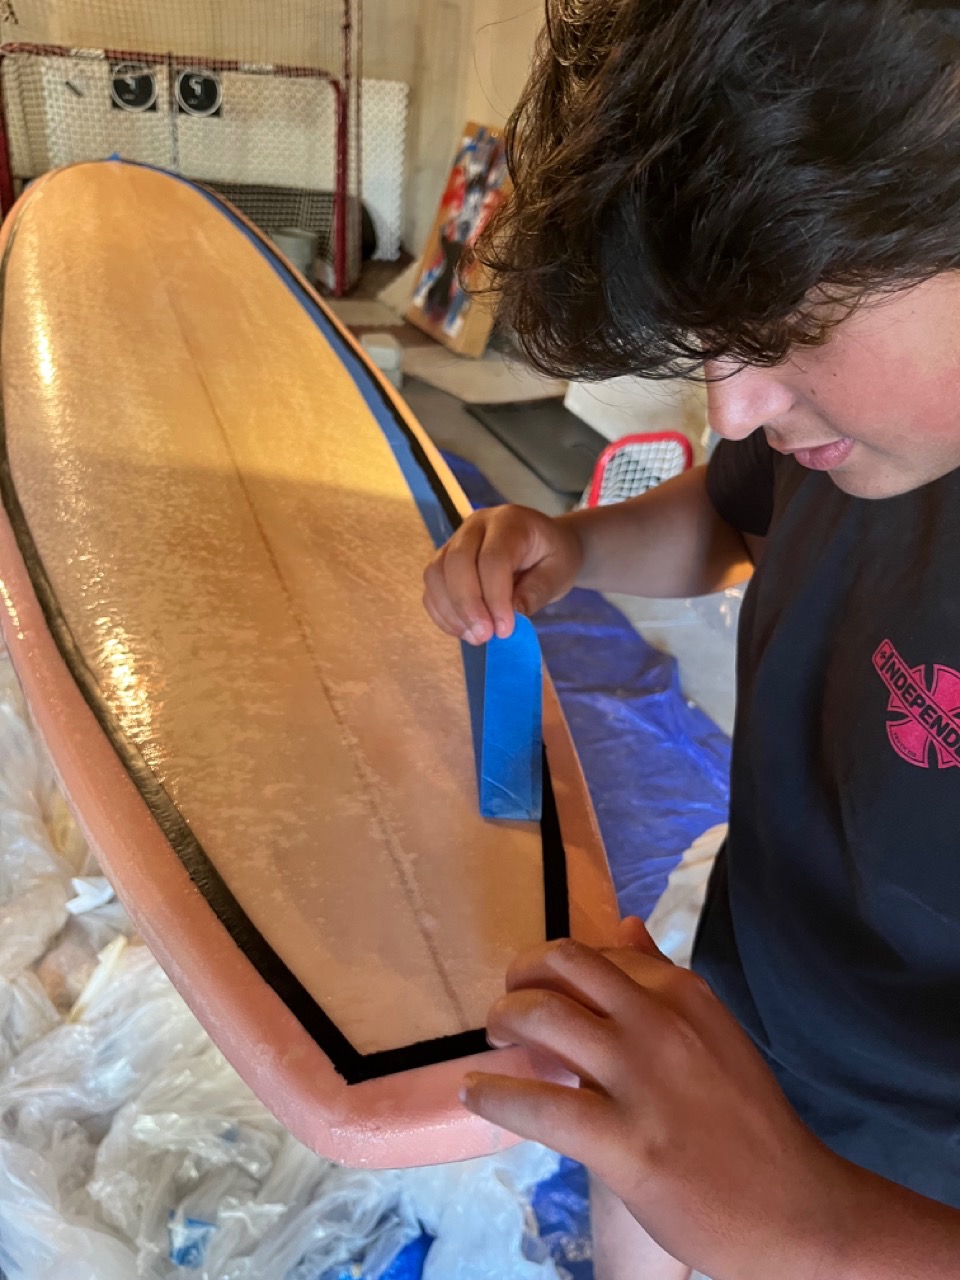
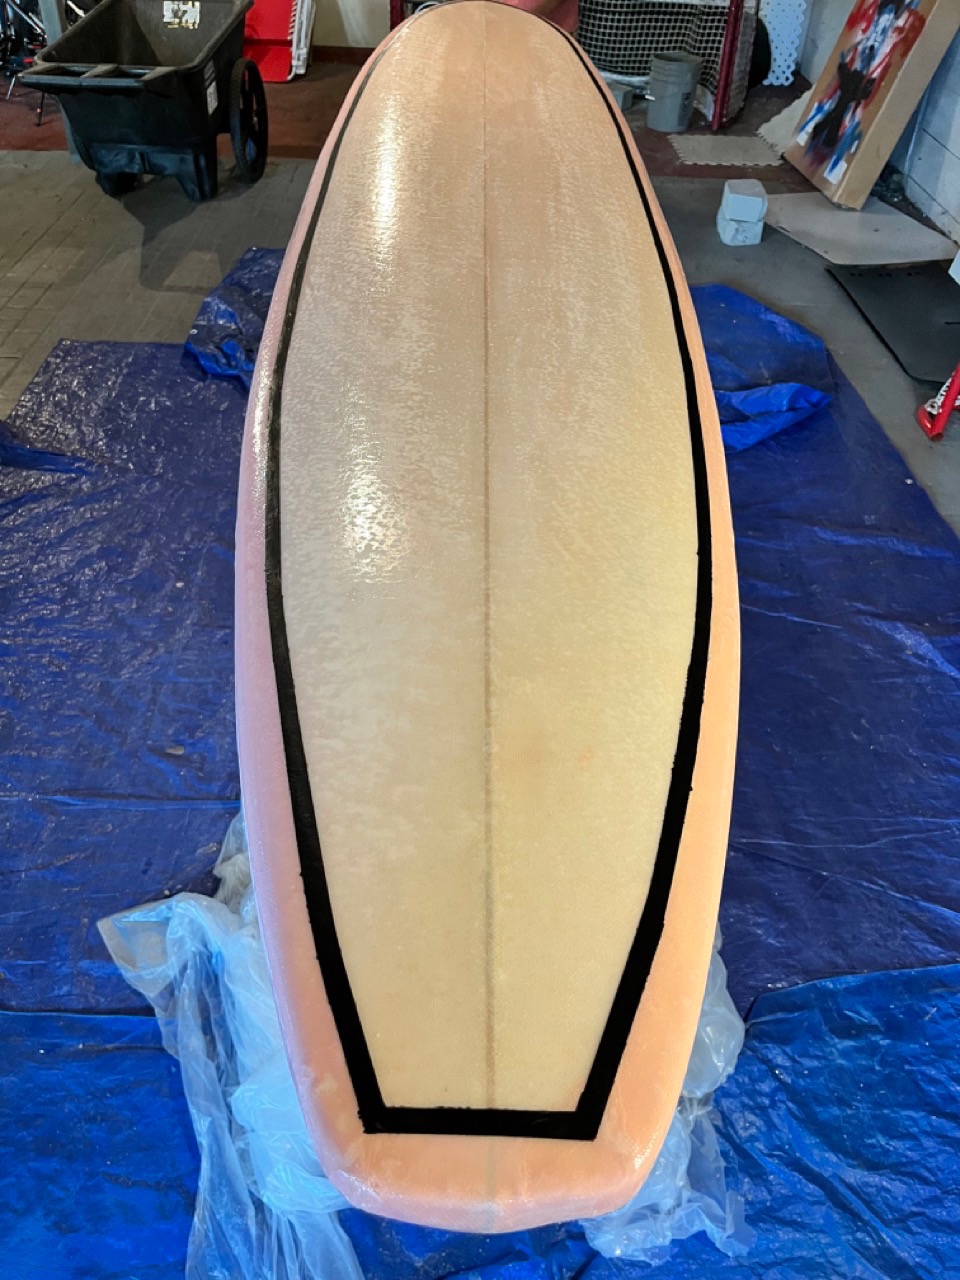
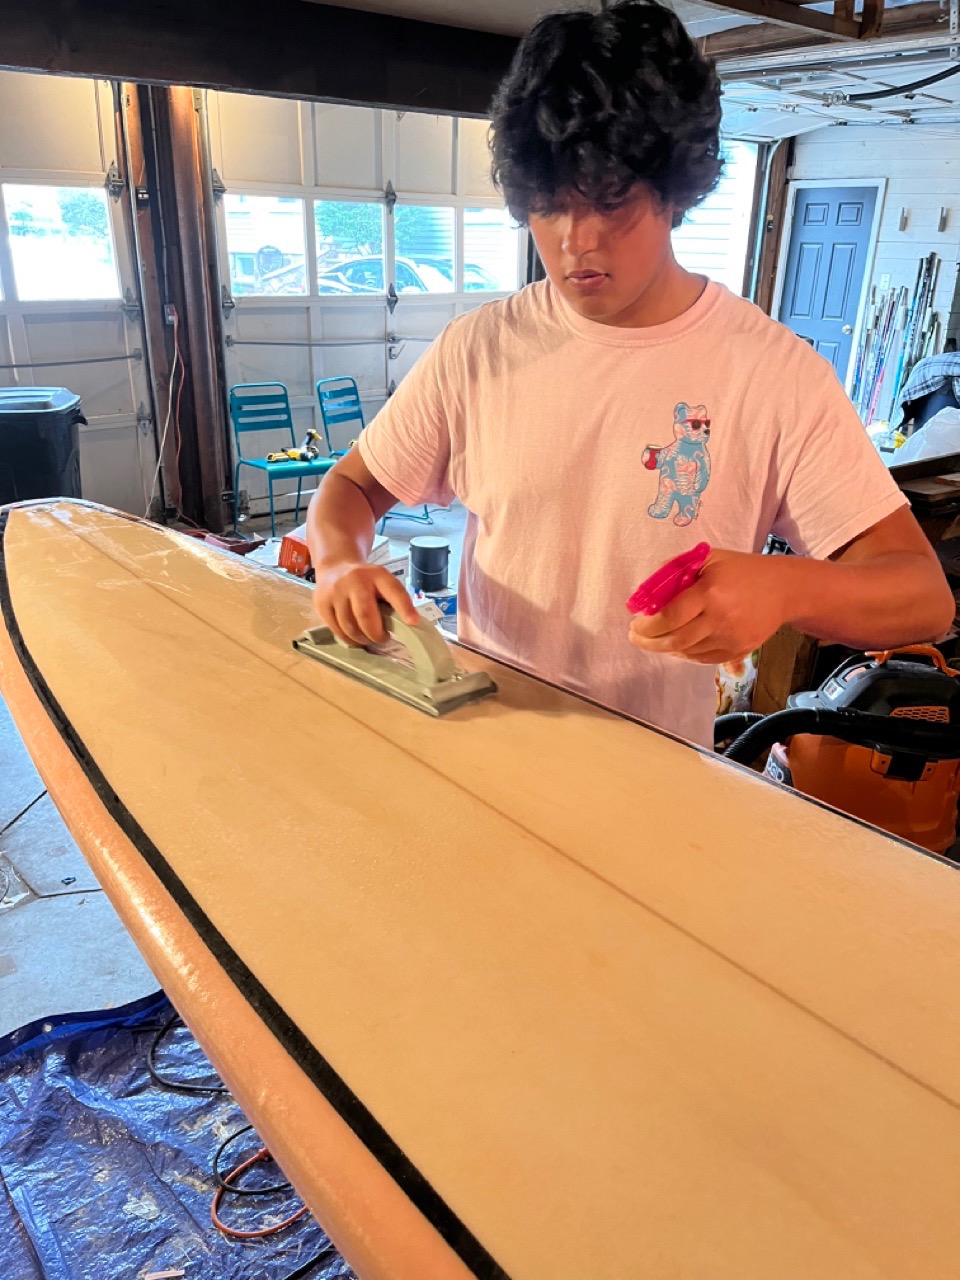
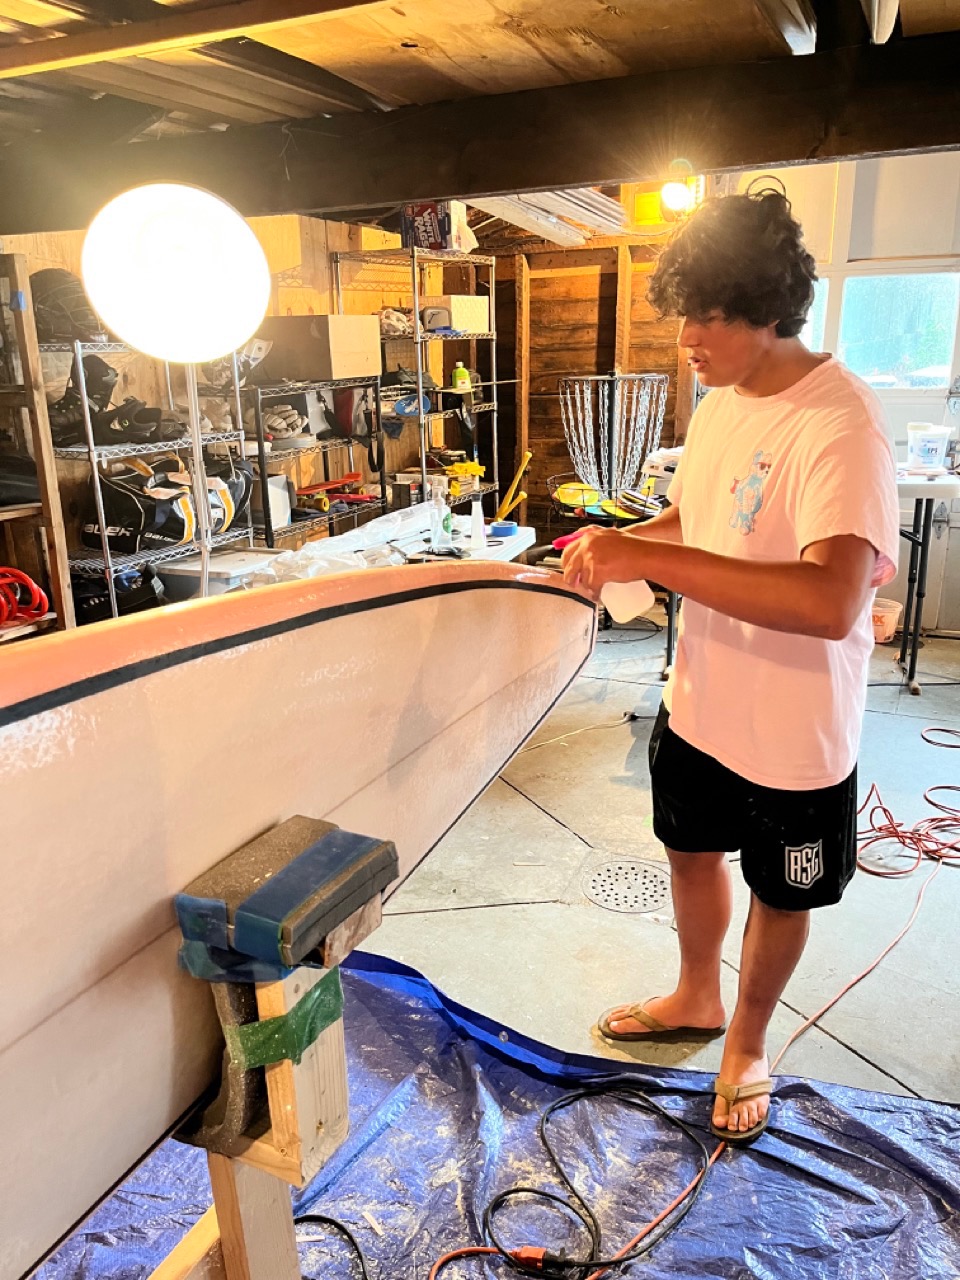
This stage is where I add the fiberglass and epoxy. This makes the board hard and gives it weight so the board will float and water doesn't seep into the board. I used 6oz fiberglass. This is also where you can tint the board if you'd like to give it some color. I chose bubblegum pink and did a darker shade on the bottom and lighter on top. For this step I did one layer of fiberglass and epoxy and the bottom and two on the top. I have to tape the edges in each step to get a clean line. This takes some practice and after the first layer I got better and doing the edges.
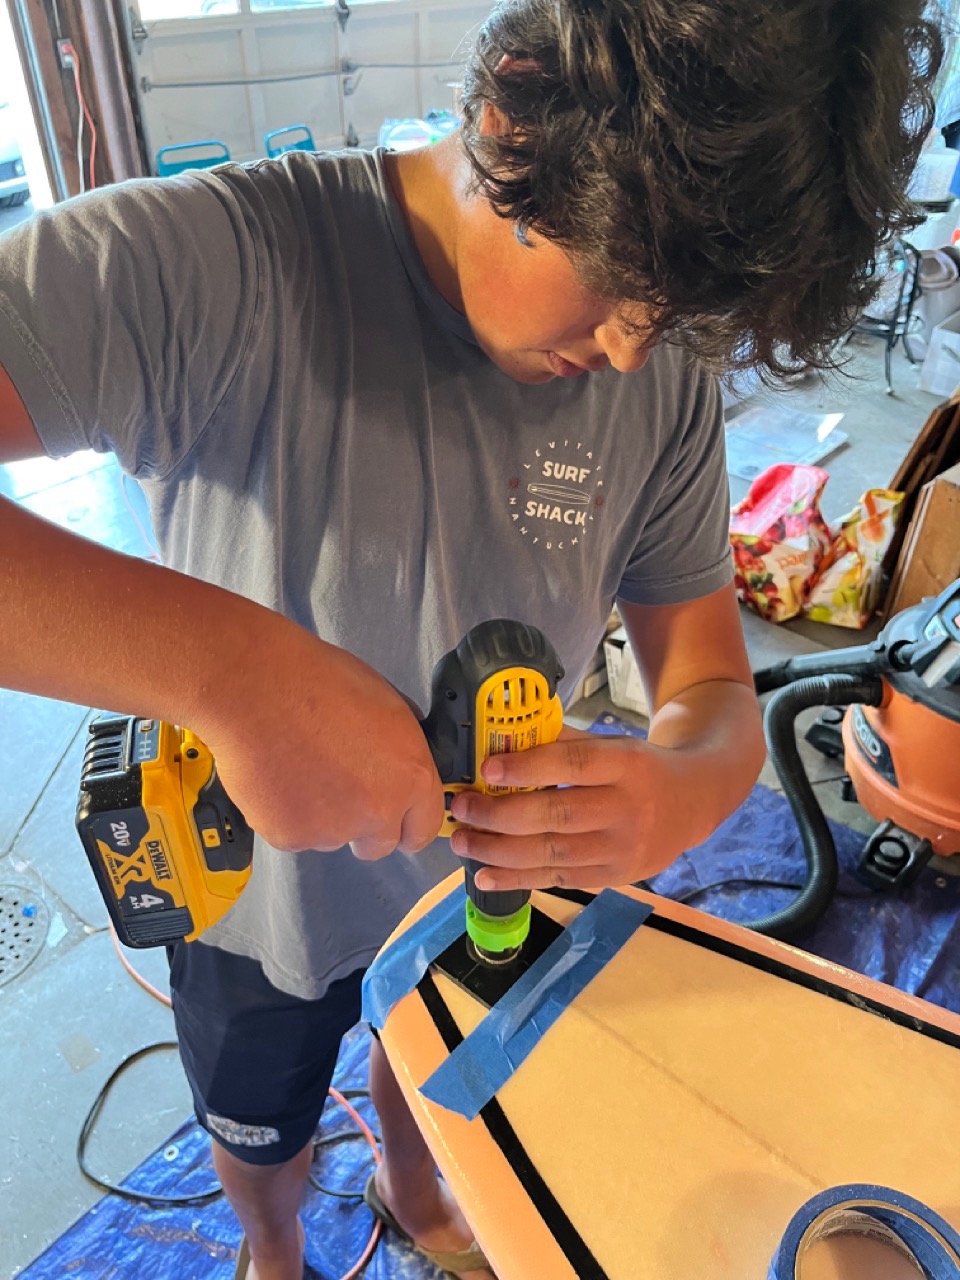
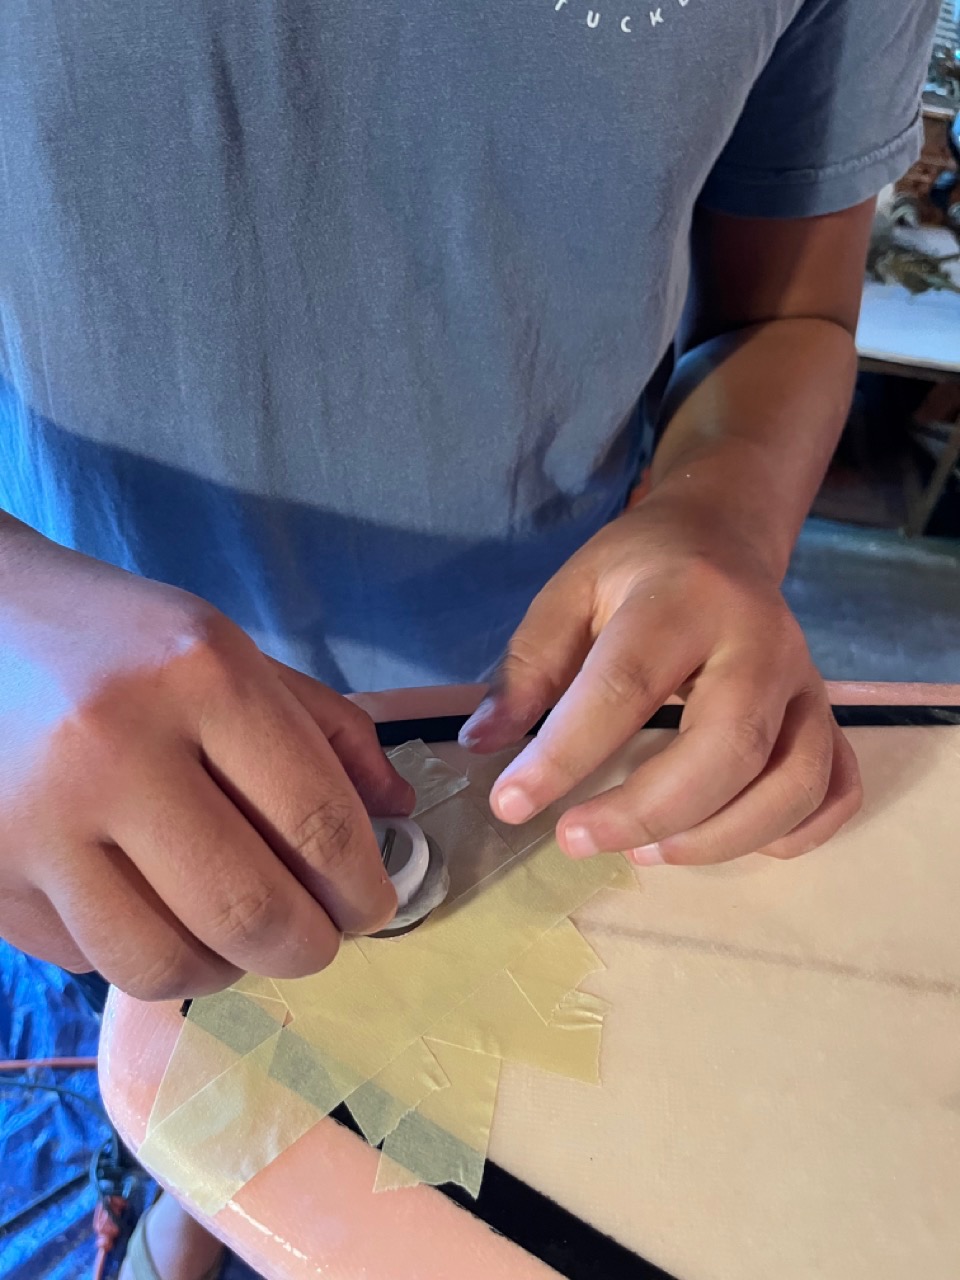
Large Fin and Leash Placement
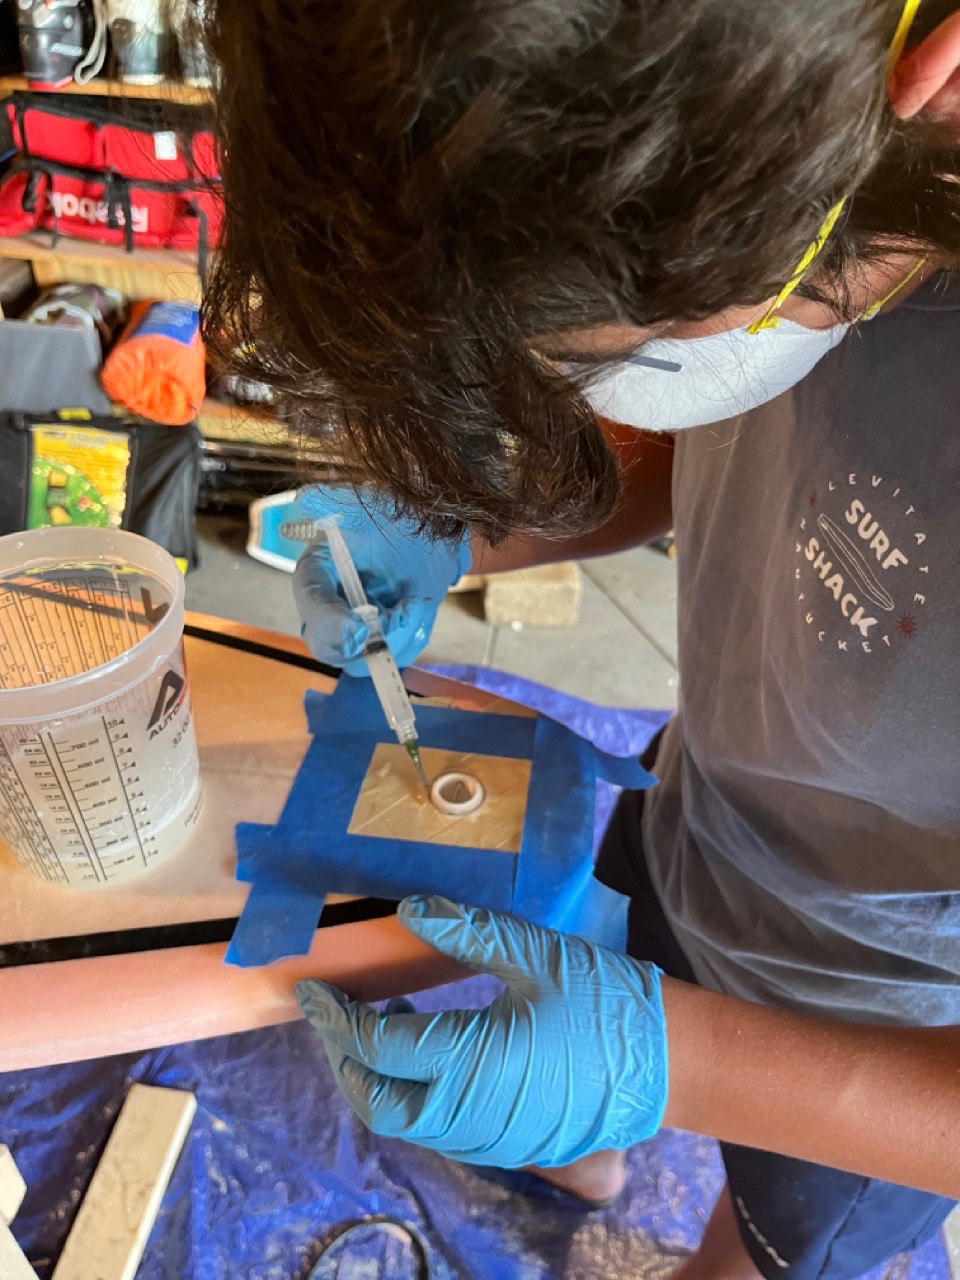
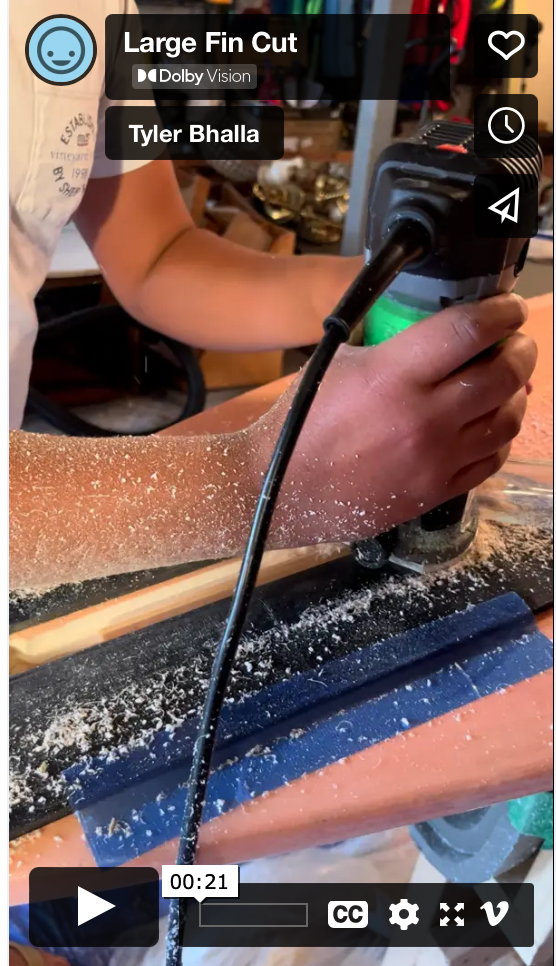
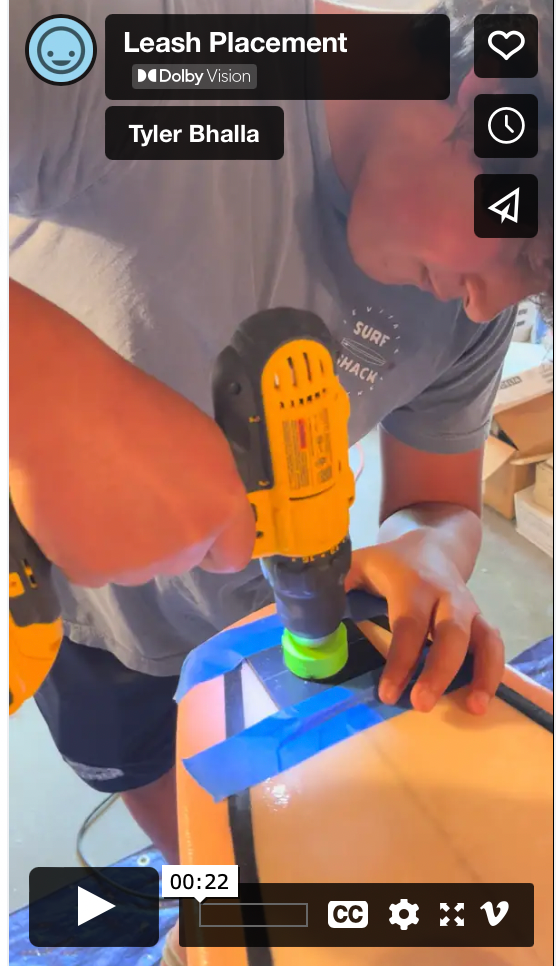
Unlike the smaller fin boxes, the larger fin box is installed after the fiberglass and the hot coat process because it cut differently. Because the board is now hard it is more difficult to cut through, so I had to cut this box 4 different times increasing the cut depth by 1/4 inch each time. The total cut depth is one inch. The fin boxes is sealed with epoxy. I then drilled the hole for the leash plug and used epoxy putty and resin so that it would be completely sealed.
